Not all products are the same, and a one-size-fits-all return window may not suit every item in your store. The return timeframe can vary depending on the product’s nature.
You can use Custom Return Windows to set a different return window for specific products.
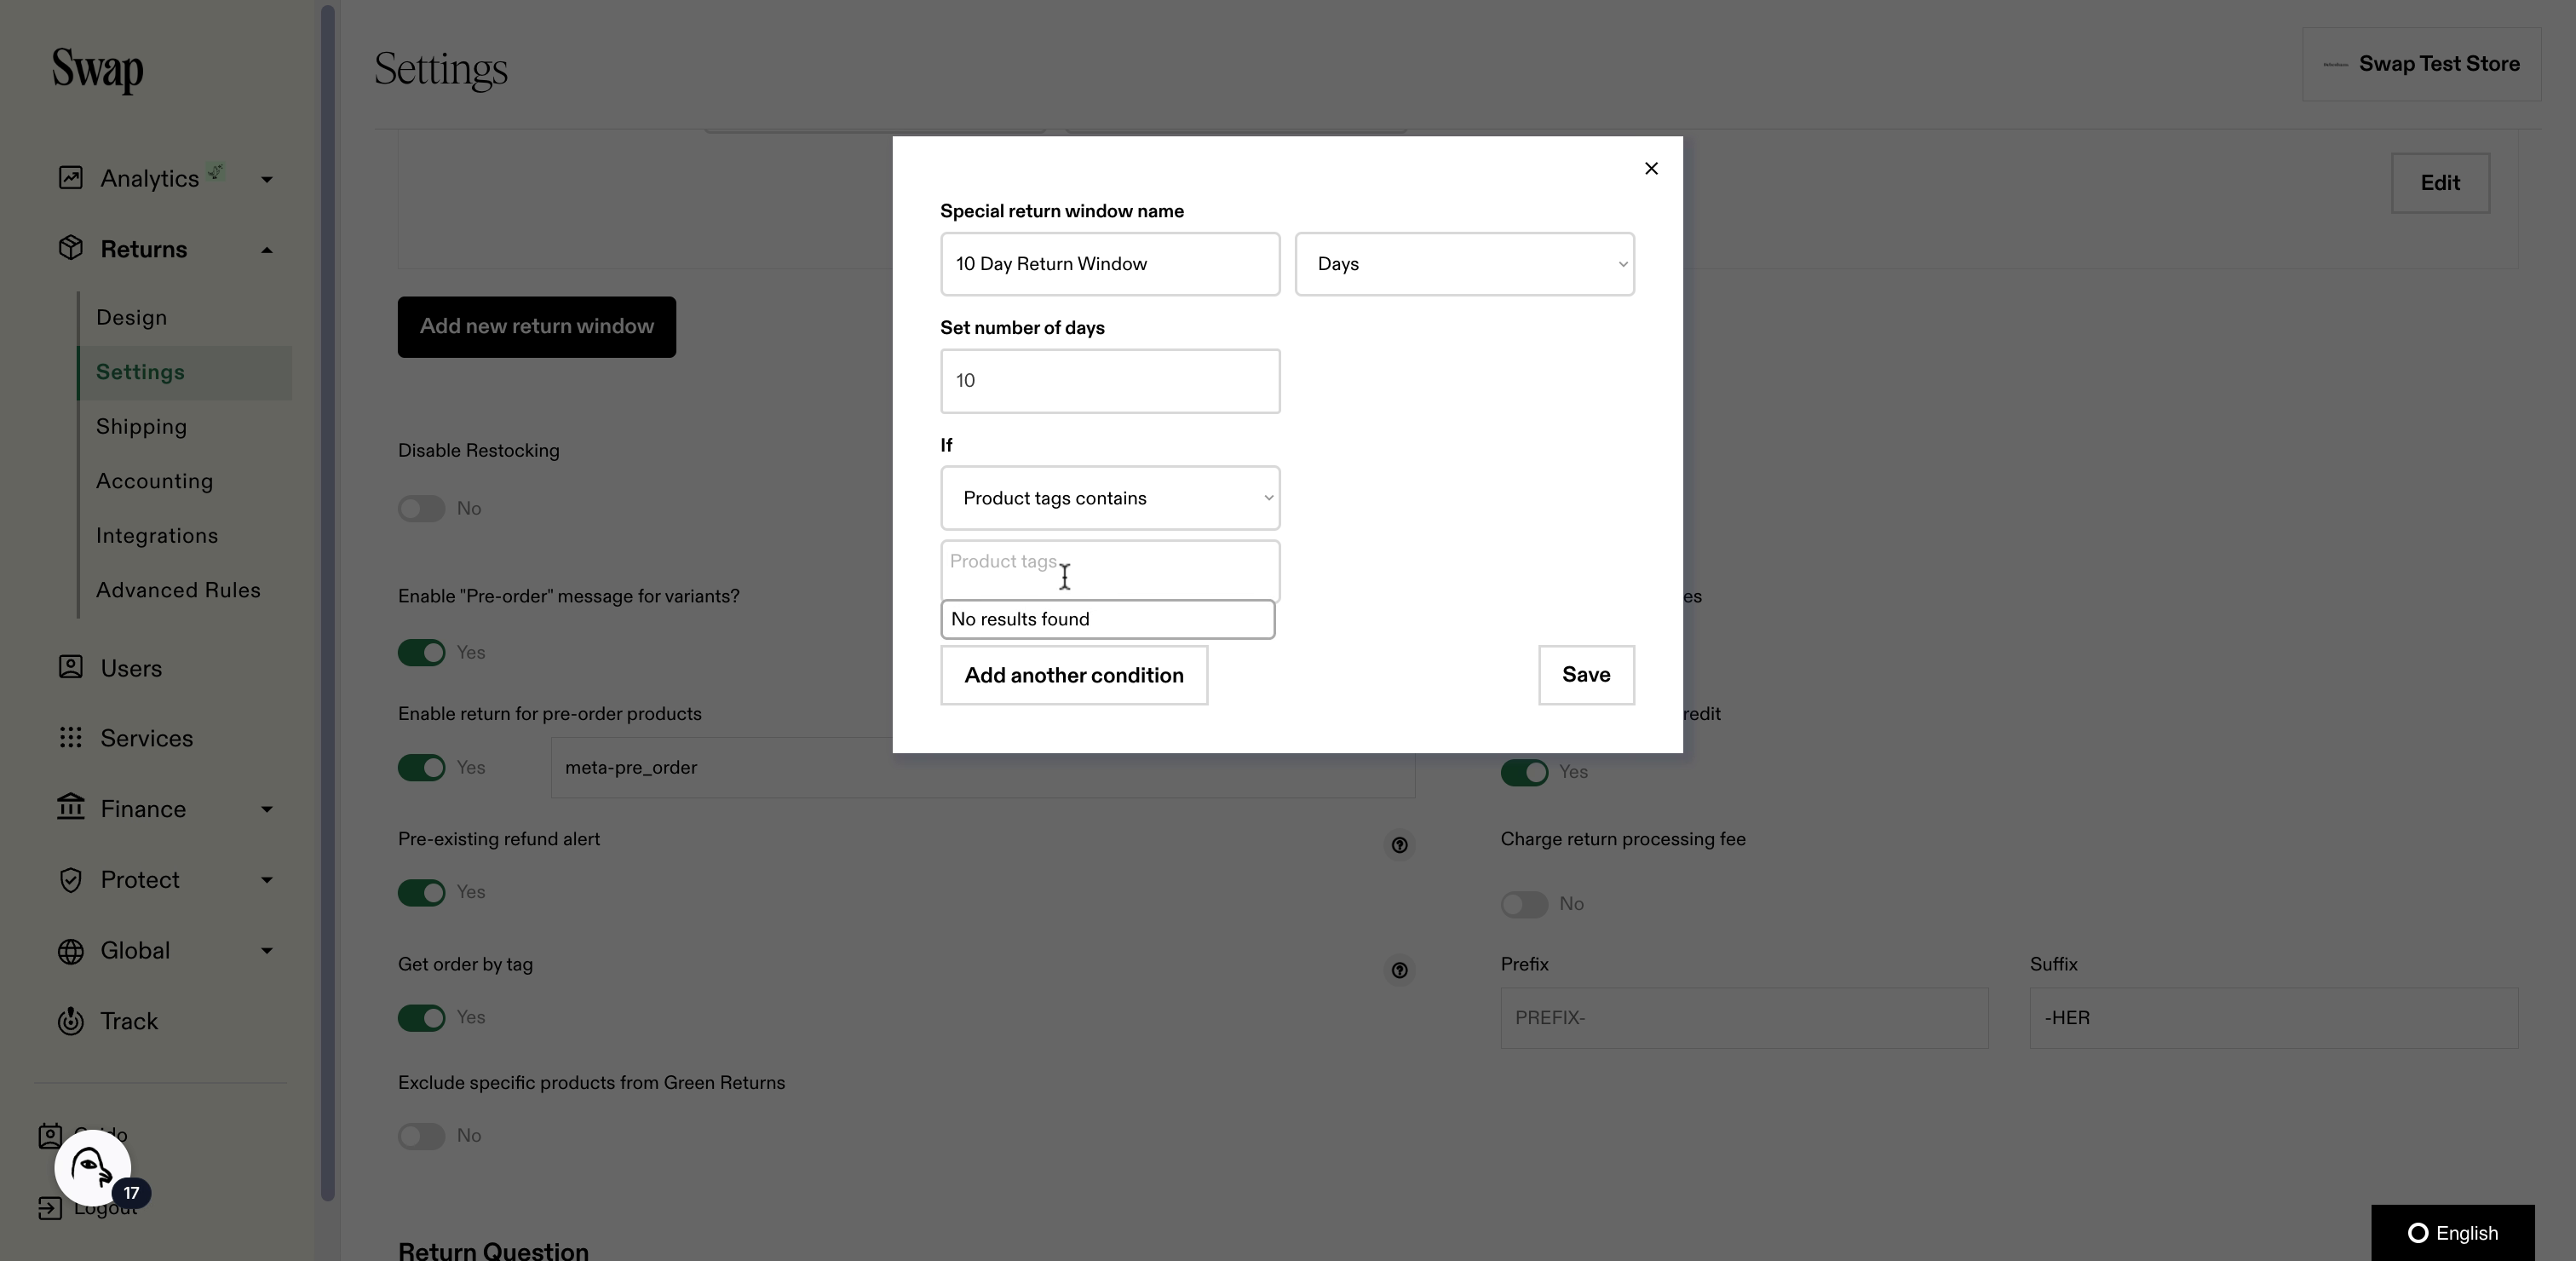
For the purpose of this article, we will have products with a separate 10-day return window using a “10days” product tag in Shopify.
Creating a Custom Return Window
We will use a Product Tag in Shopify to determine which product should have the 10-day Custom Return Window. To add a product tag in Shopify, follow this guide.
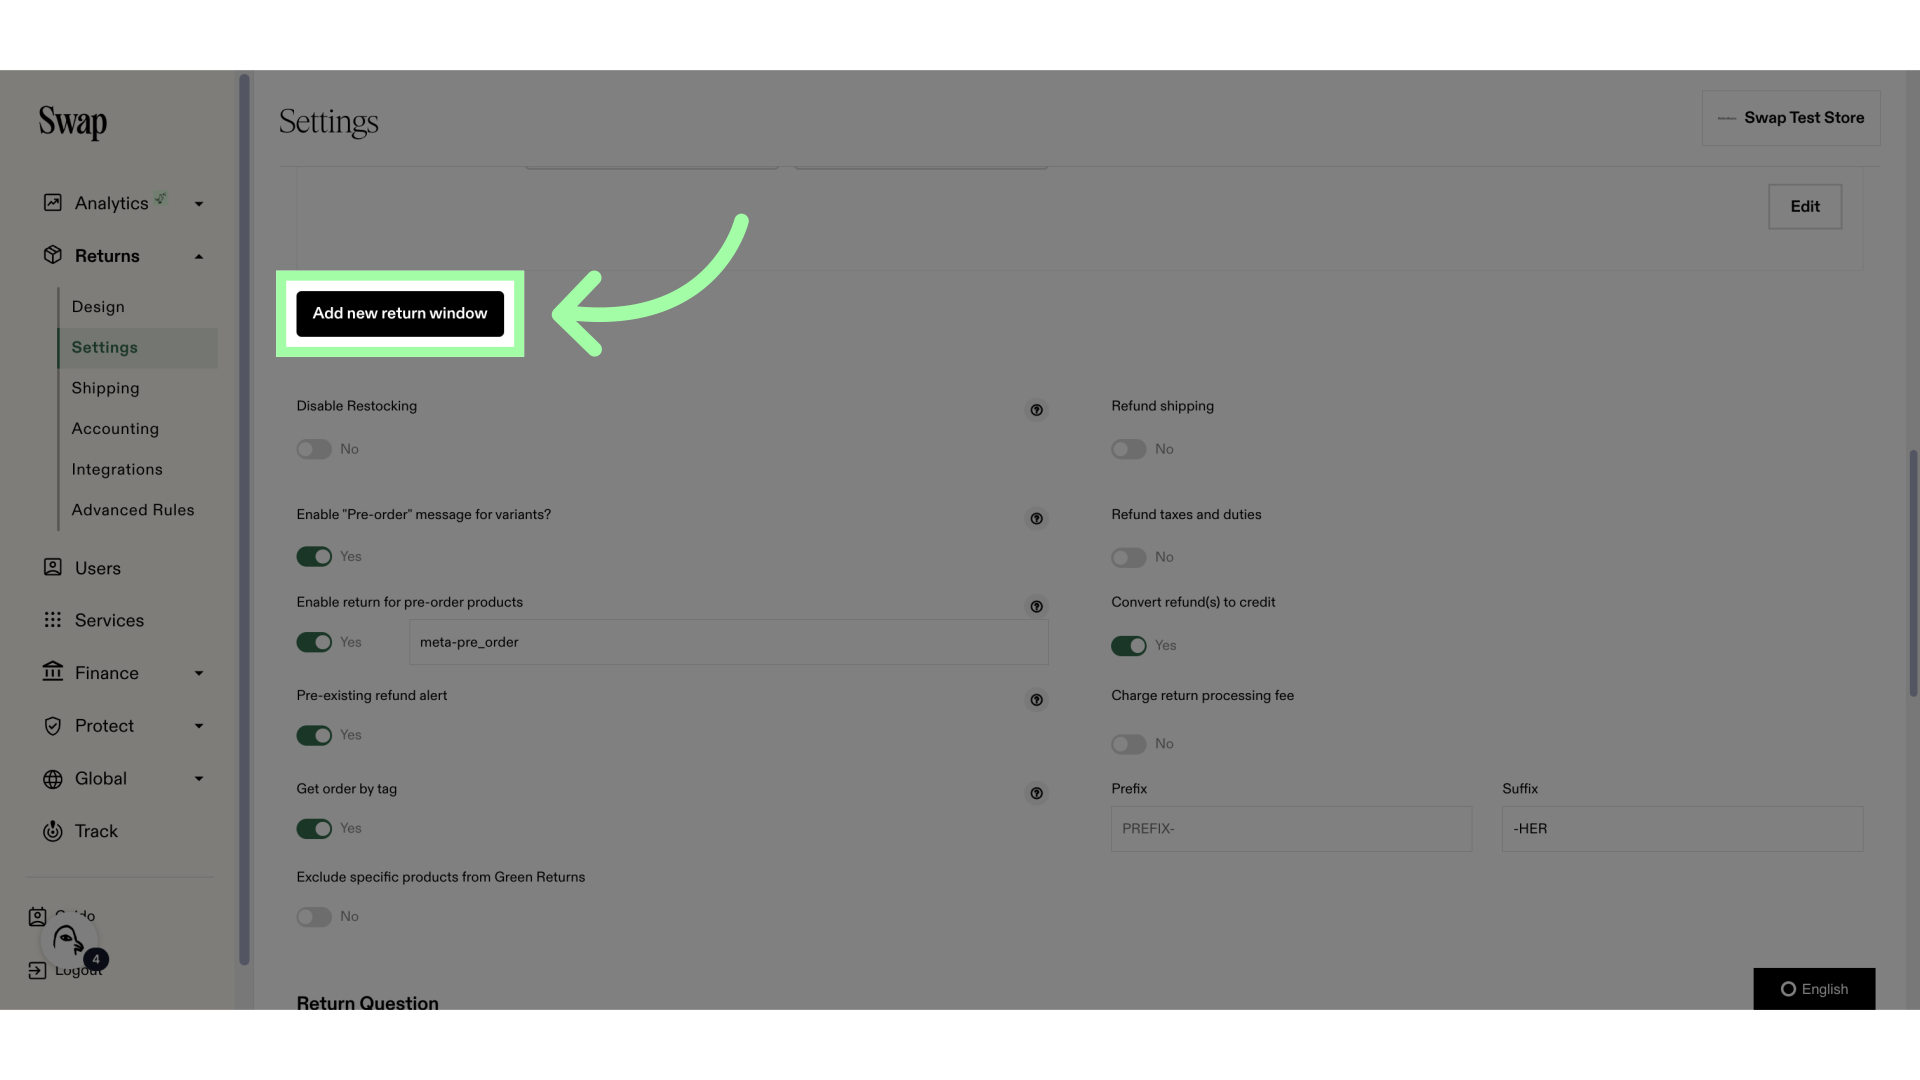
1. Open the Returns drop-down menu
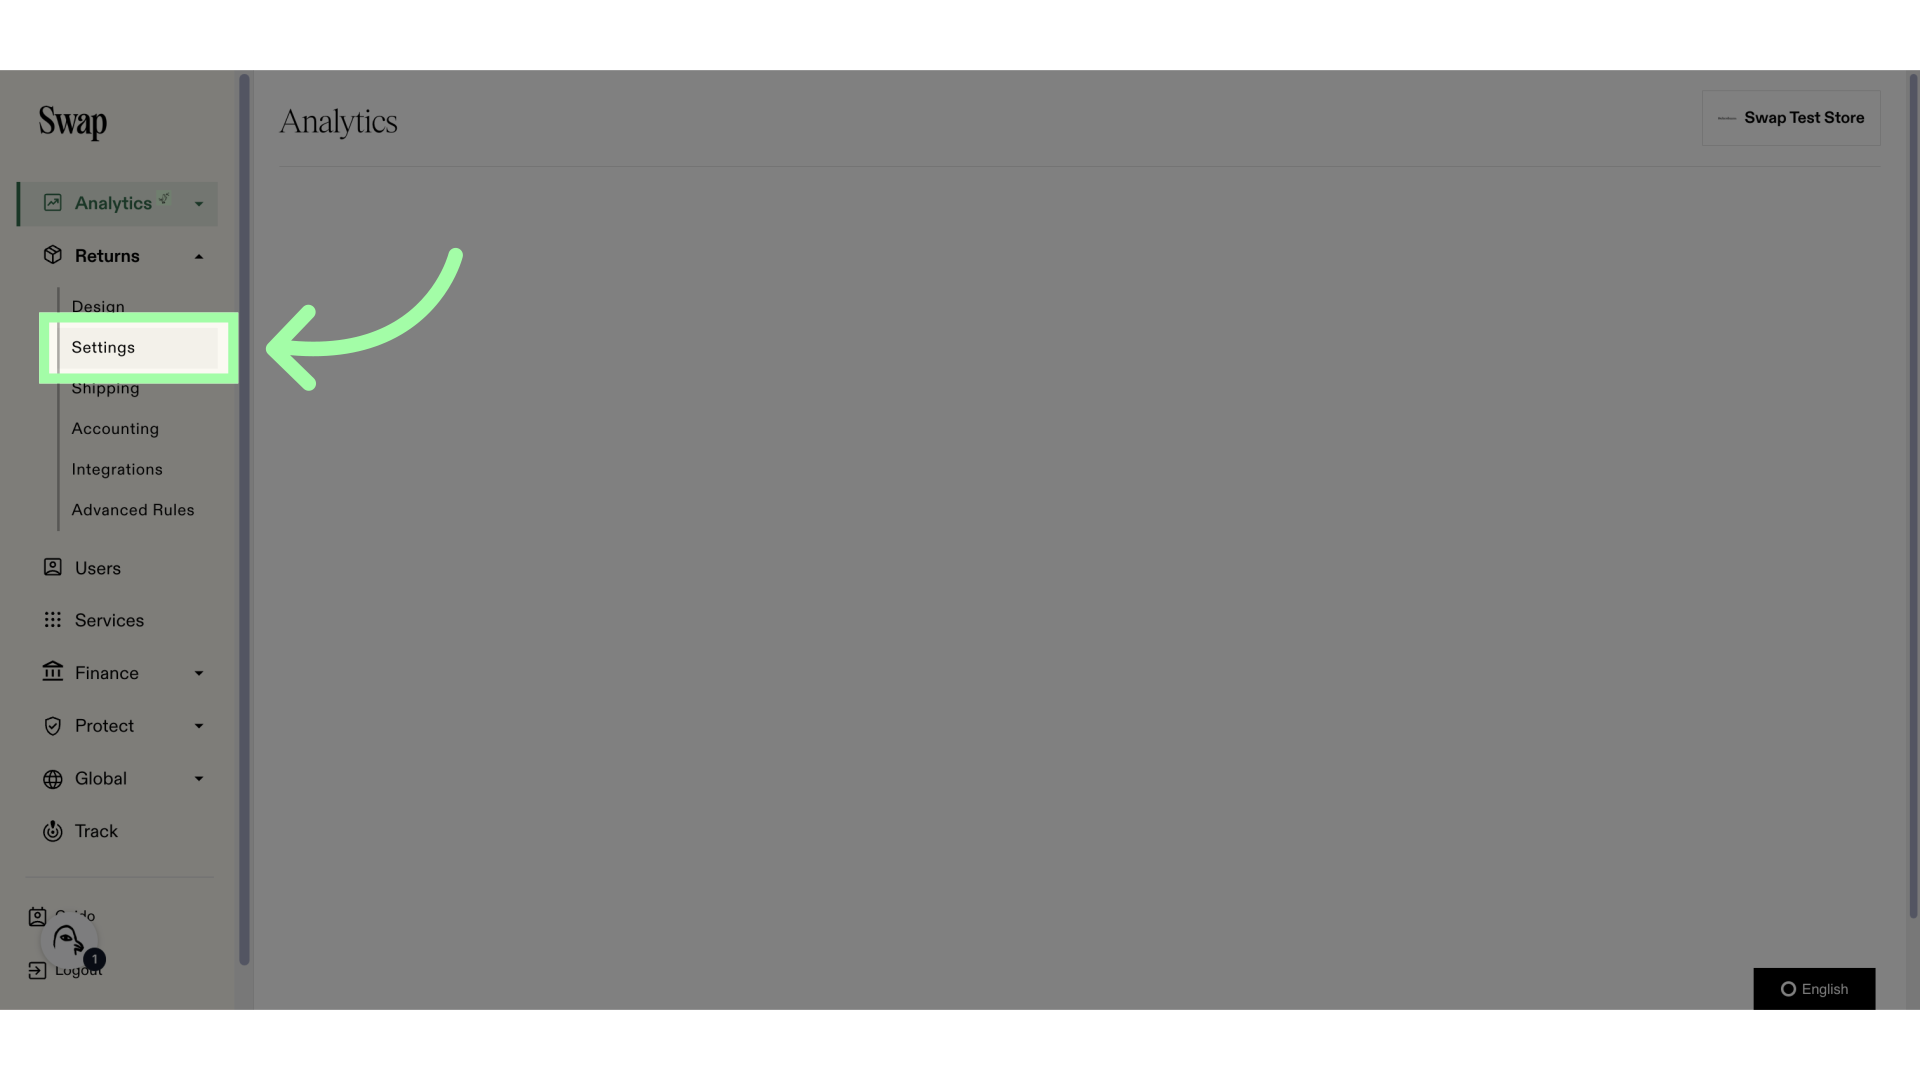
2. Click "Settings"
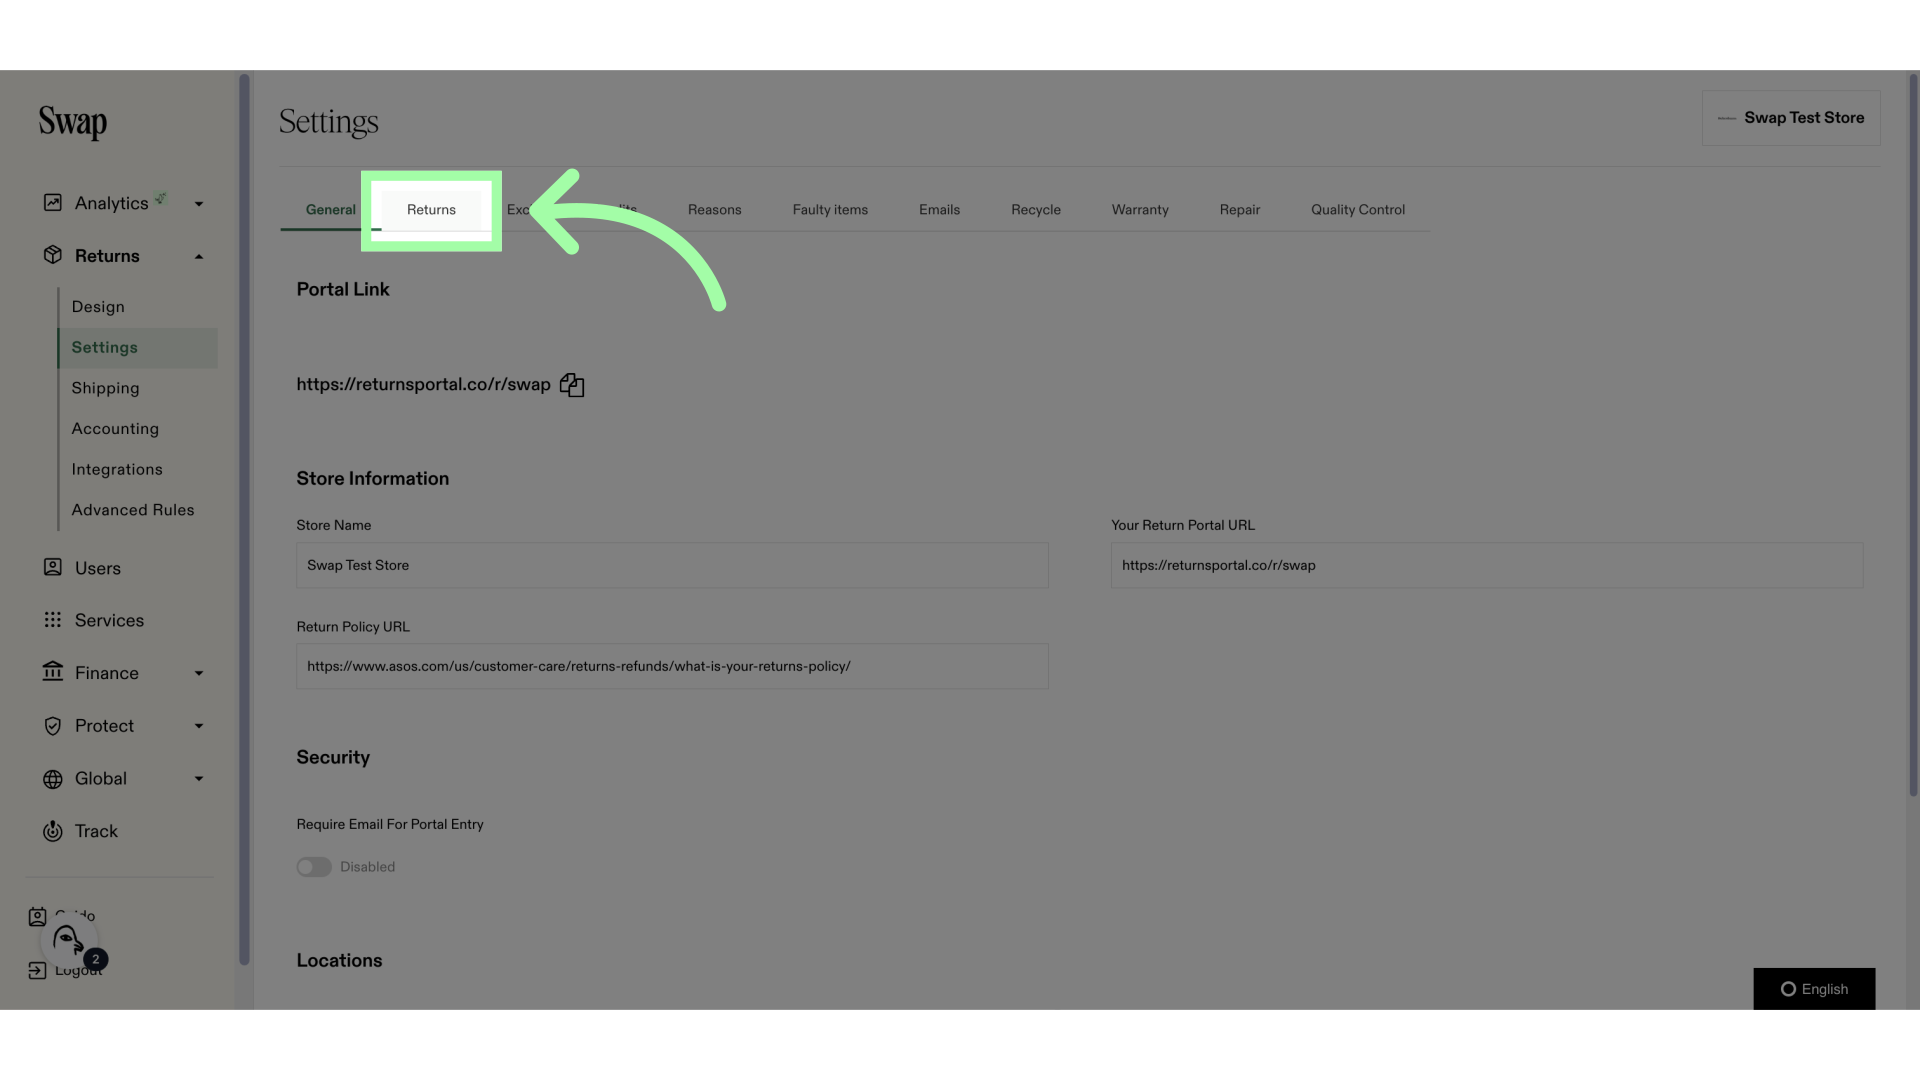
3. Open the "Returns" tab
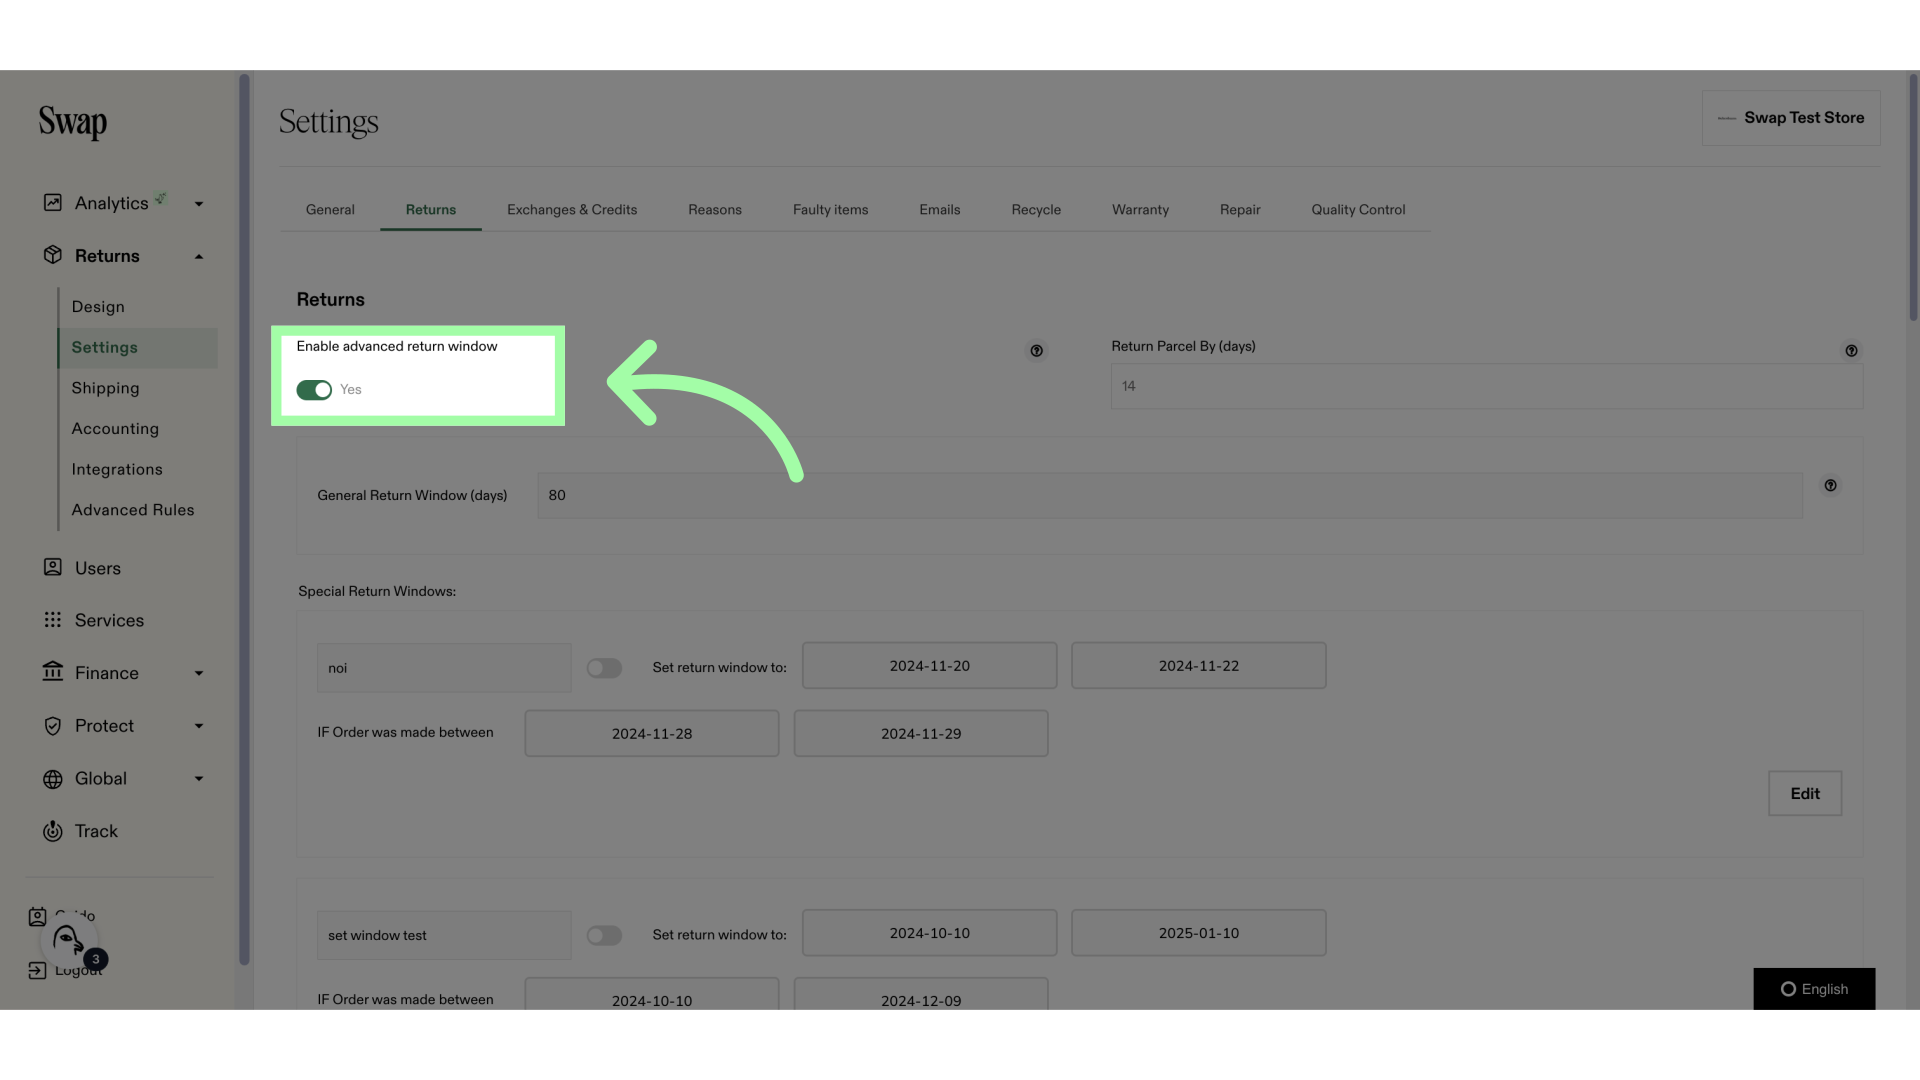
4. You need to have Custom Return Windows enabled
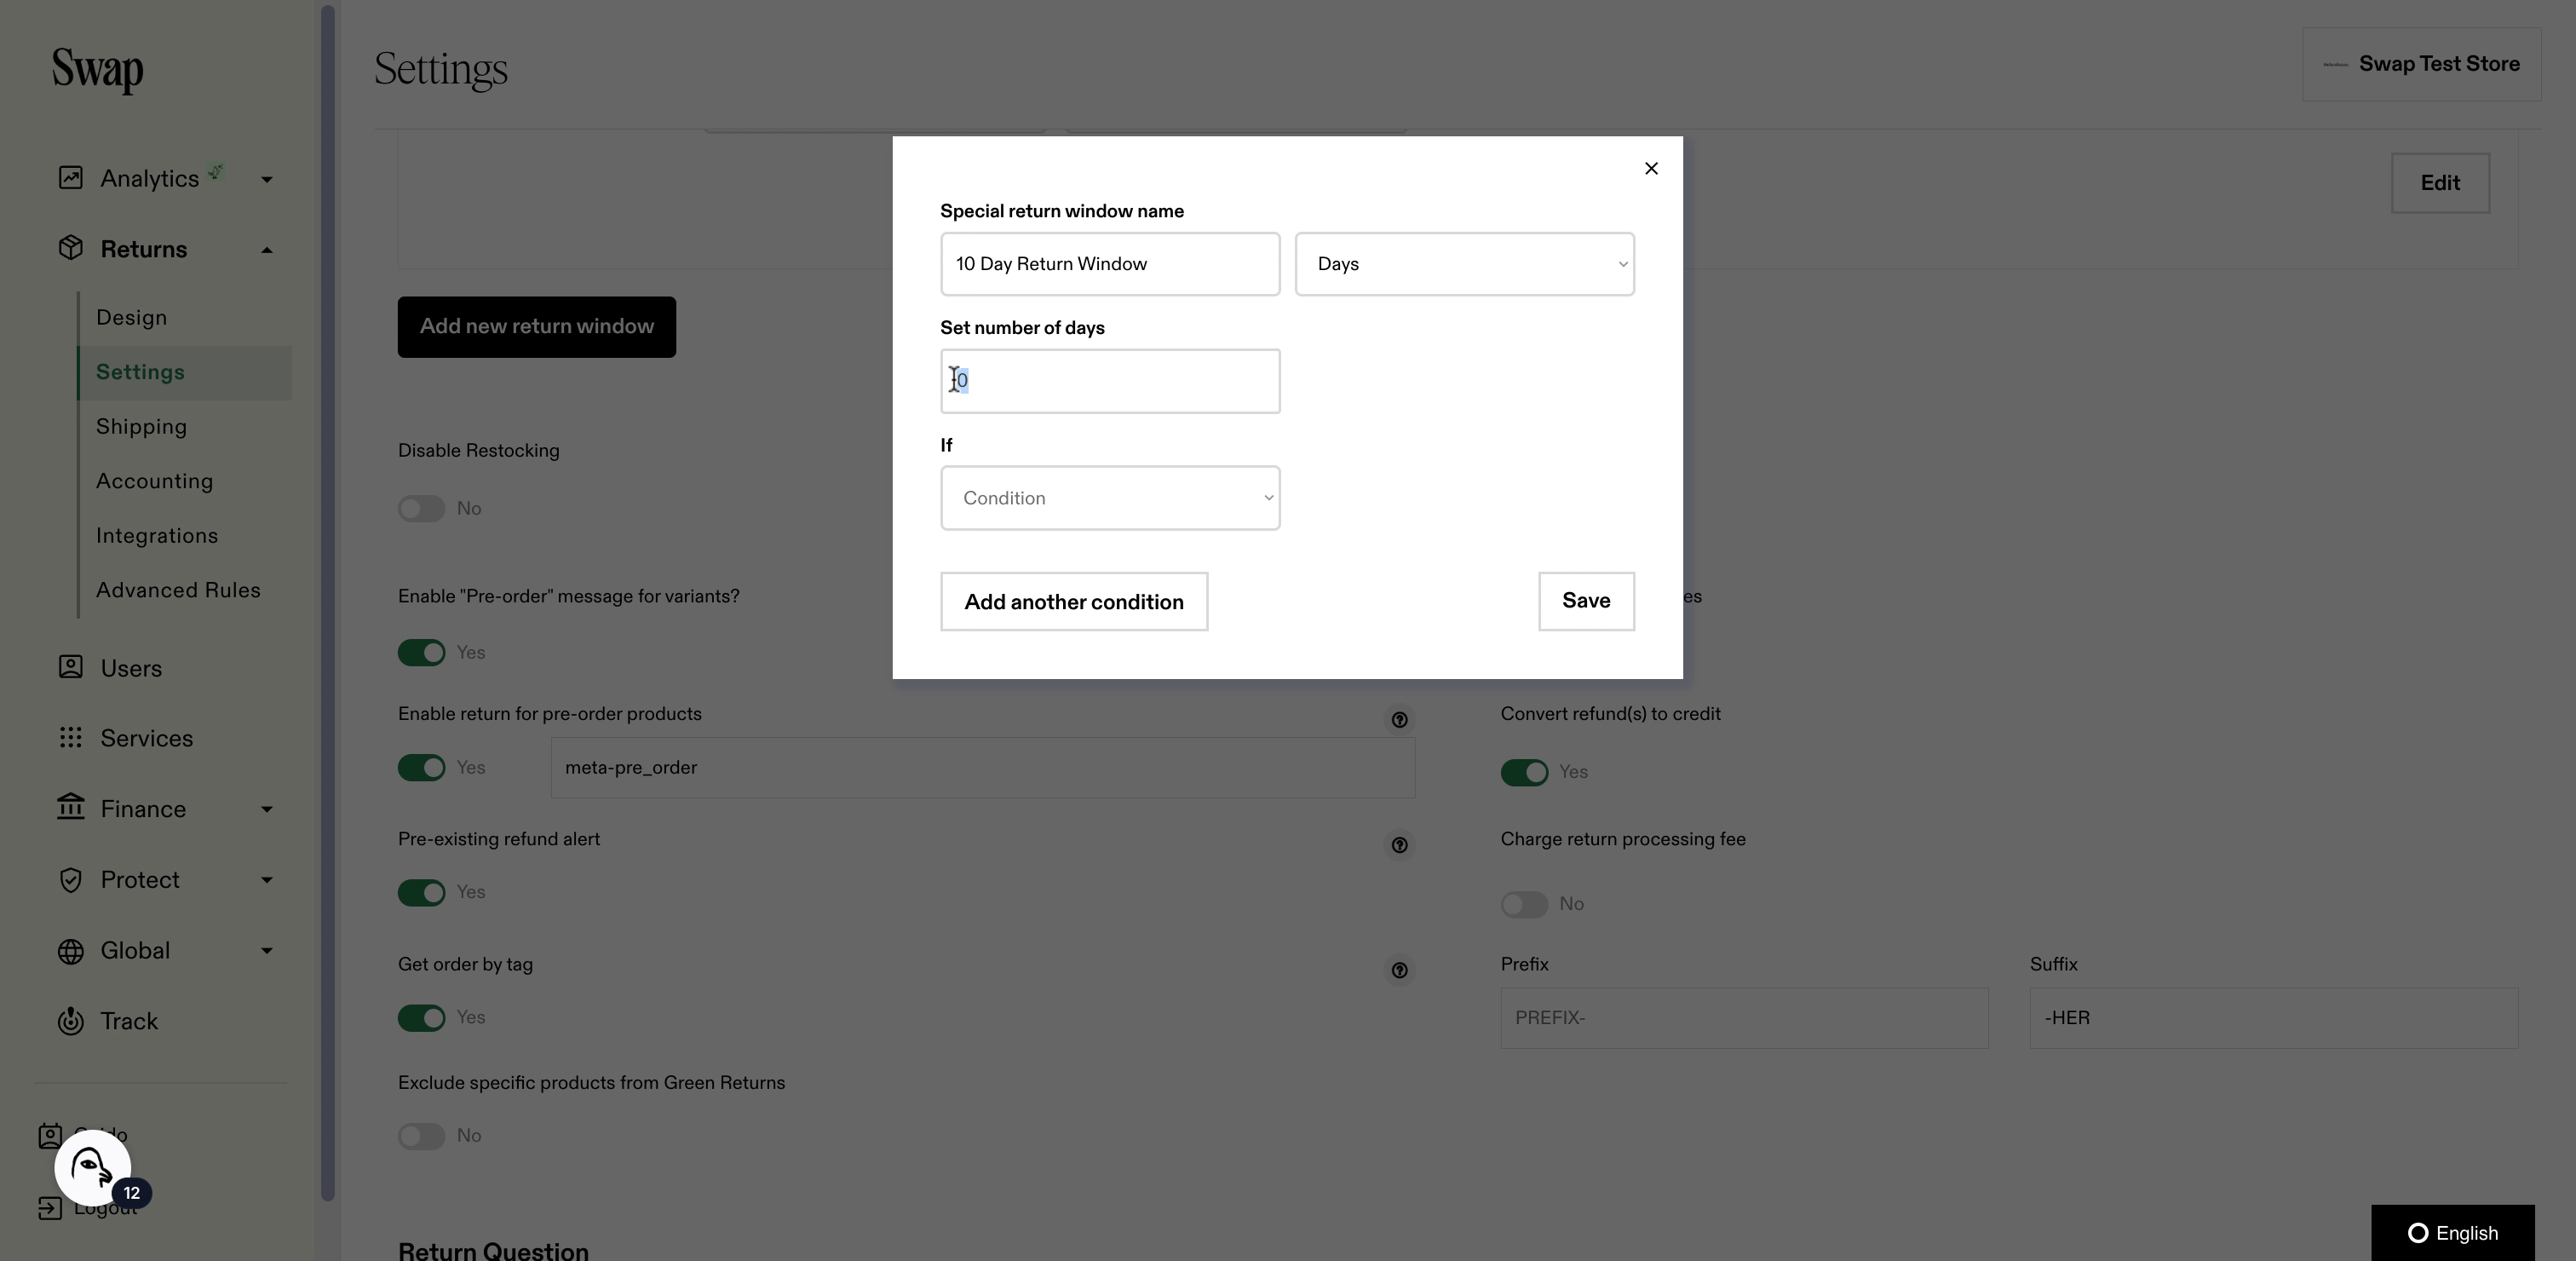
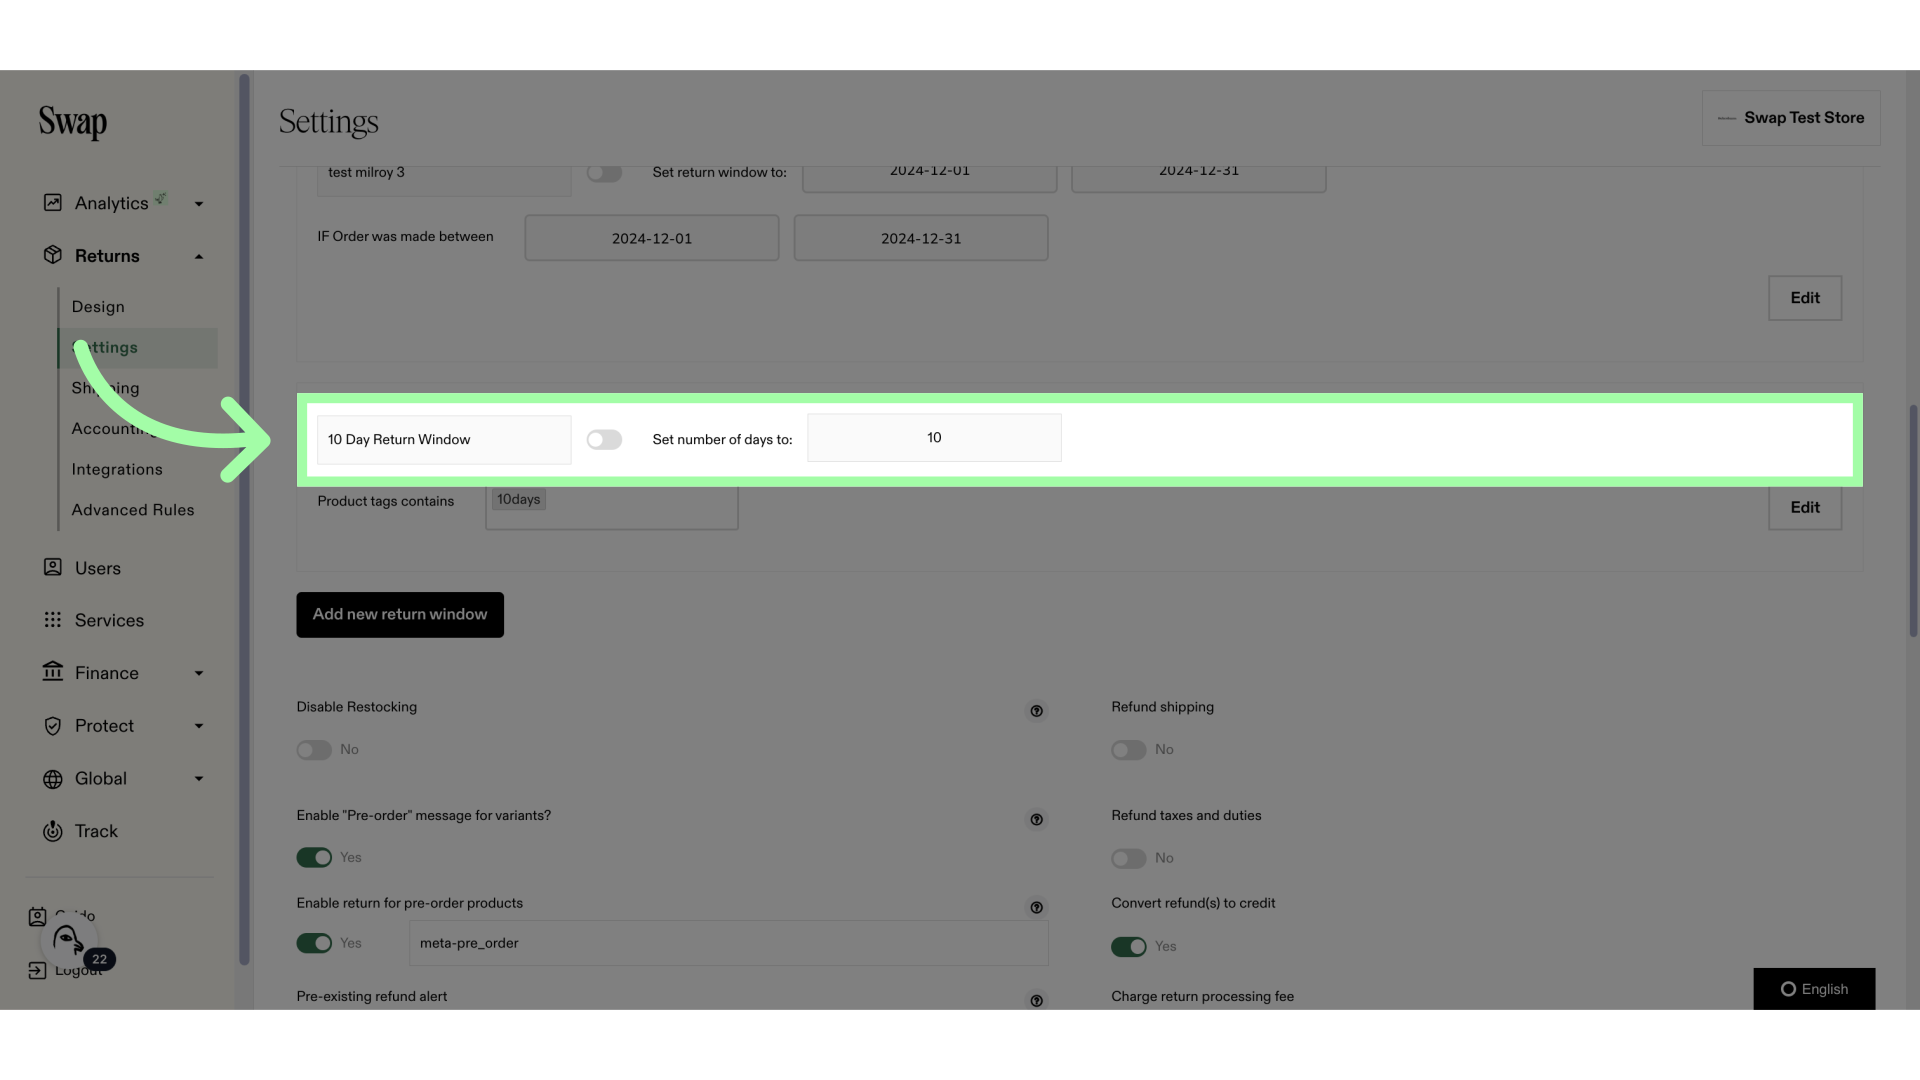
5. Click "Add new return window"
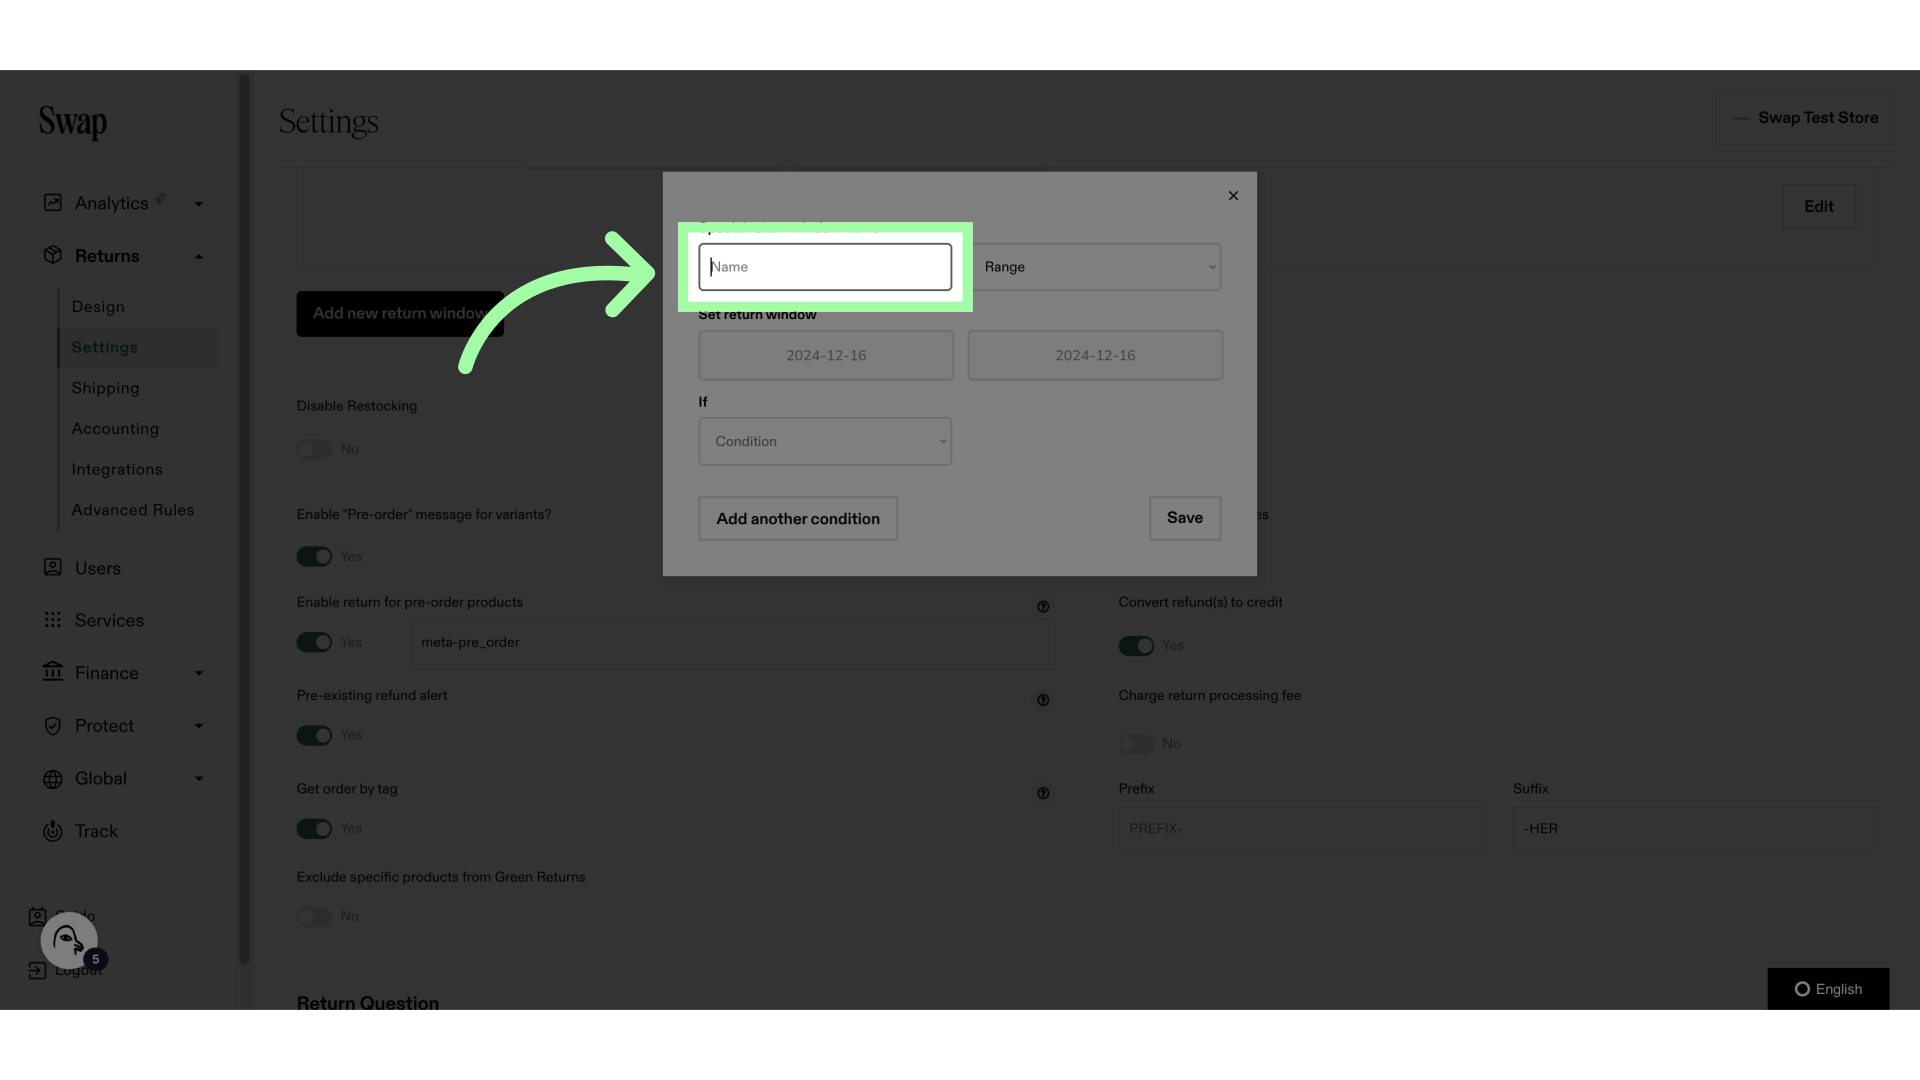
6. Add a name to your Custom Return Window
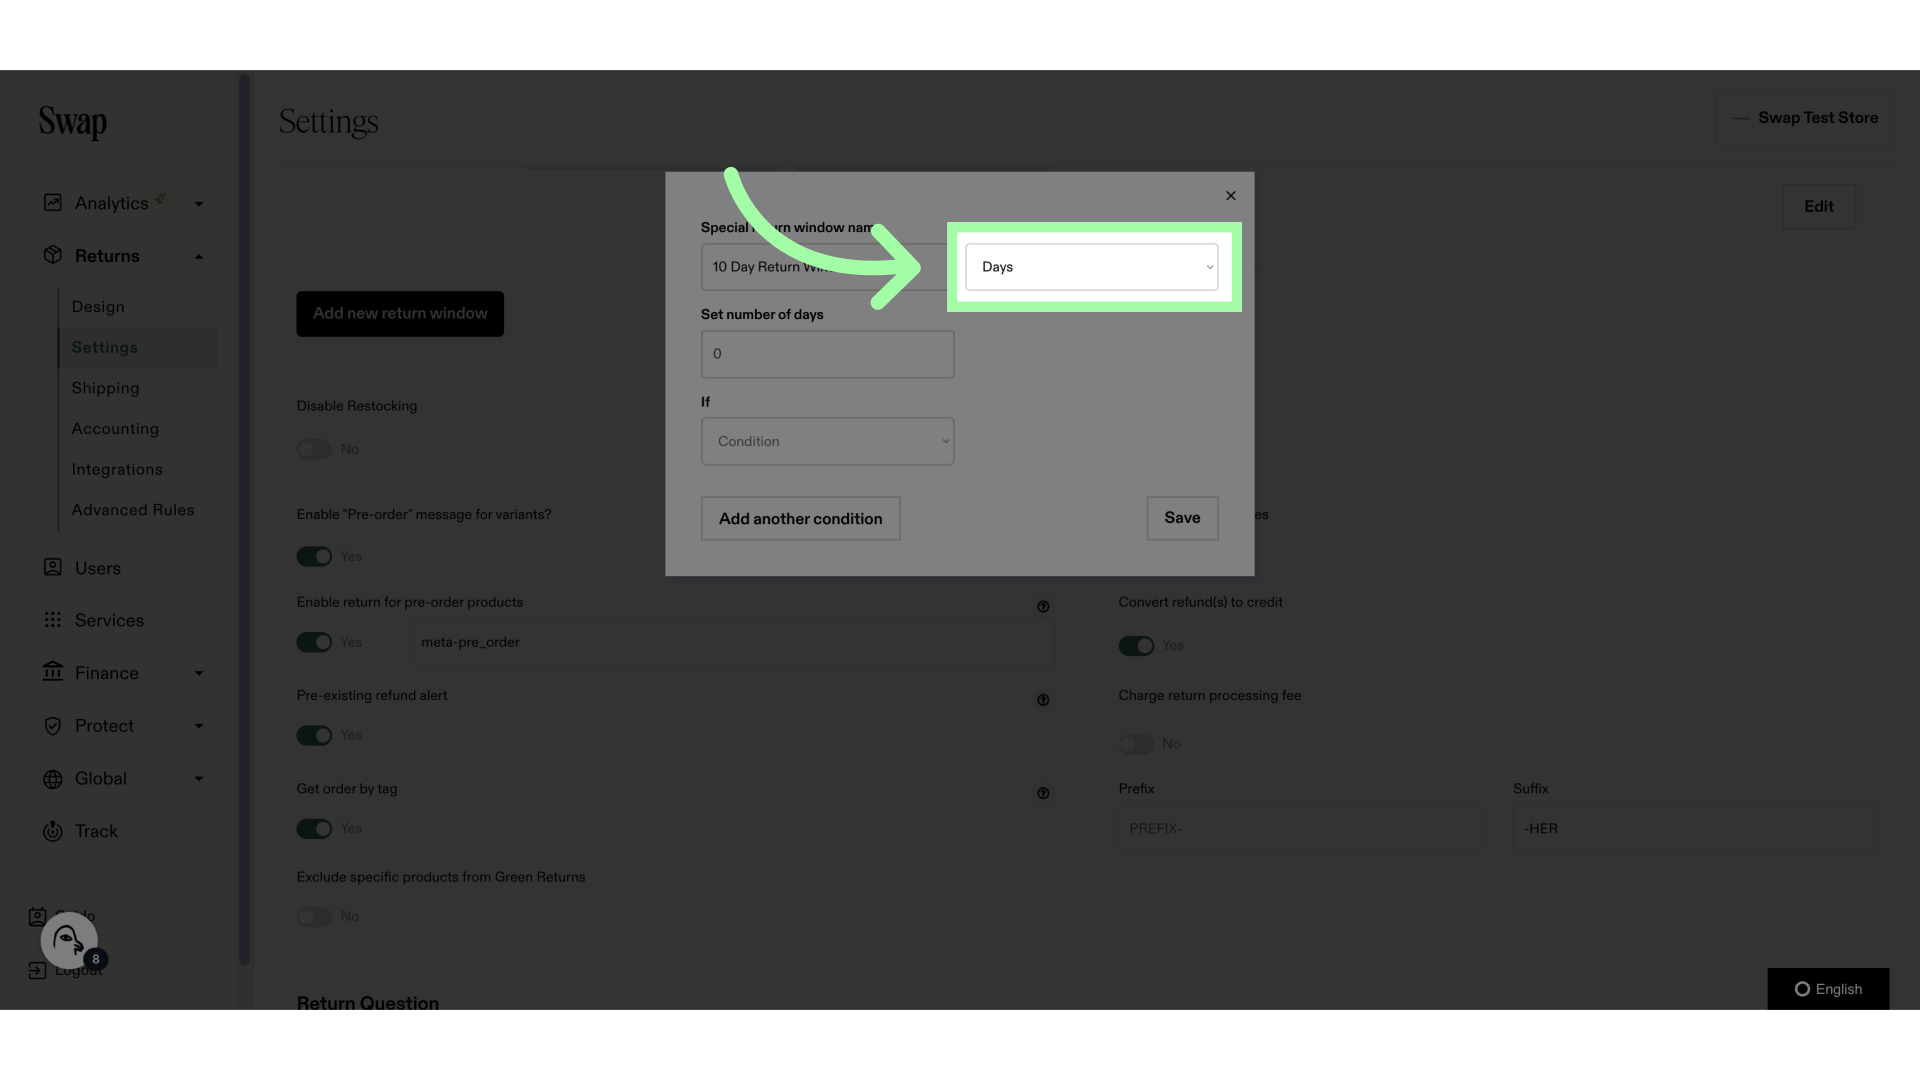
7. Select "Days"
8. Add the number of days here
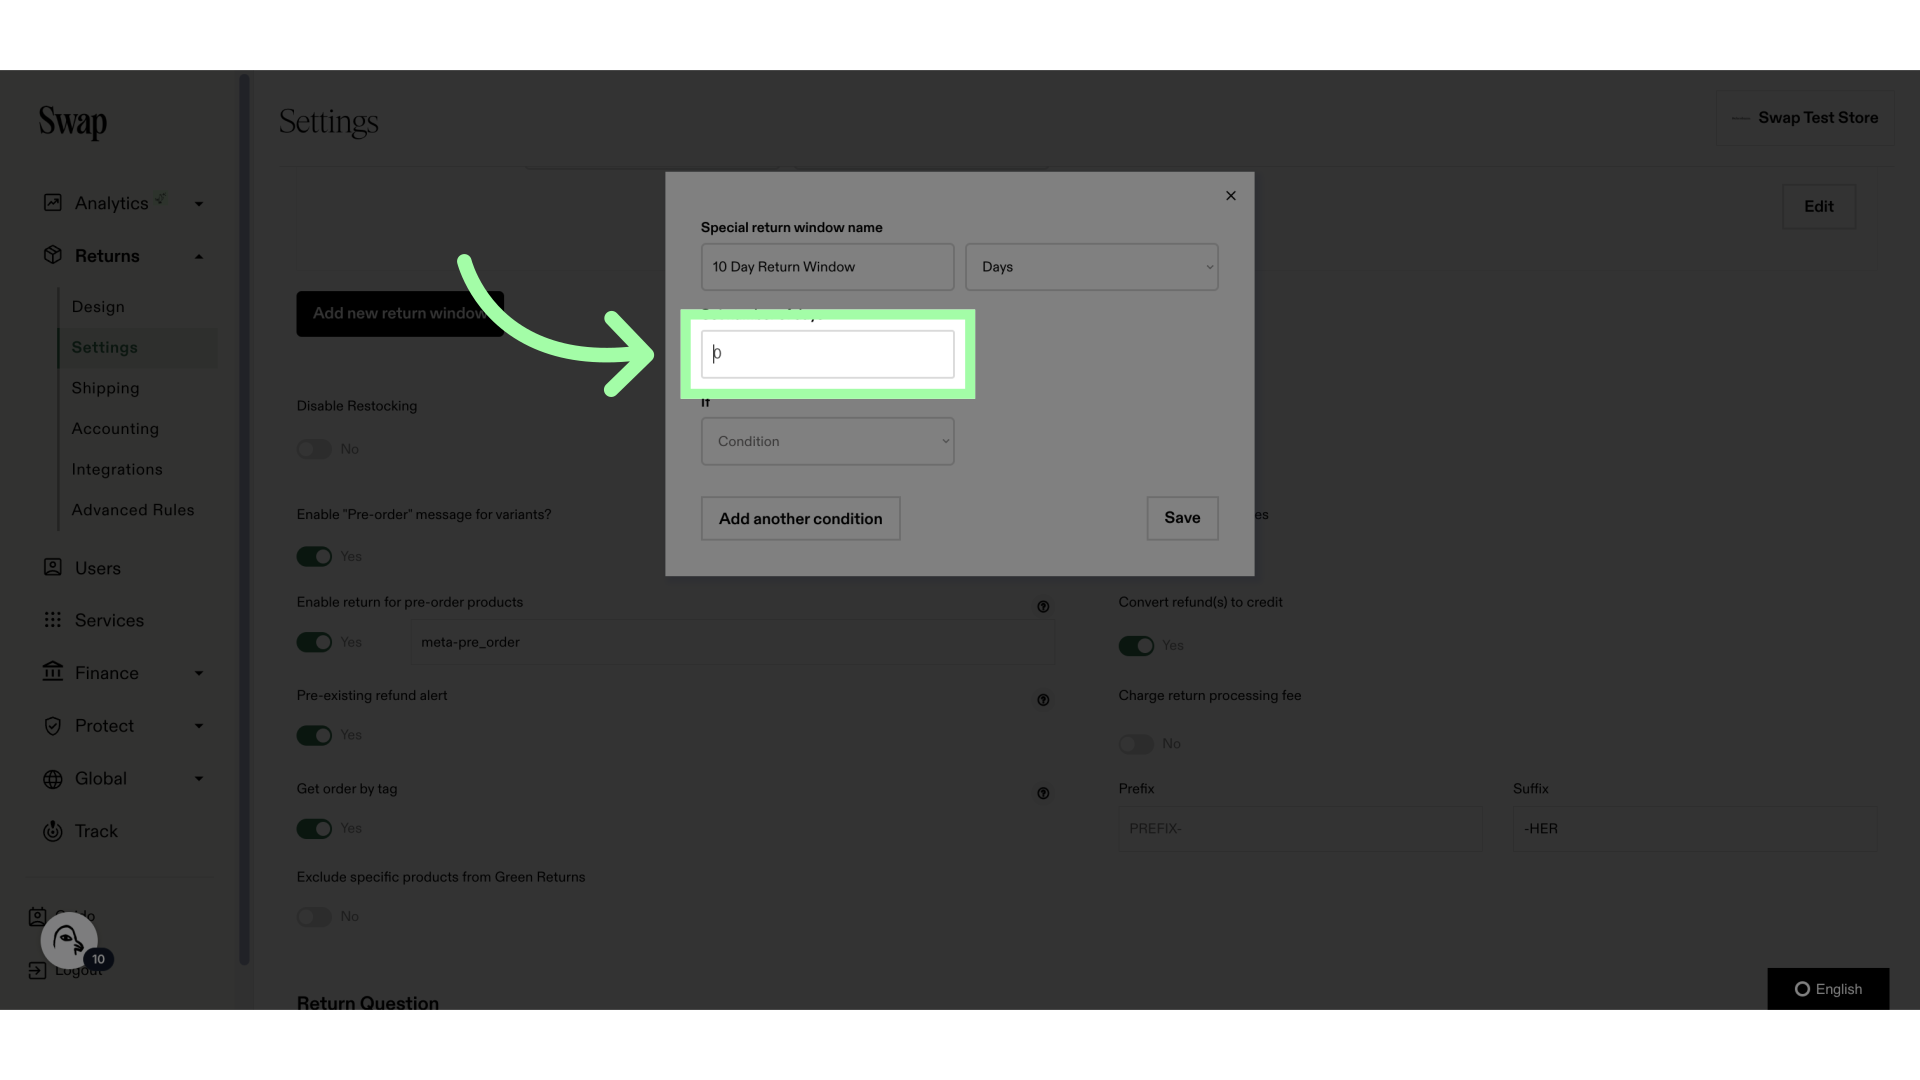
9. Fill "10"
10. We will now add a condition
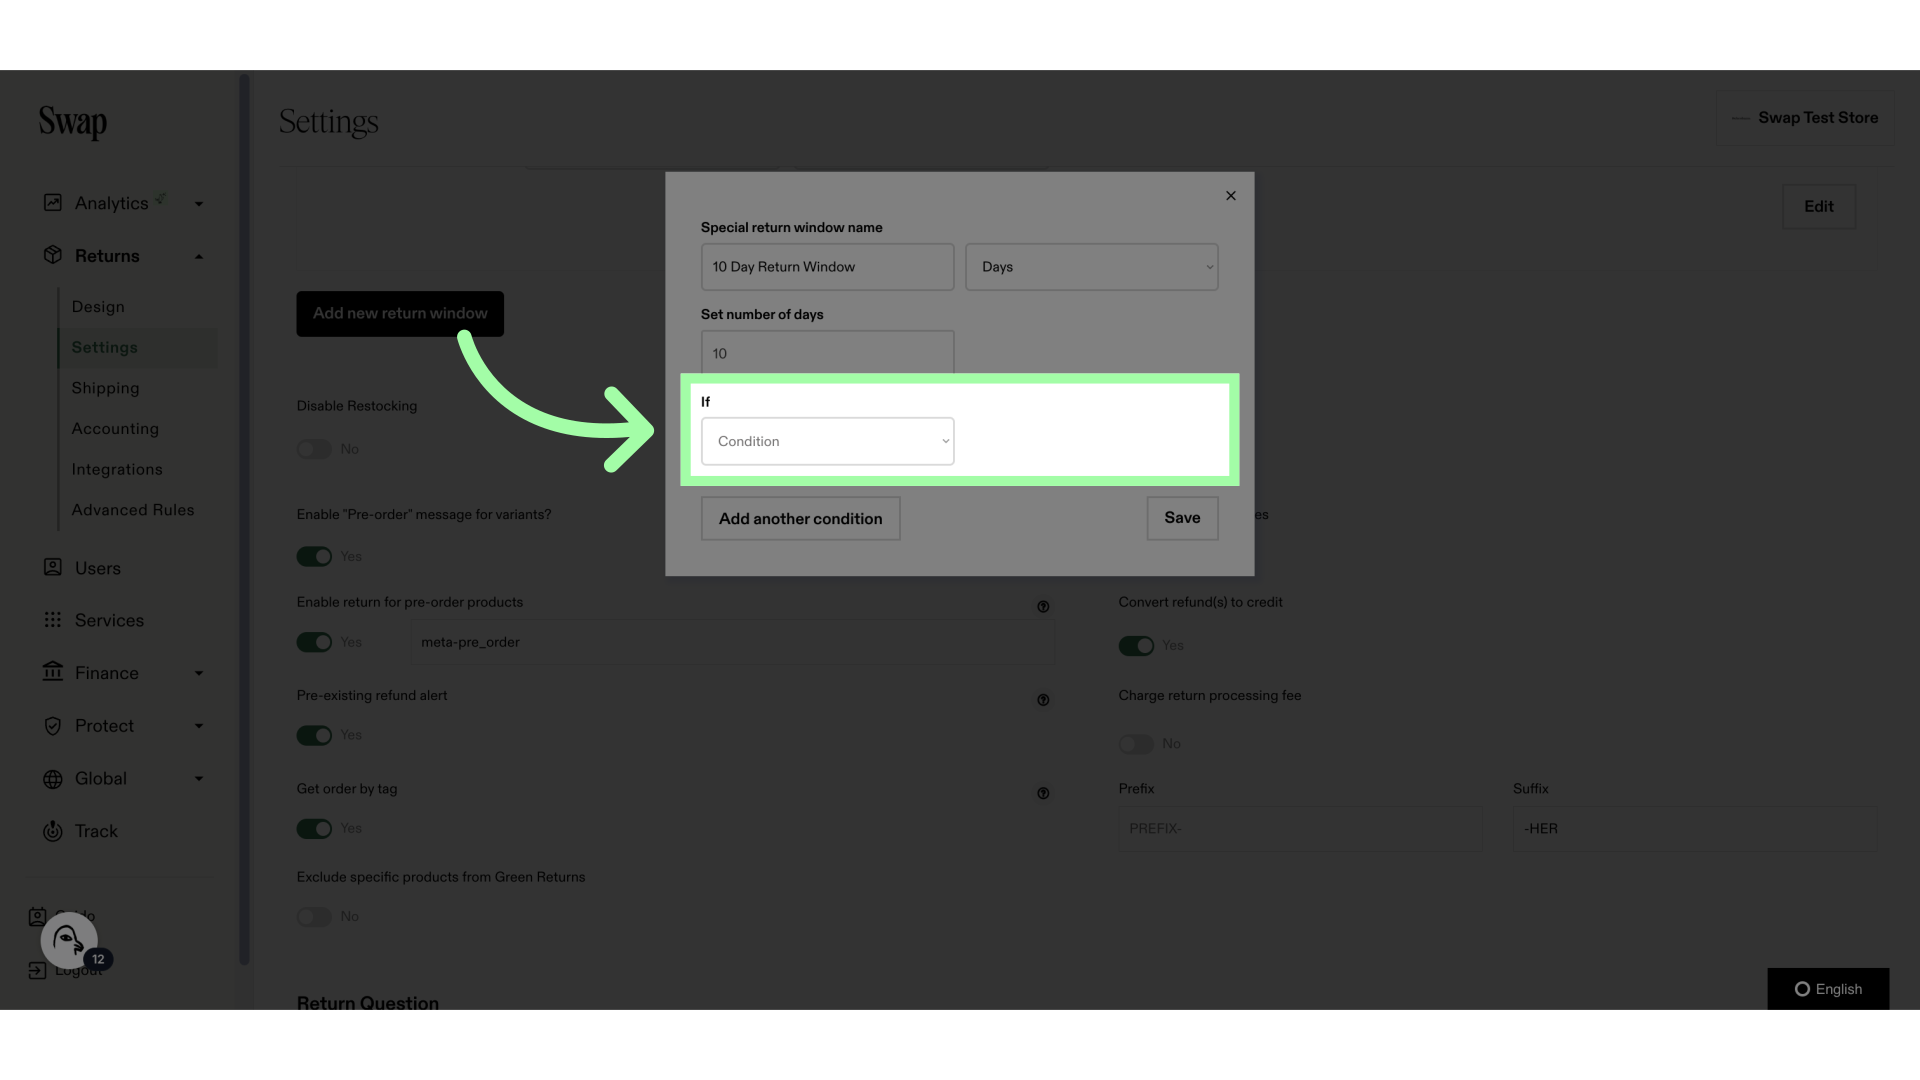
11. Select "Product tag contains"
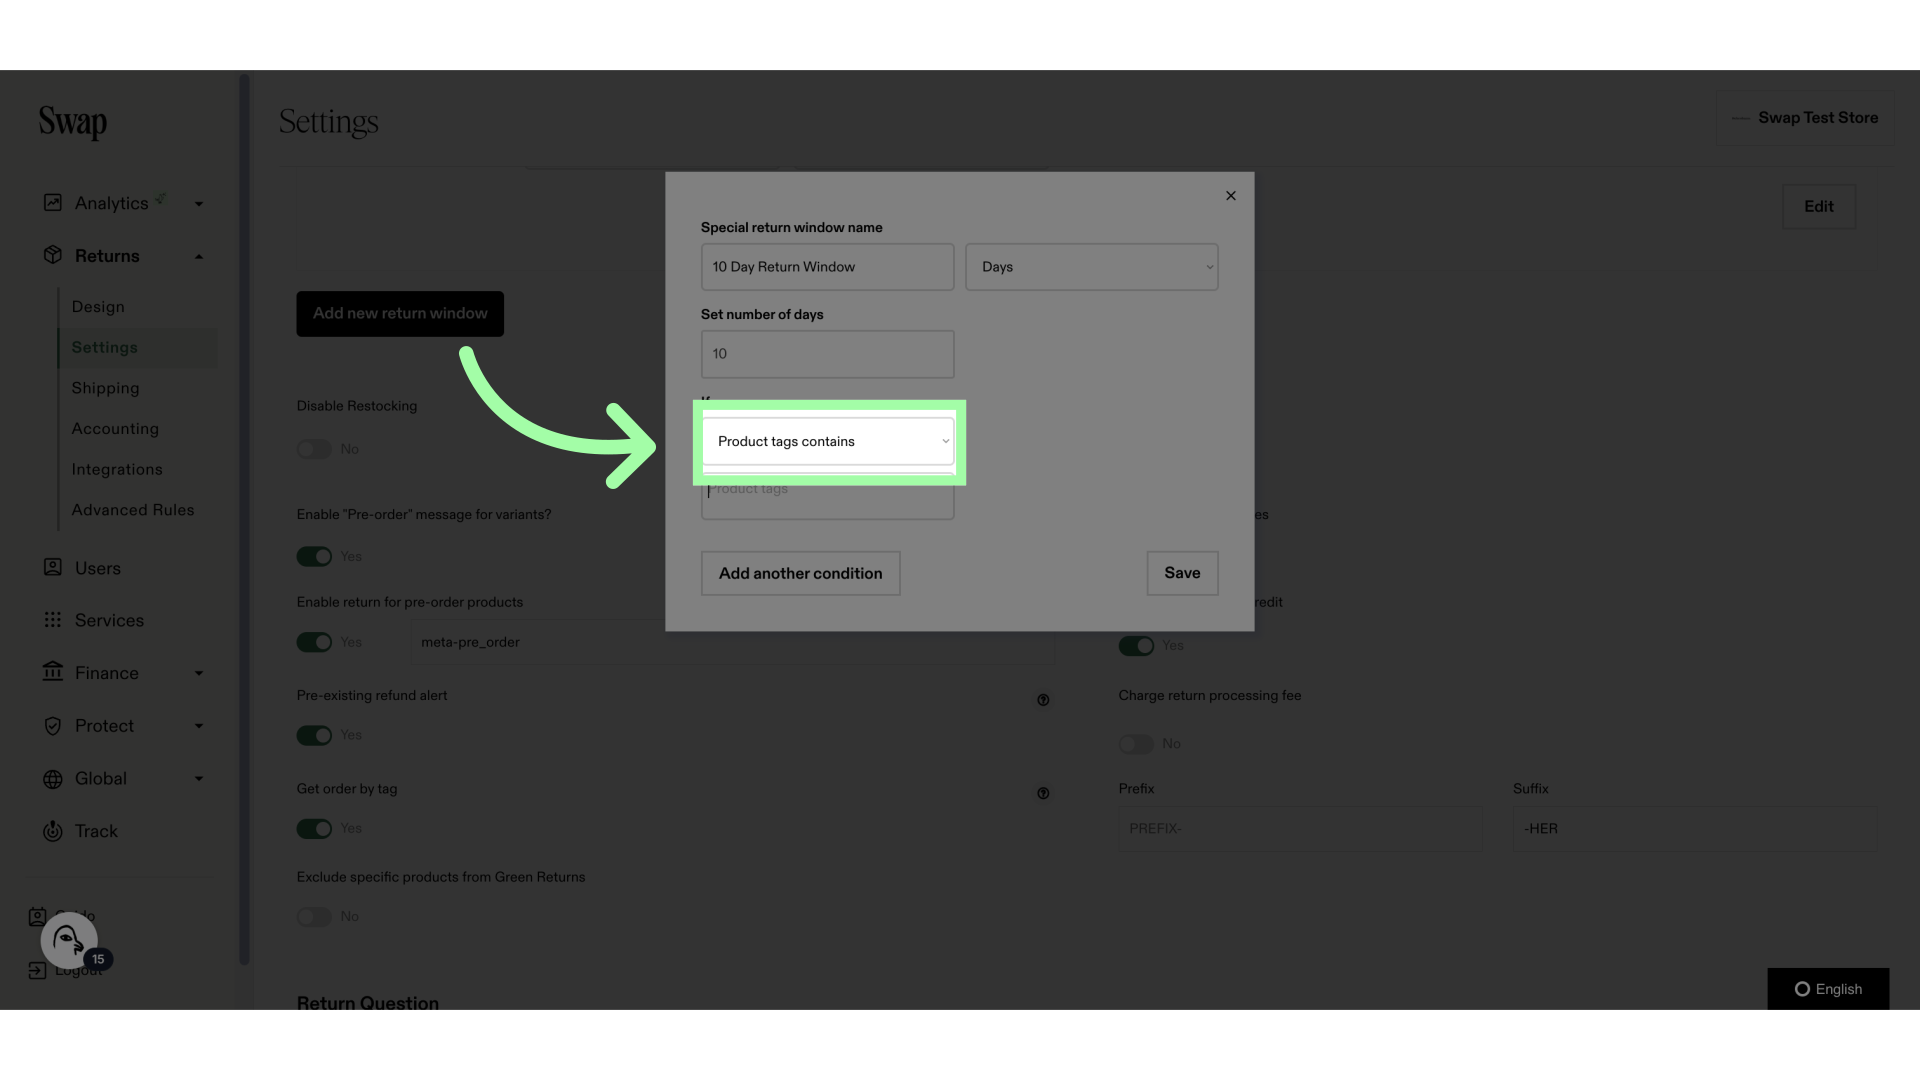
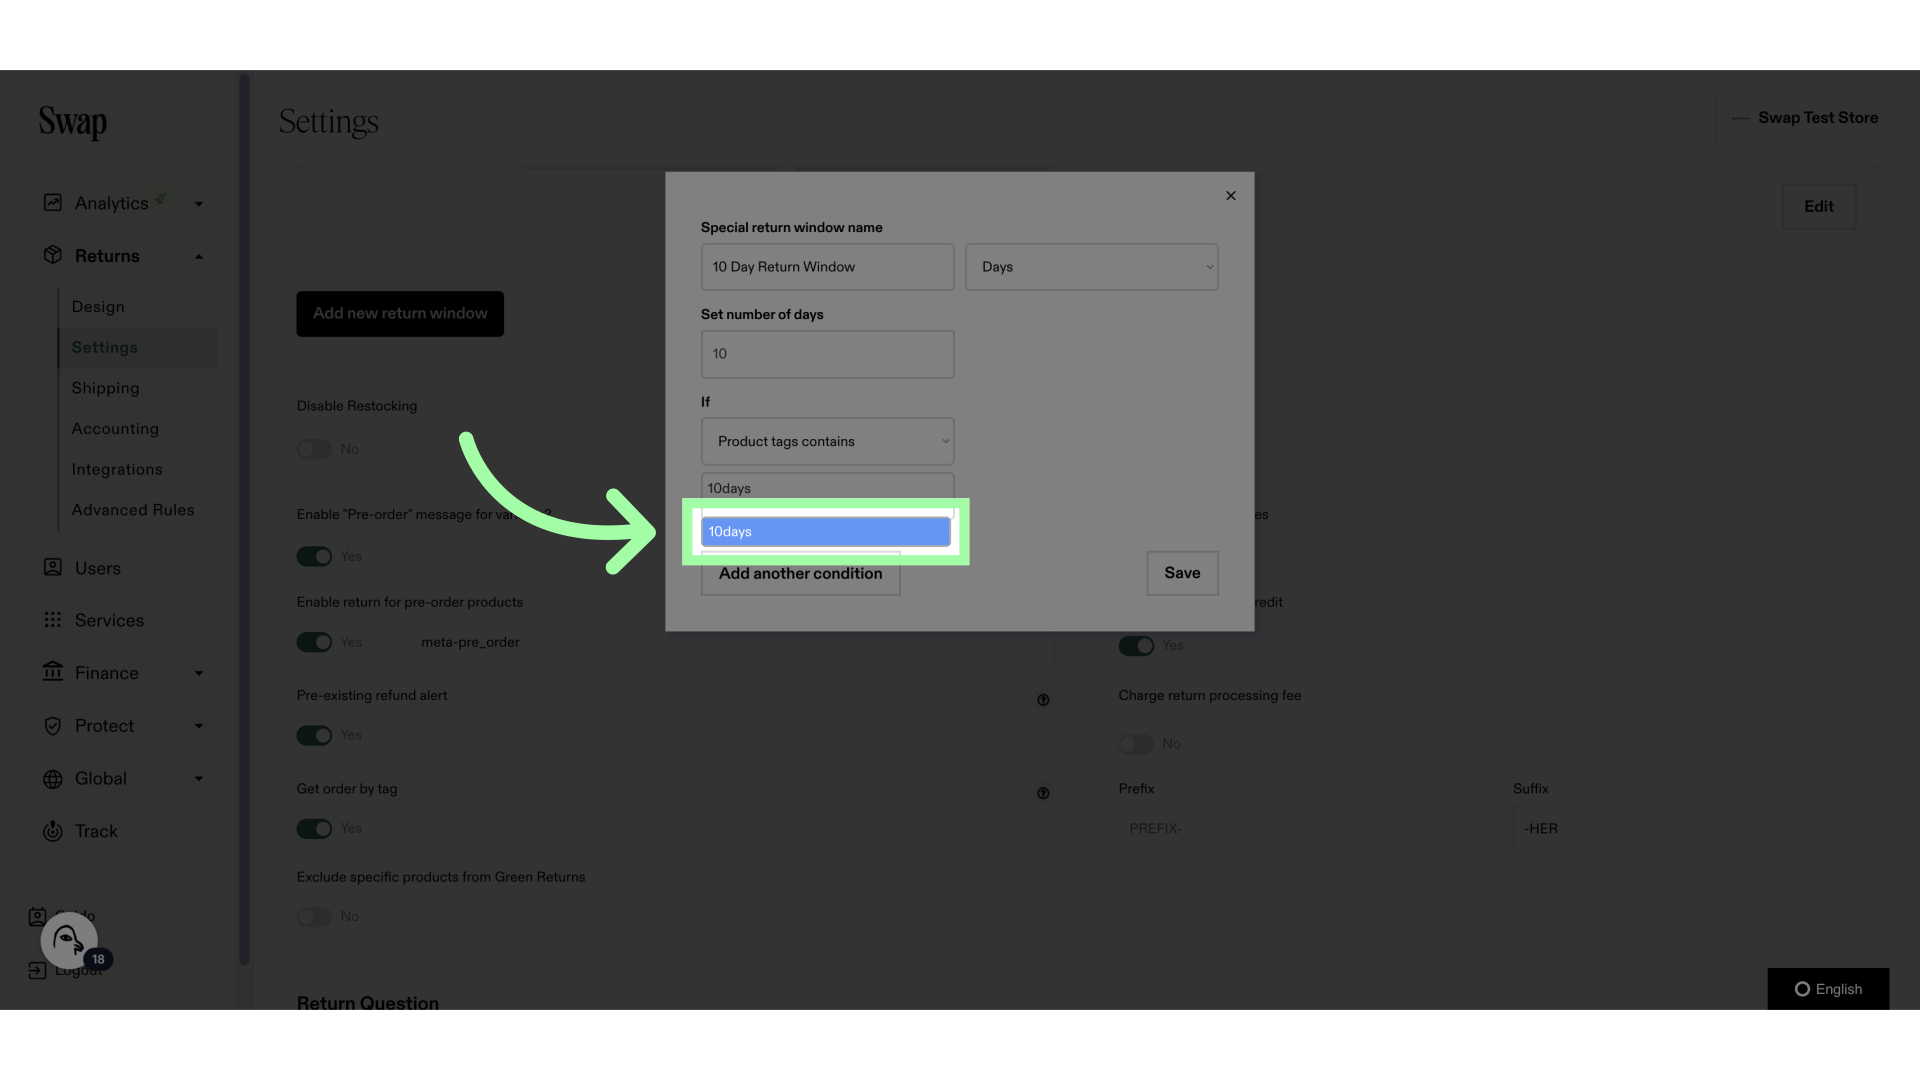
12. Add the Product Tag here
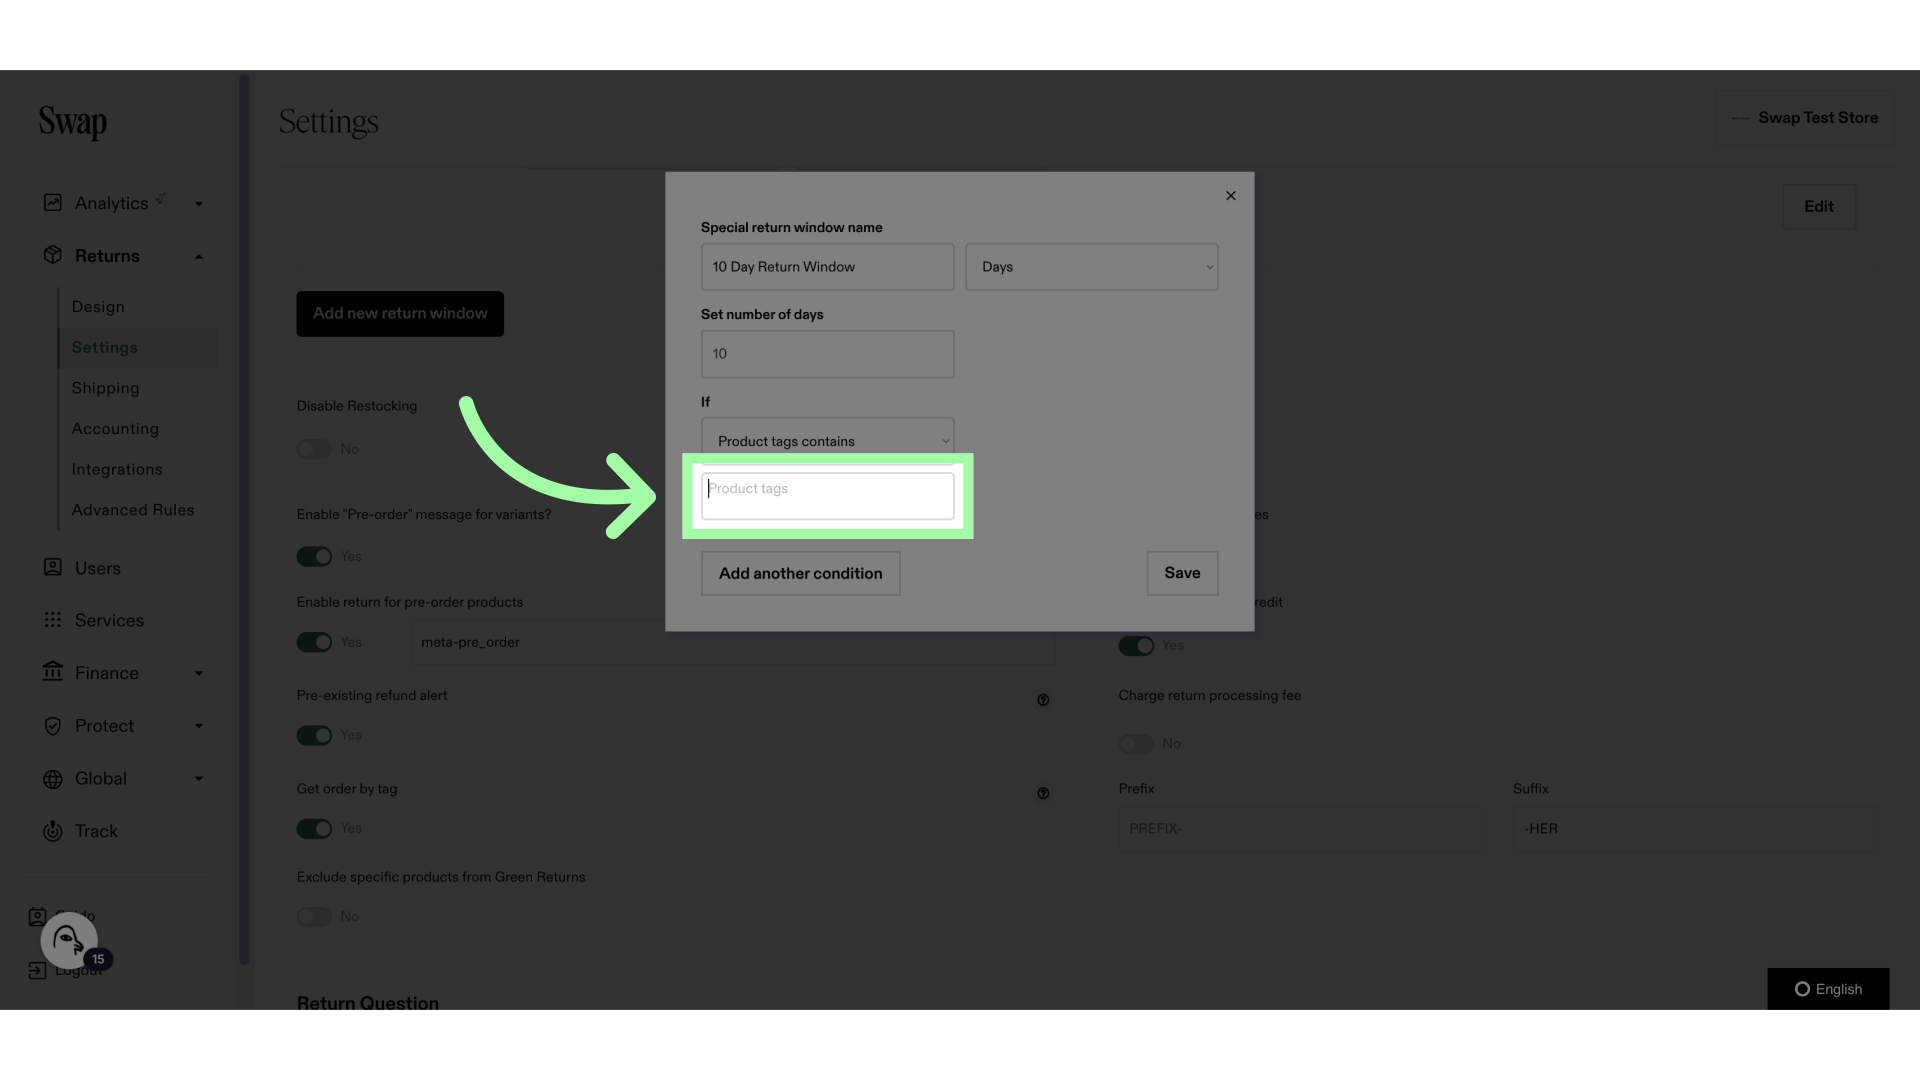
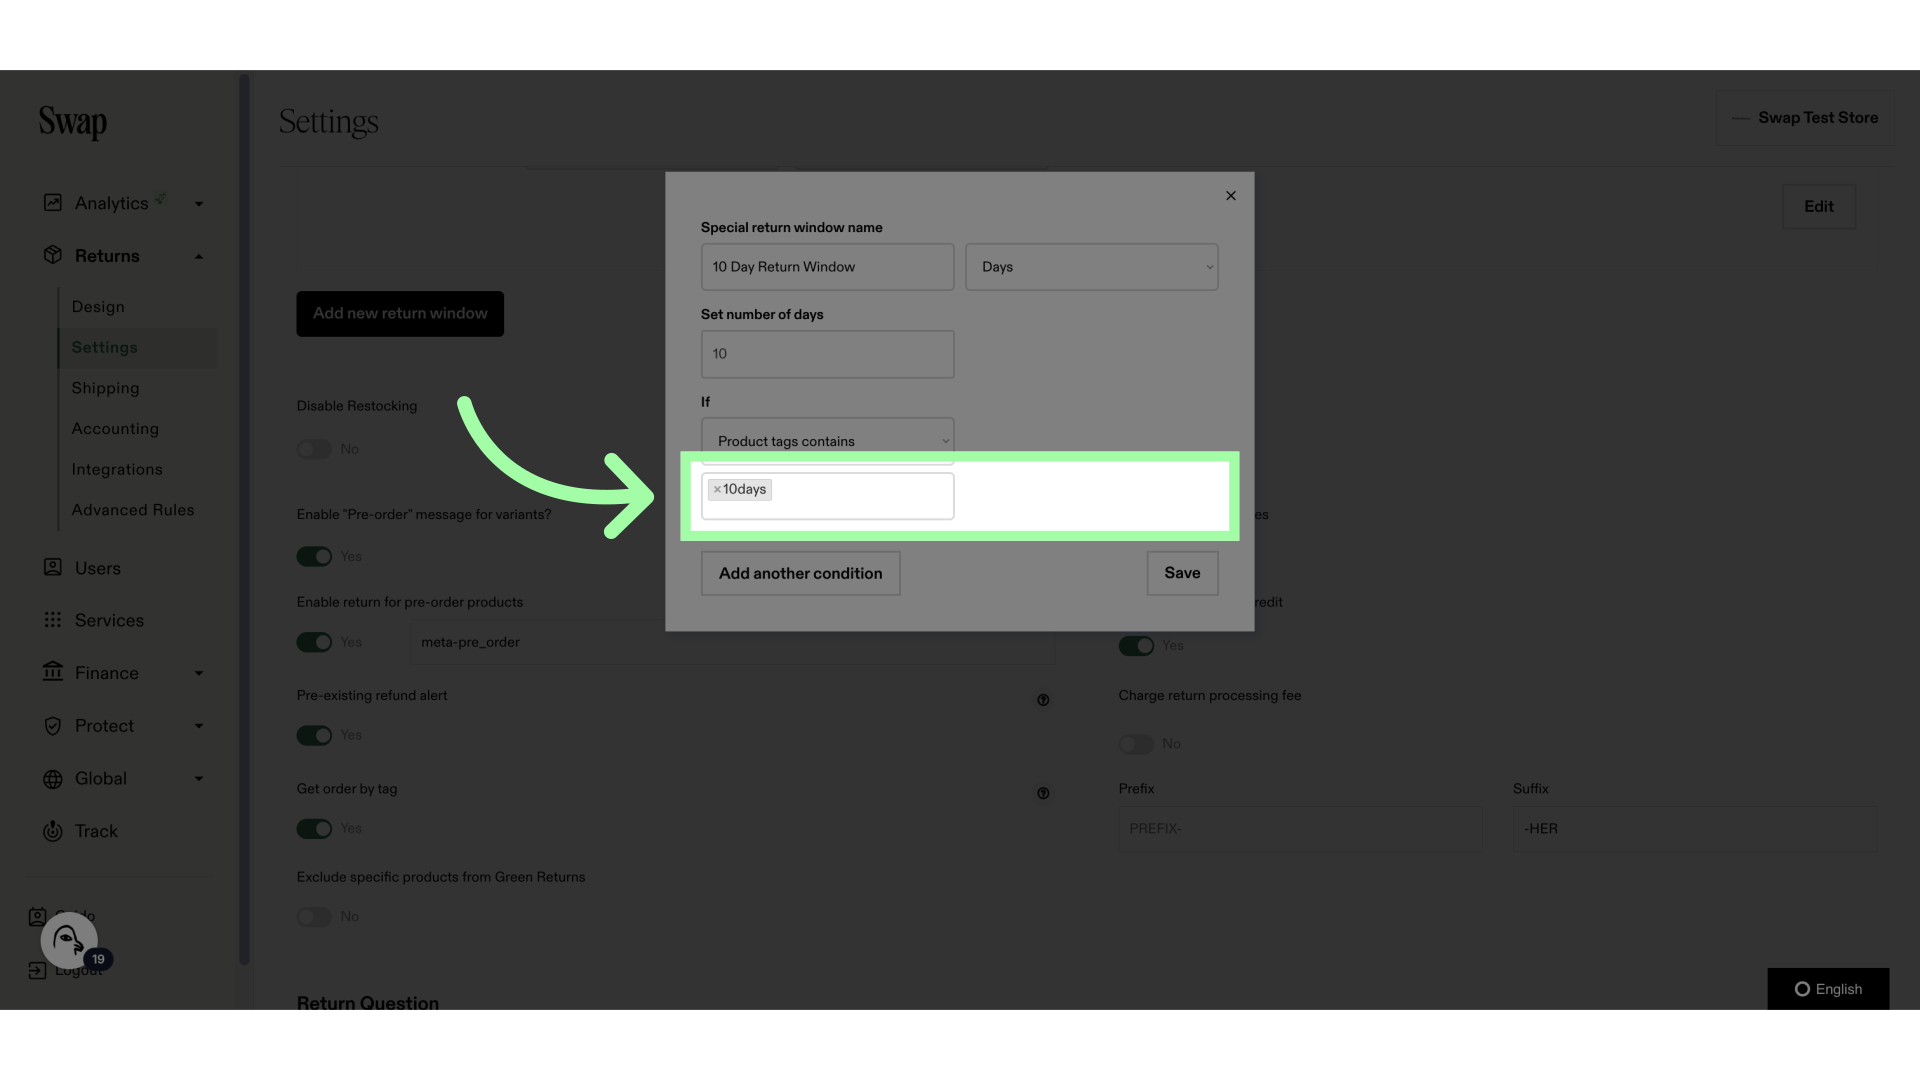
13. Fill "10days"
14. Click "10days" to add the tag
15. You can add more tags, or remove a tag by clicking the x
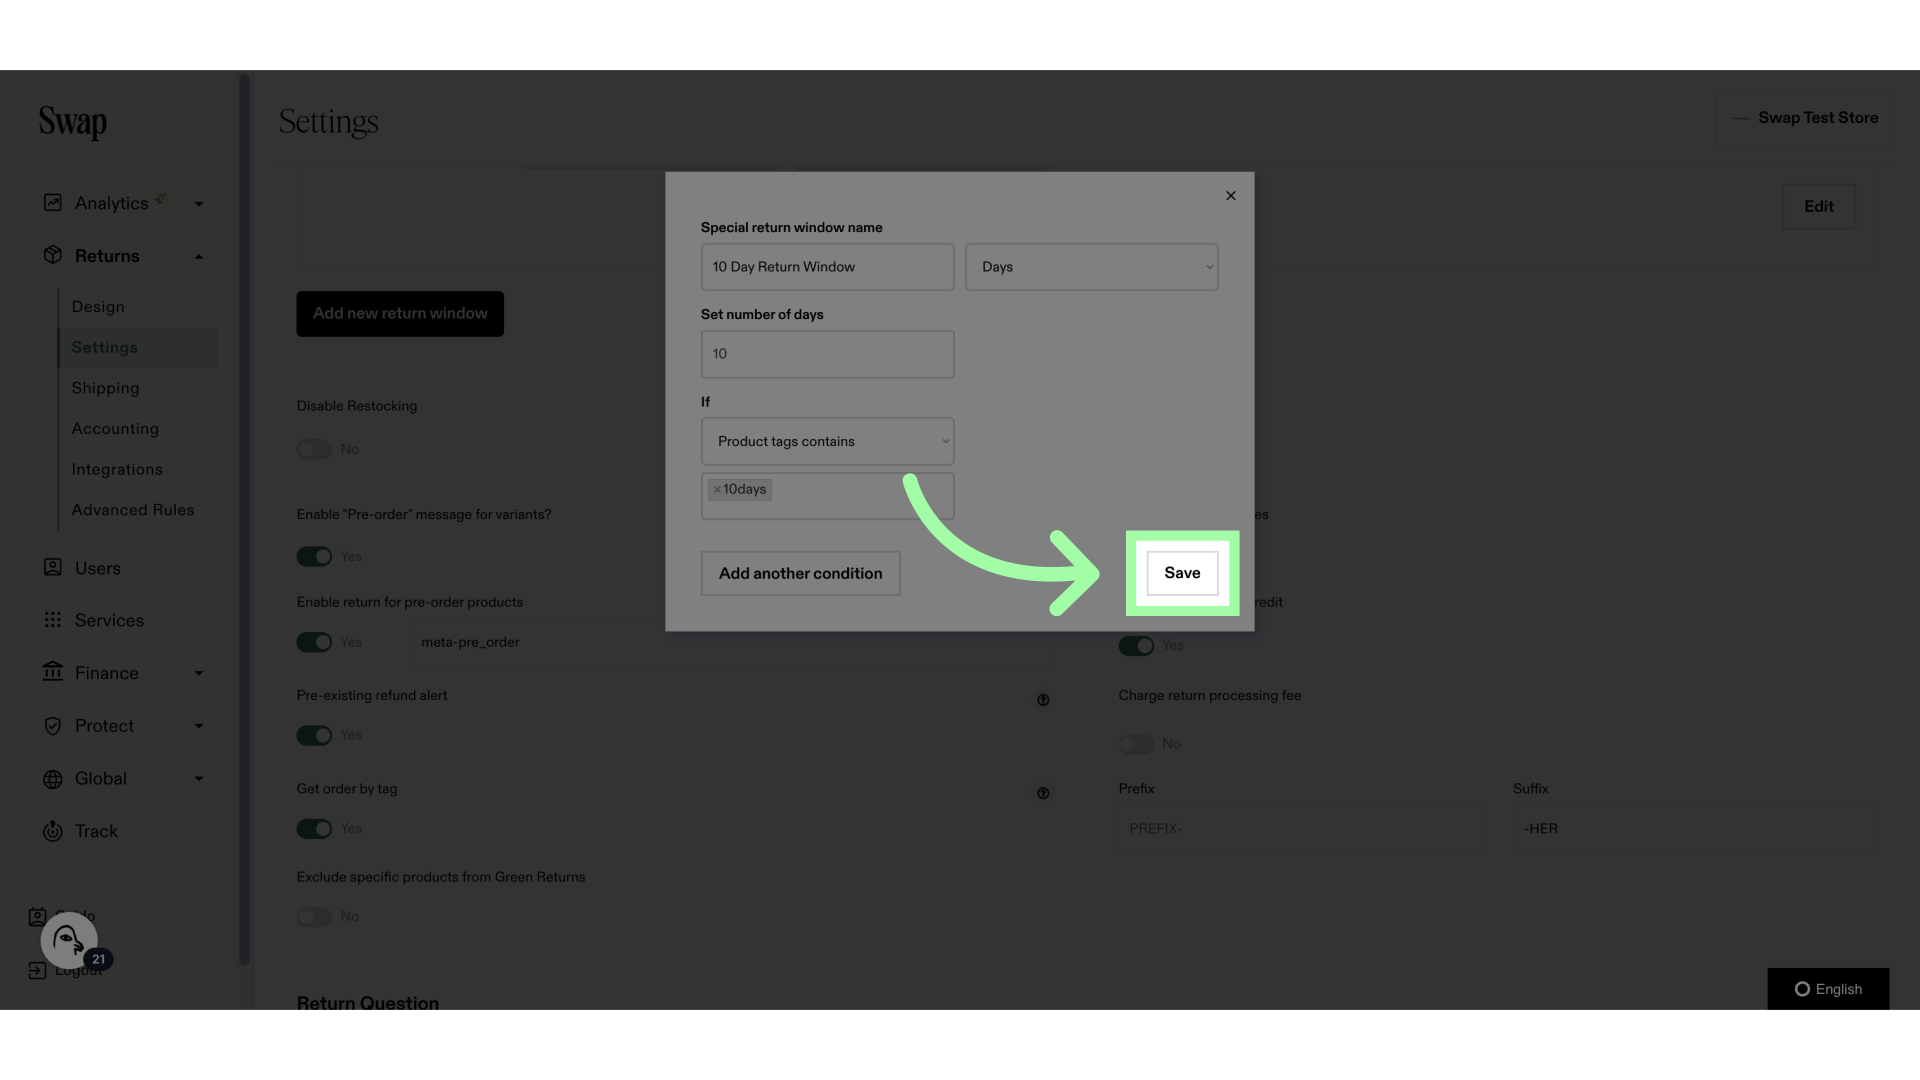
16. Click "Save"
17. Your new Custom Return Window will show here
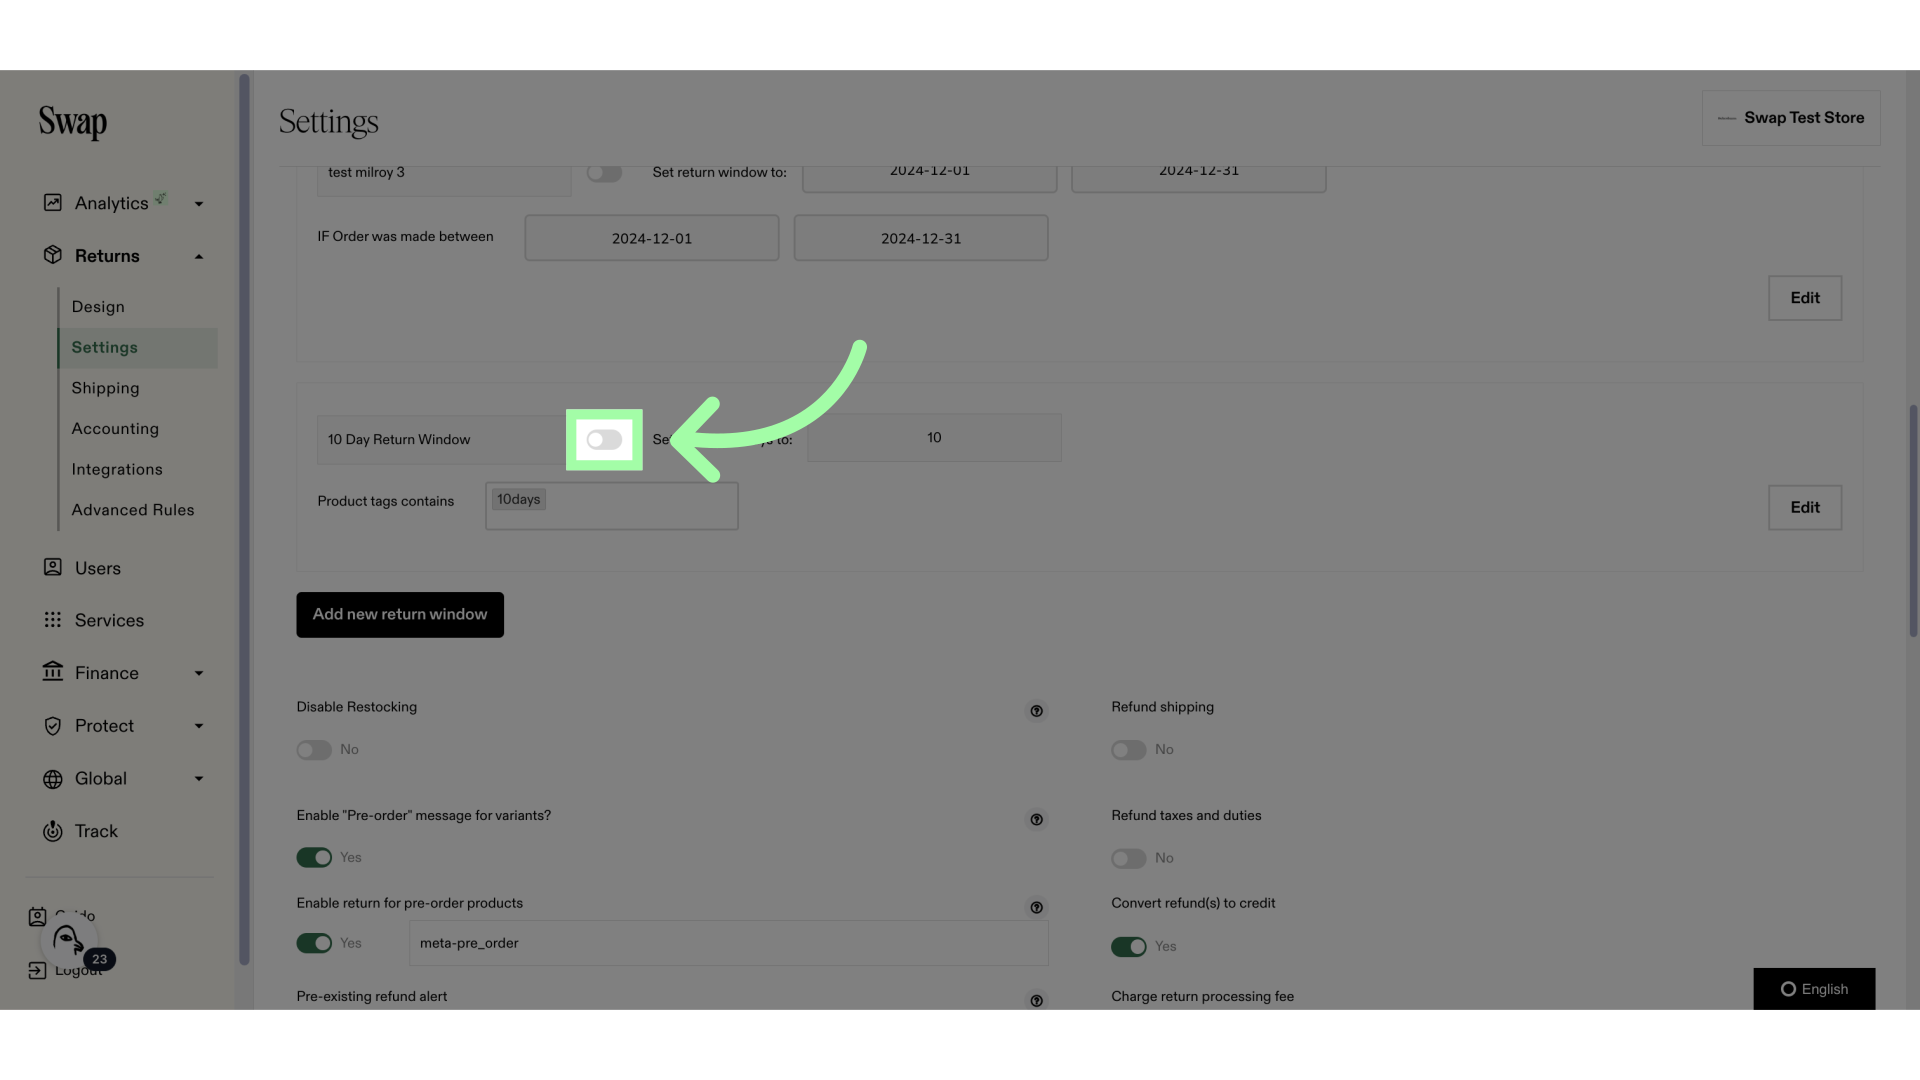
18. The Custom Window will be inactive. Click this toggle to enable it
Related to