With the release of the Custom Return Window functionality, managing returns has become more dynamic and tailored to individual store needs. This feature allows you to create multiple custom return windows for specific scenarios, offering a powerful tool for improving customer satisfaction and operational efficiency. Here’s how it works and what it offers.
Key Features of the Custom Return Windows
-
Custom Scenarios for Returns
You can now define return windows based on:
- Orders created within specific date ranges.
- Orders tagged with specific tags.
- Products with specific tags.
- Any combination of the above, using AND or OR logic.
-
Flexible Return Window Types
Define return windows as:
- A fixed date range (e.g., a holiday return policy).
- A number of days after the order was fulfilled.
-
Seamless Transition from Custom Rules
The Custom Return Window functionality replaces Custom Rules. Existing rules have been migrated to this new system for a smooth transition.
How to Set Up a Custom Return Window
To set up the Custom Return Window, follow these steps:
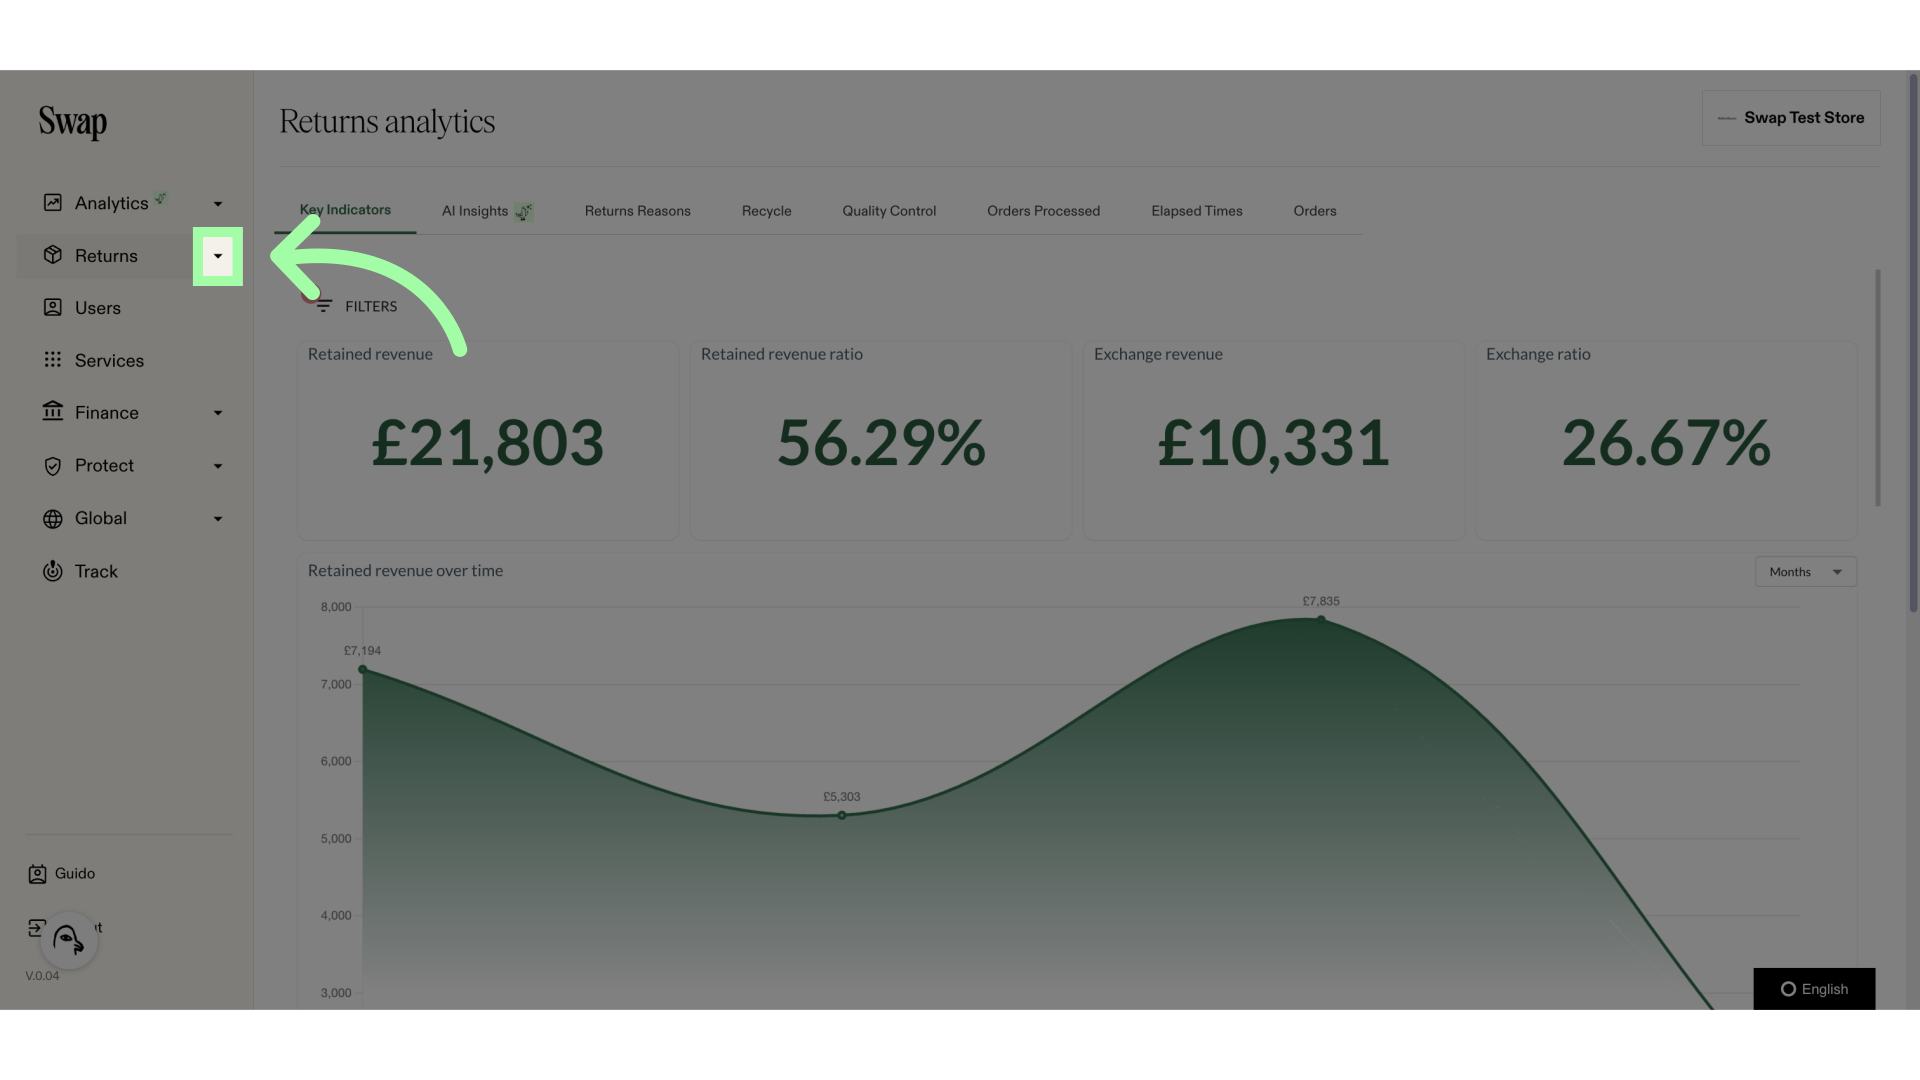
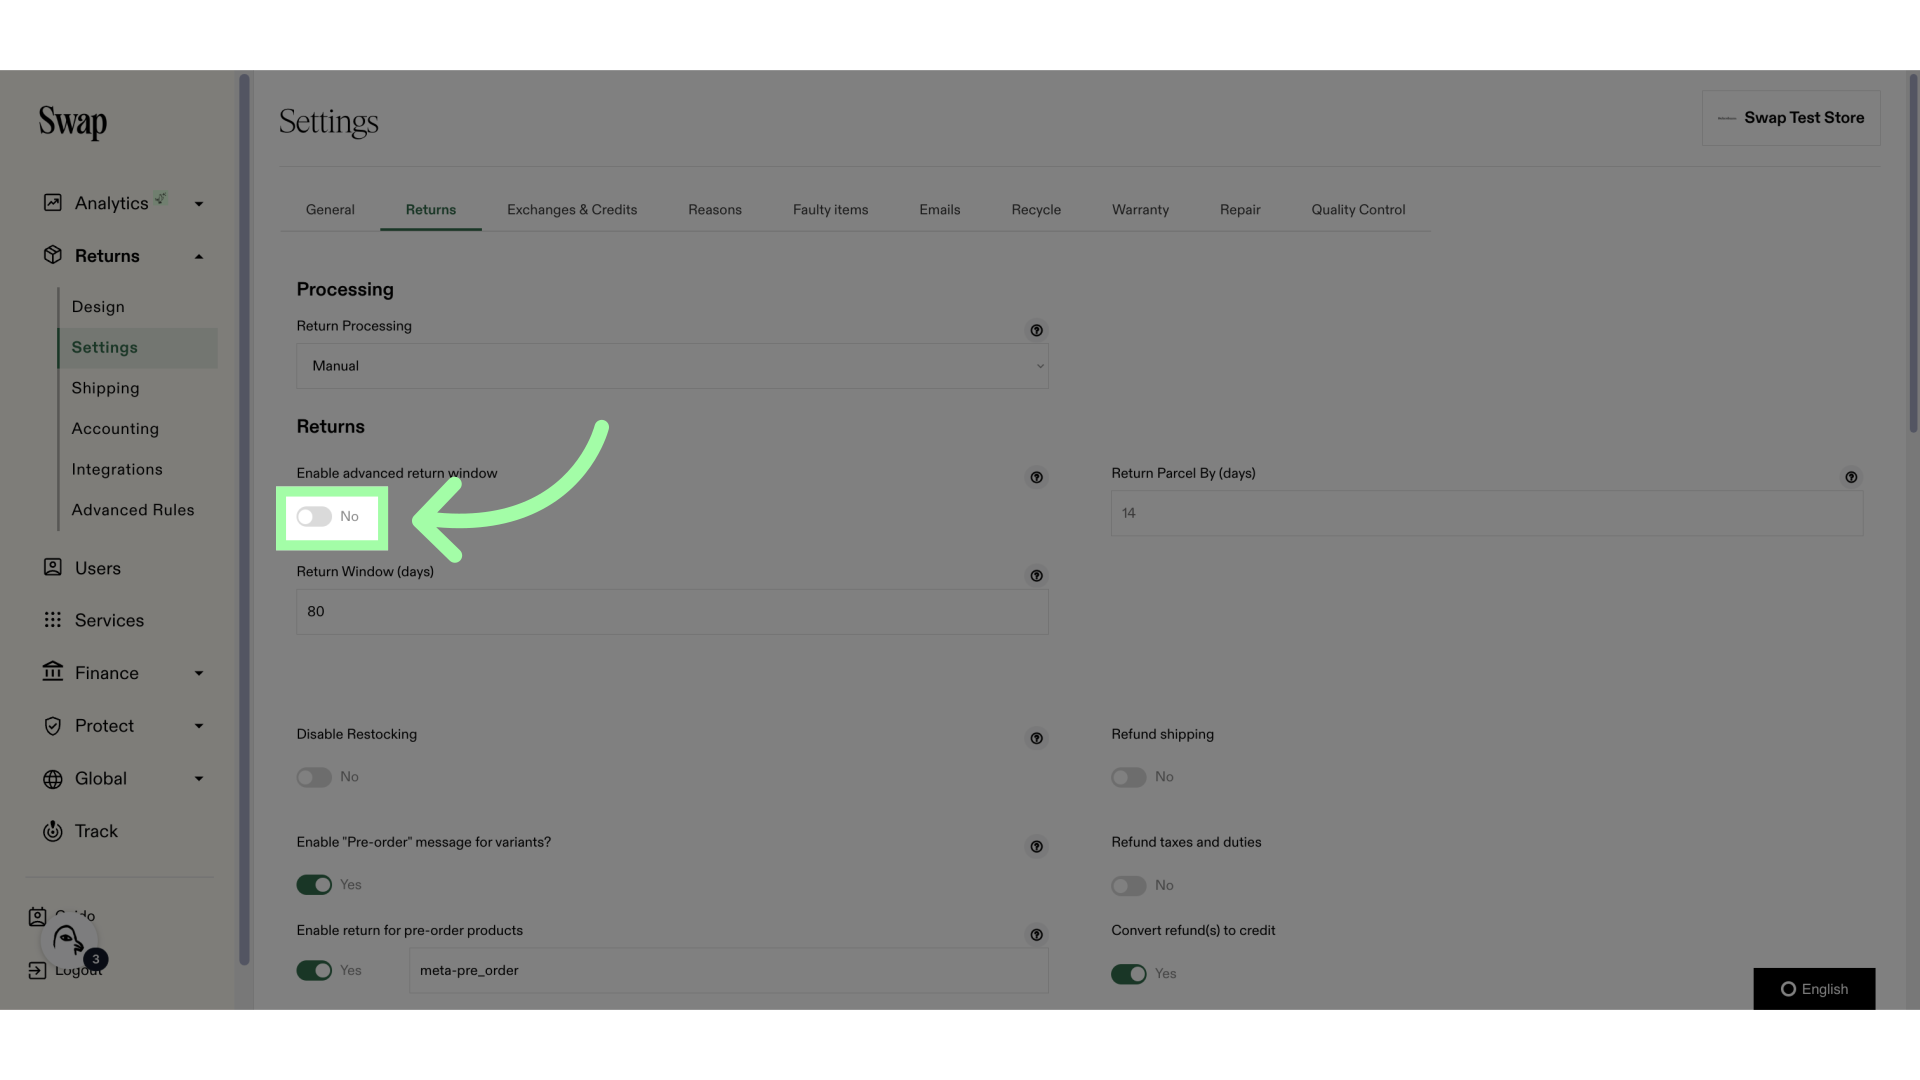
1. Open the Returns drop-down menu
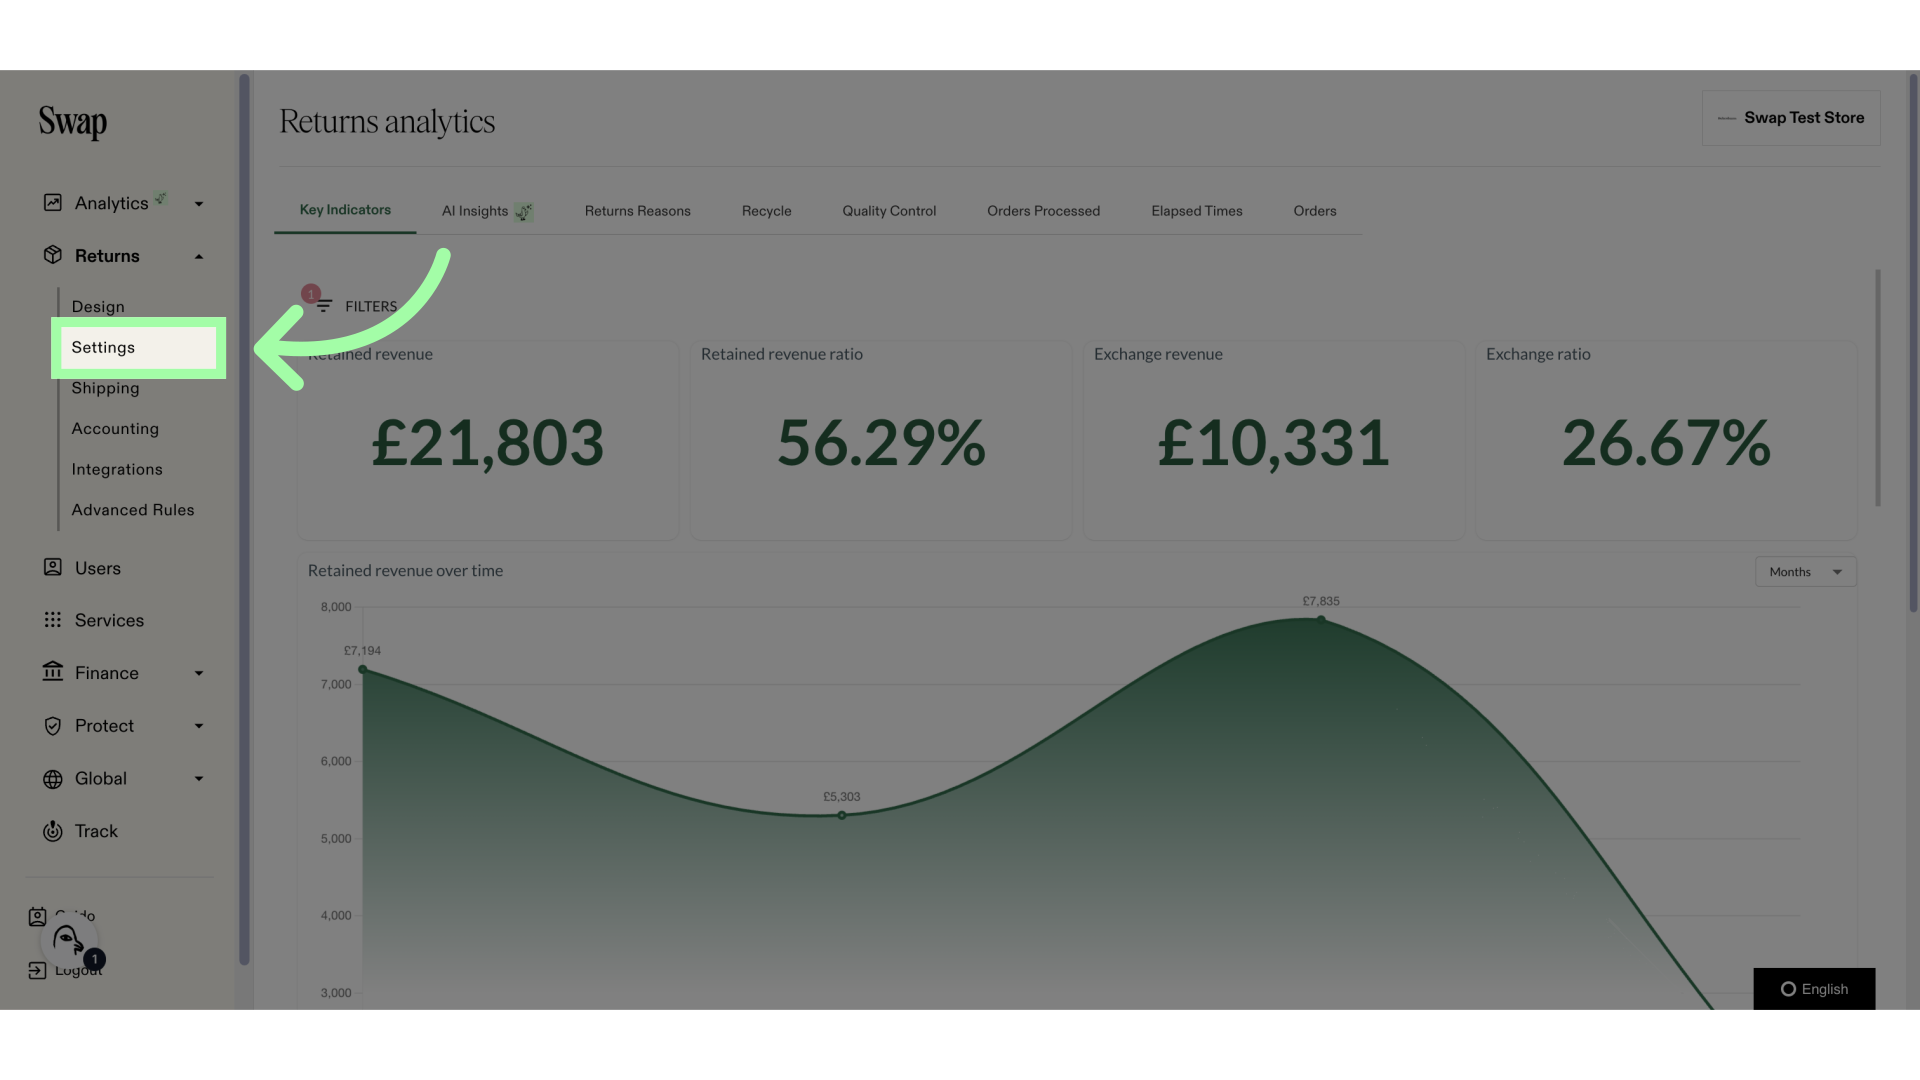
2. Click "Settings"
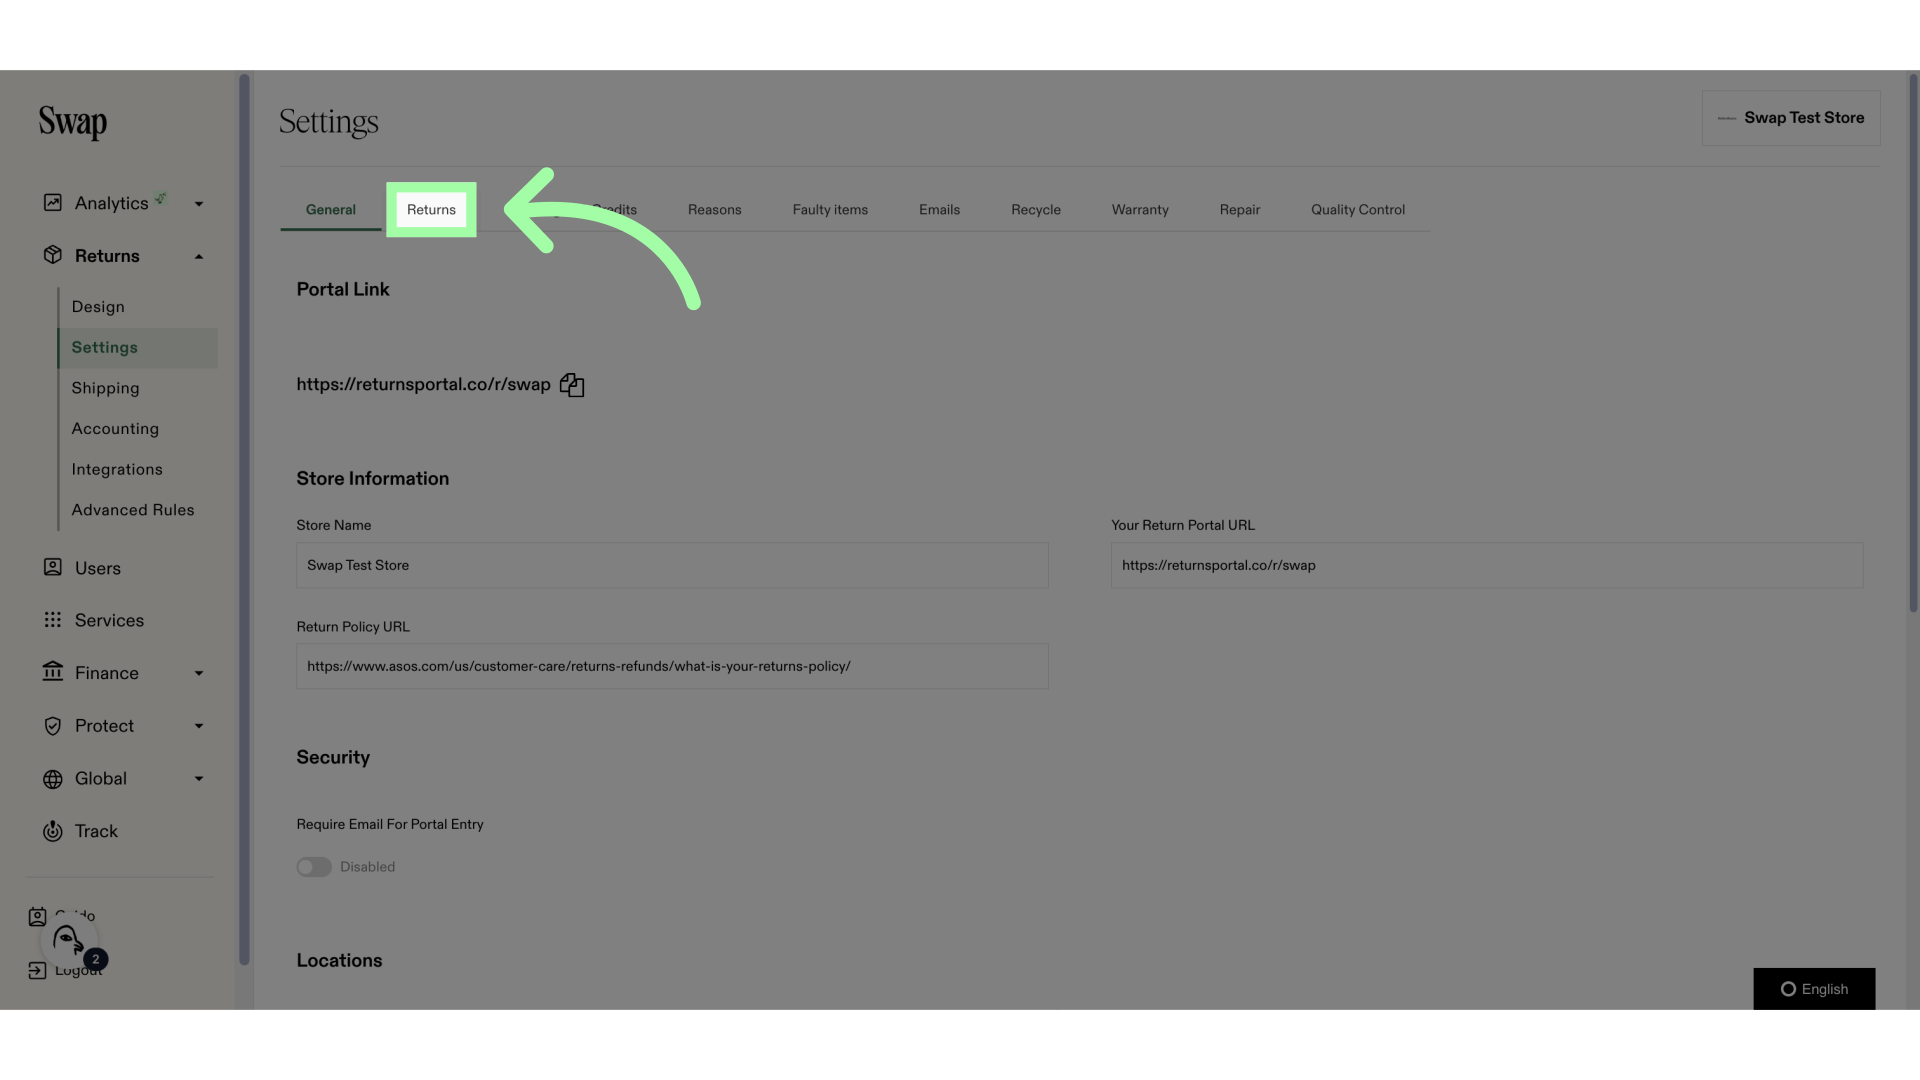
3. Open the "Returns" tab
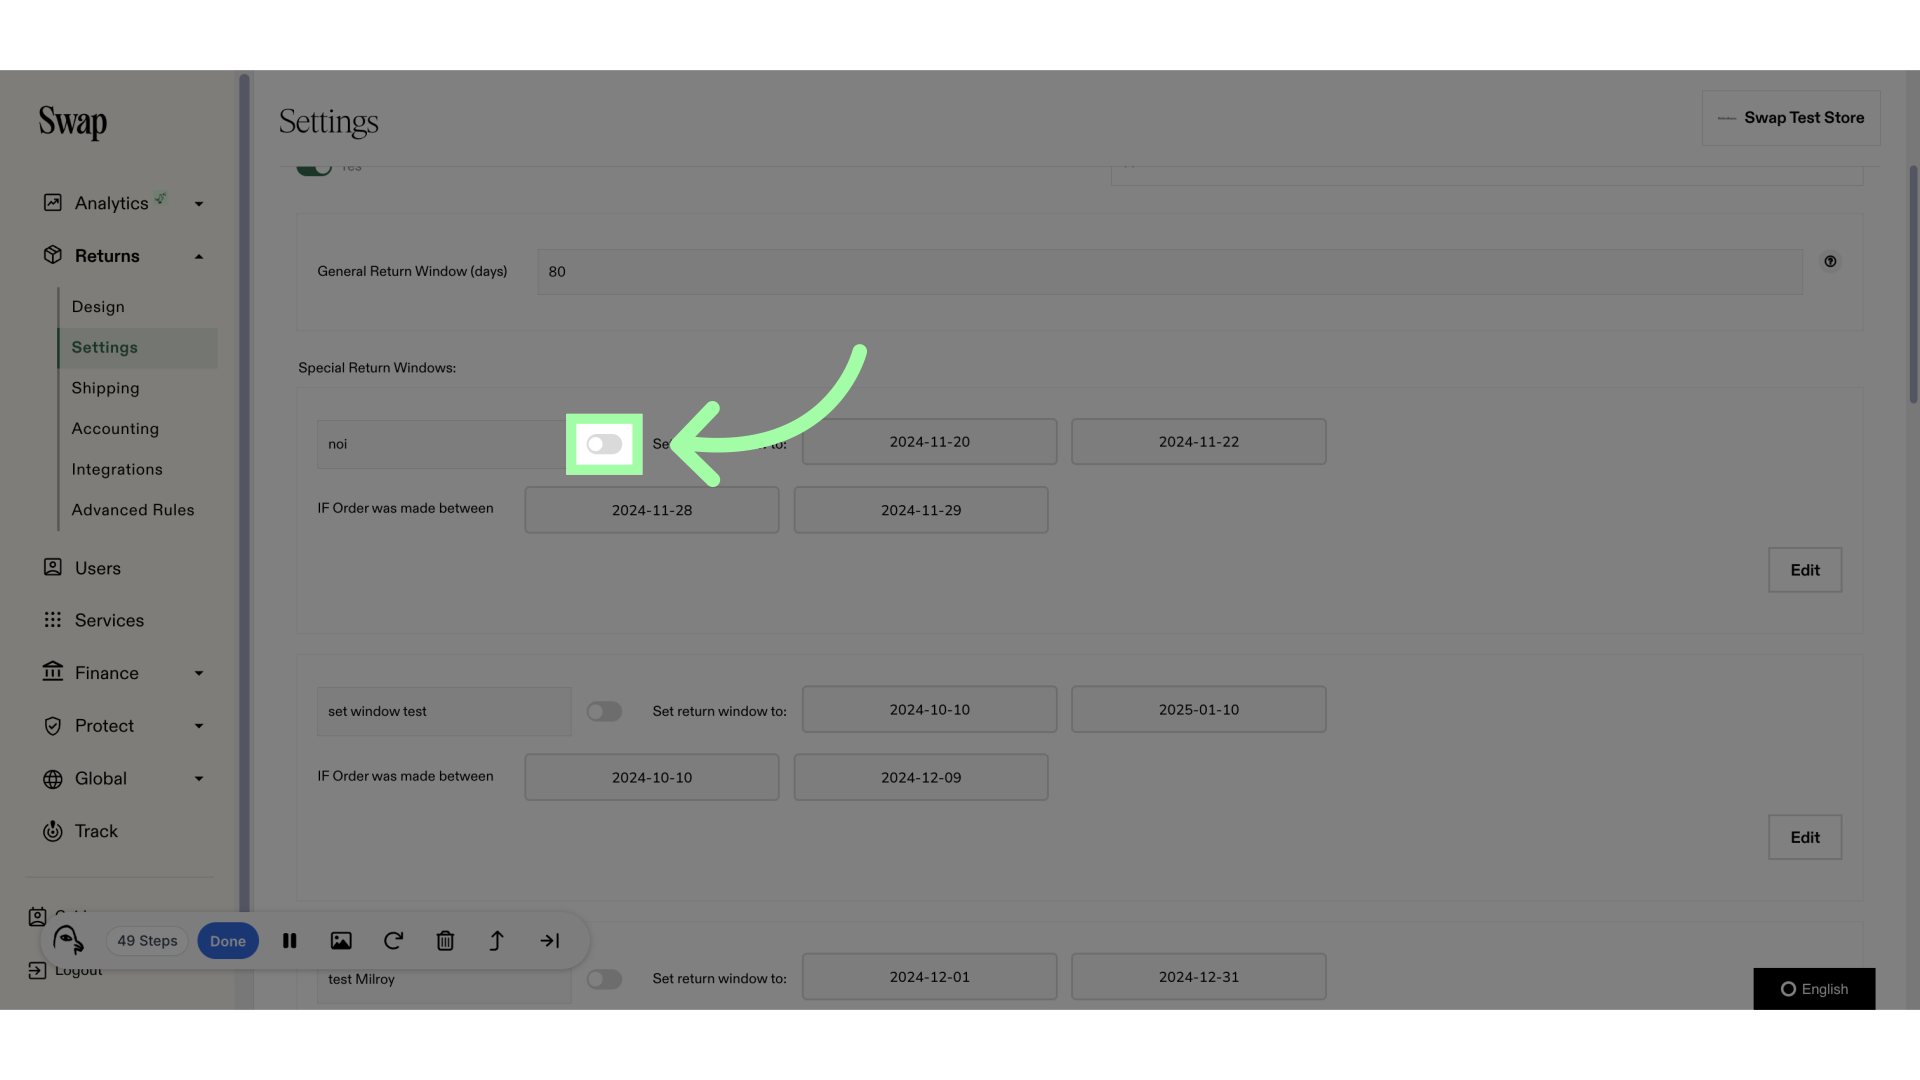
4. This is where to enable Custom Return Windows
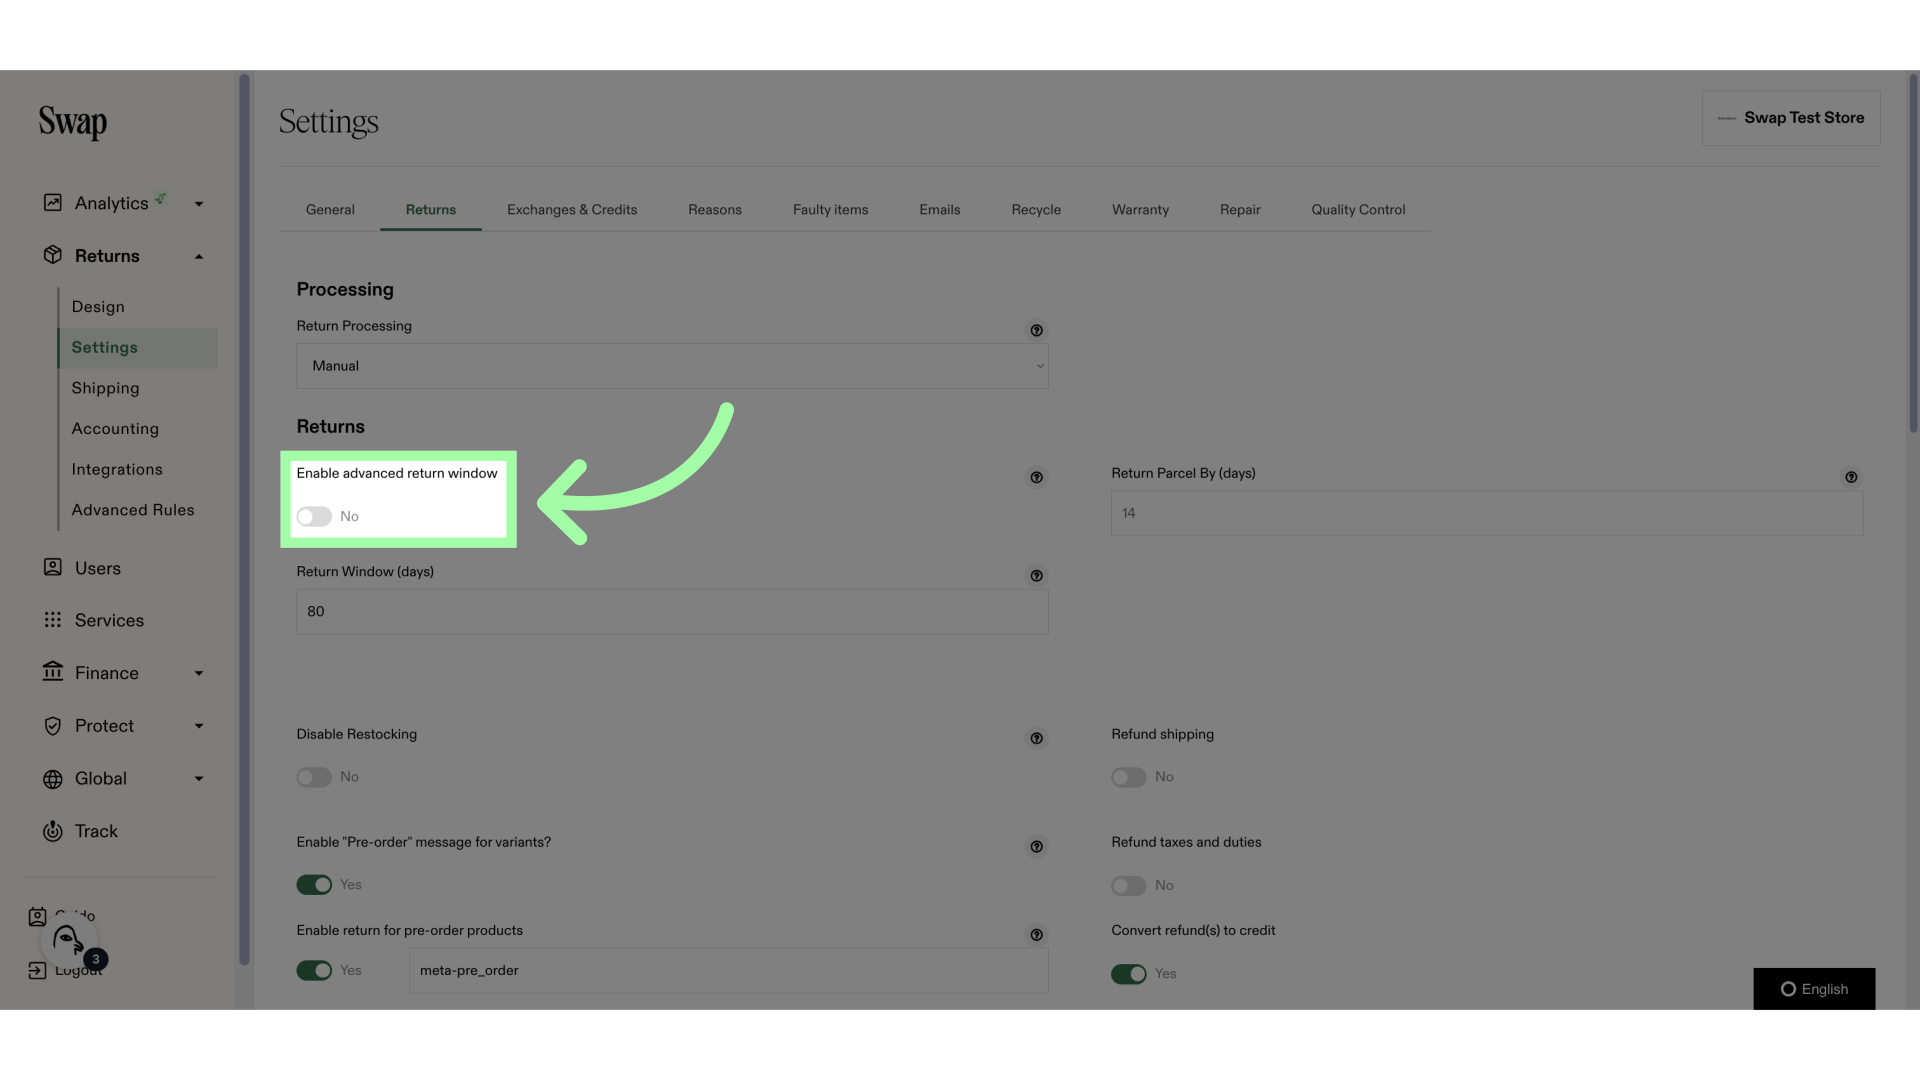
5. Use this toggle to enable the feature
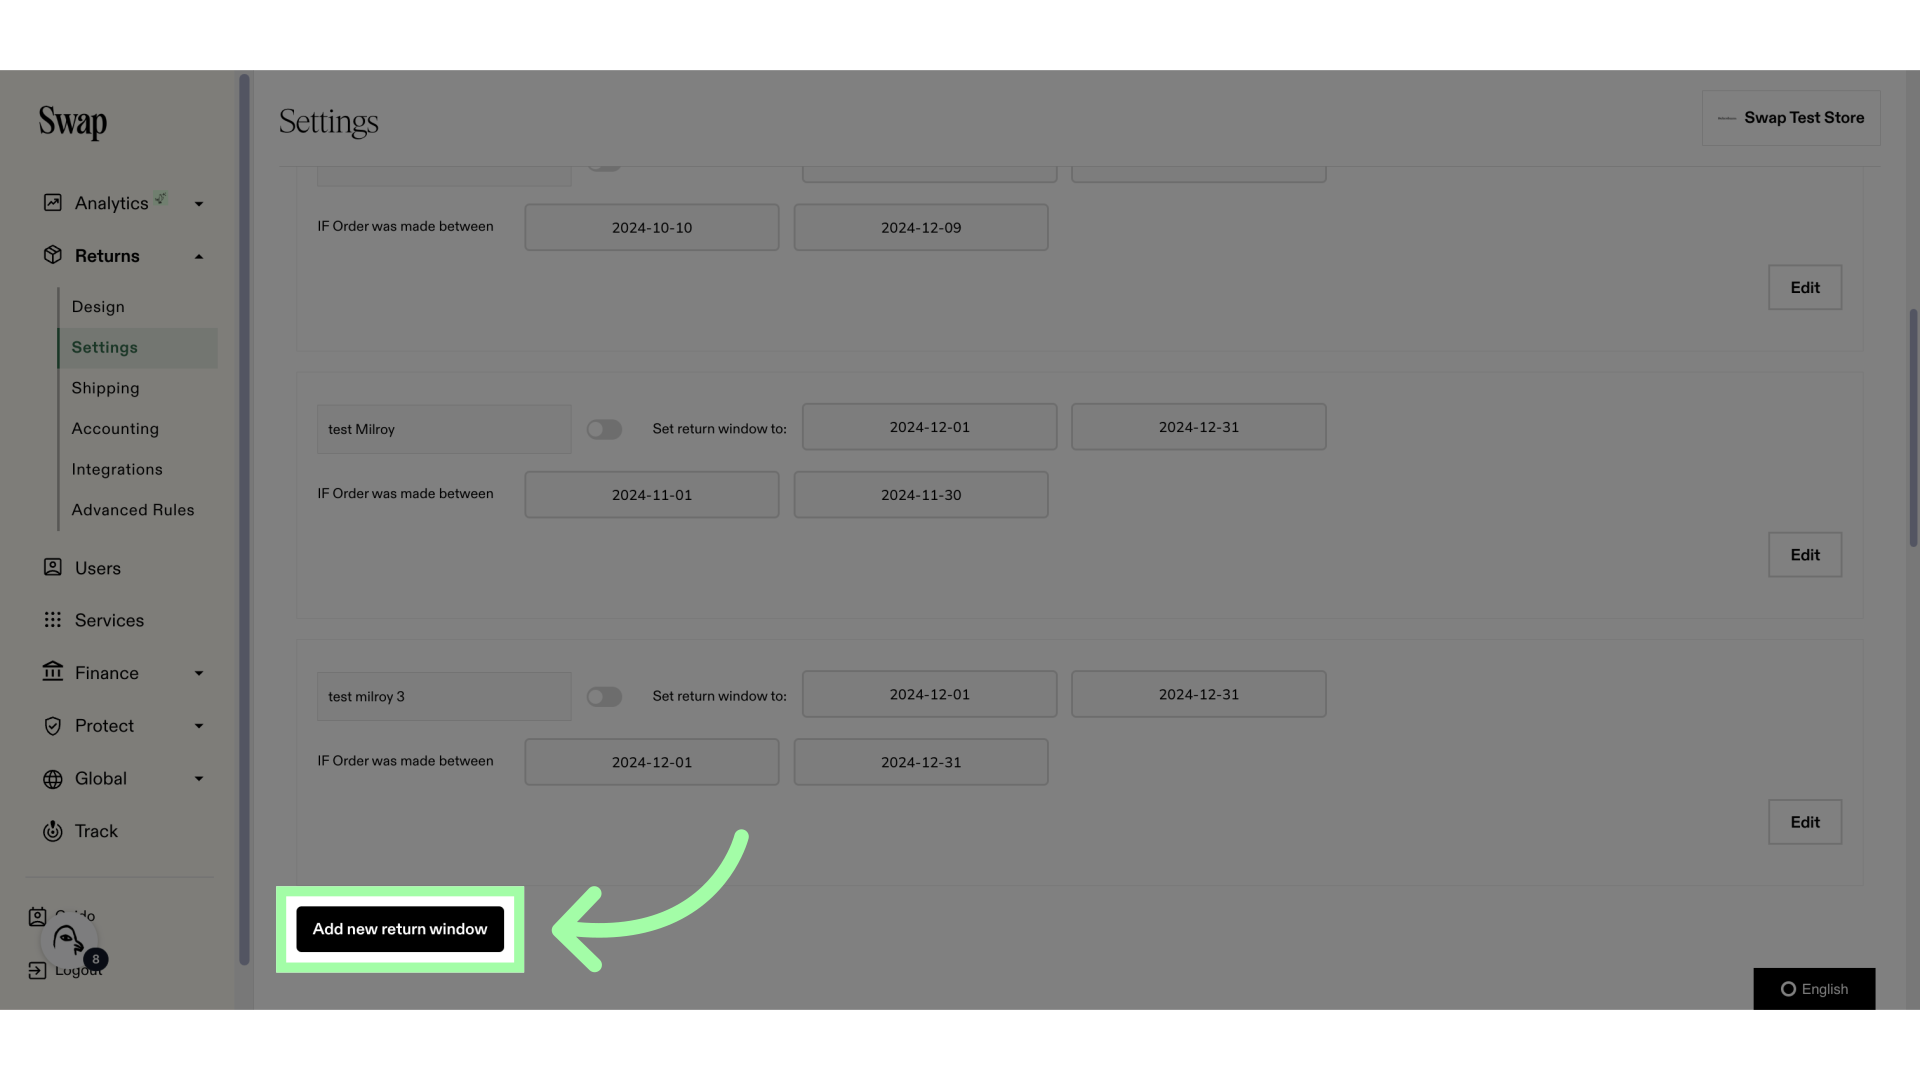
6. Click here to add a new return window
7. You can name your return window here
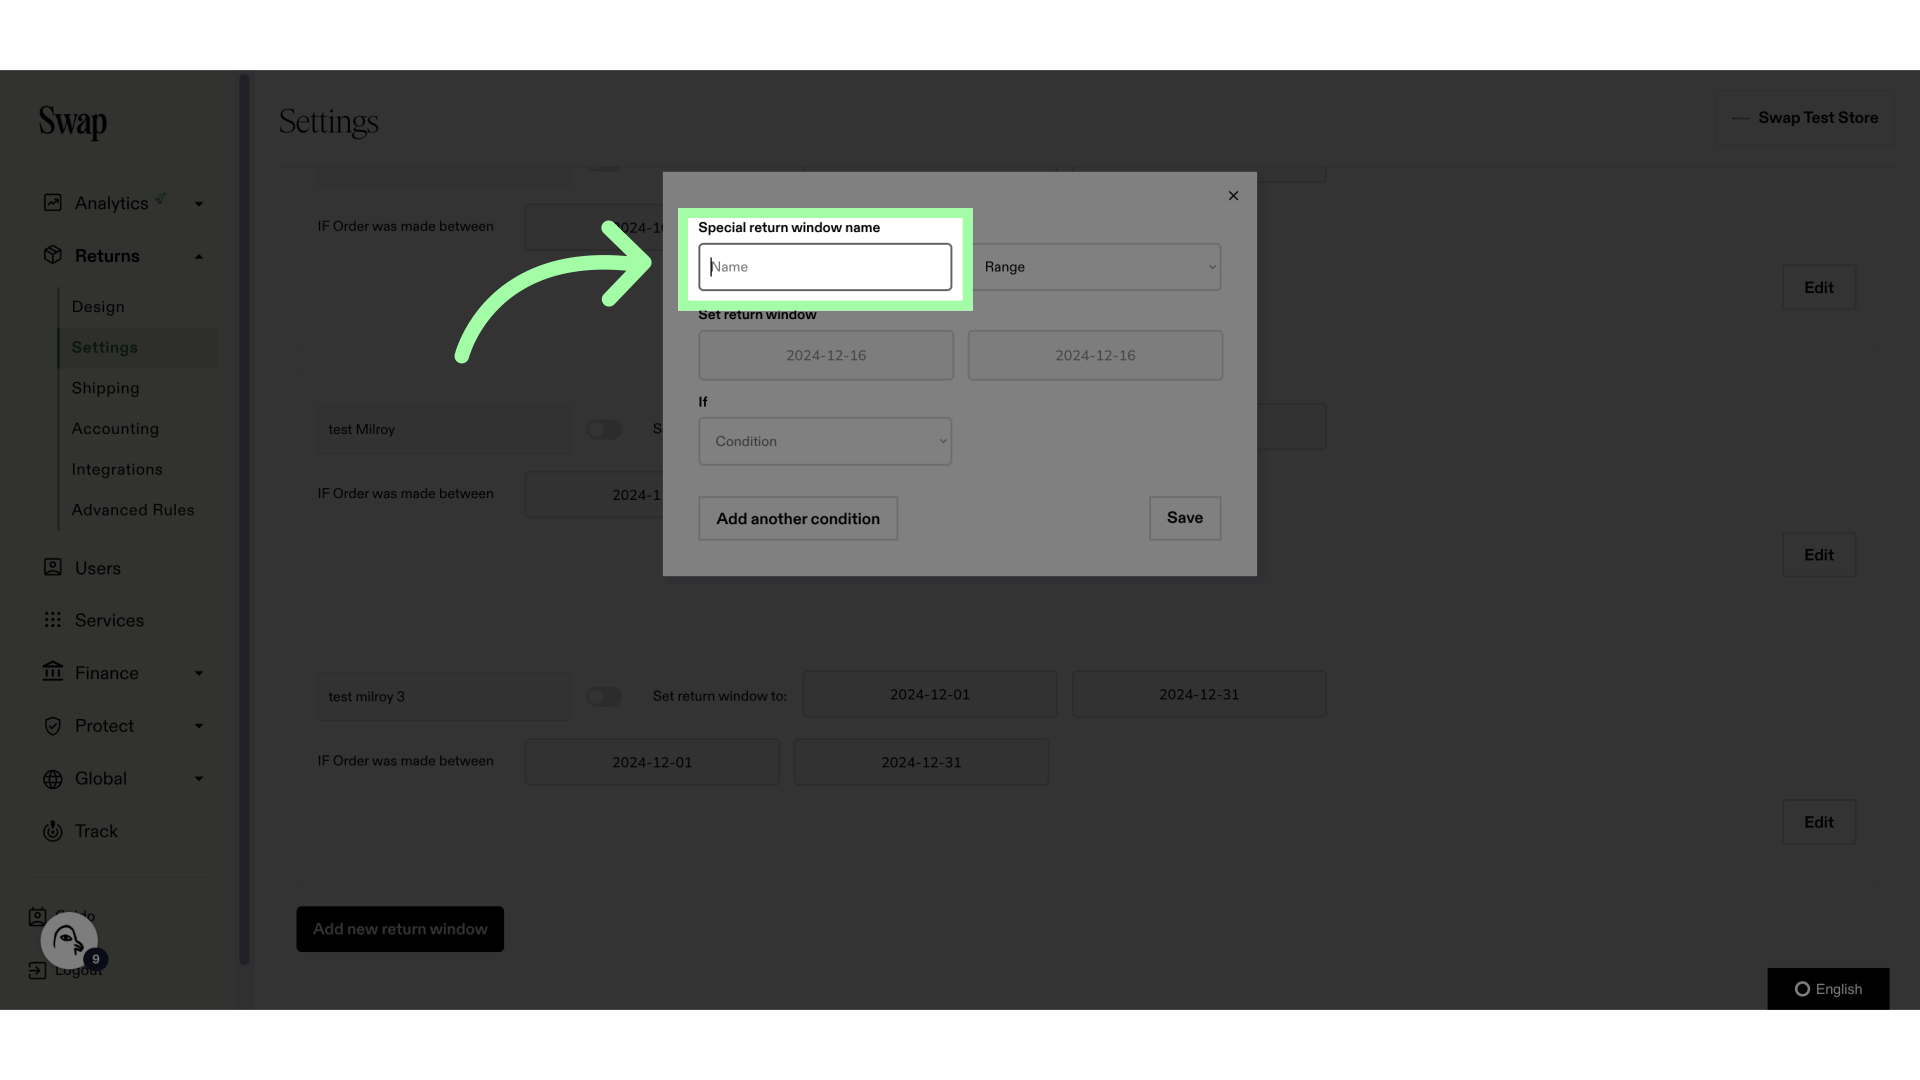
8. Fill in a name
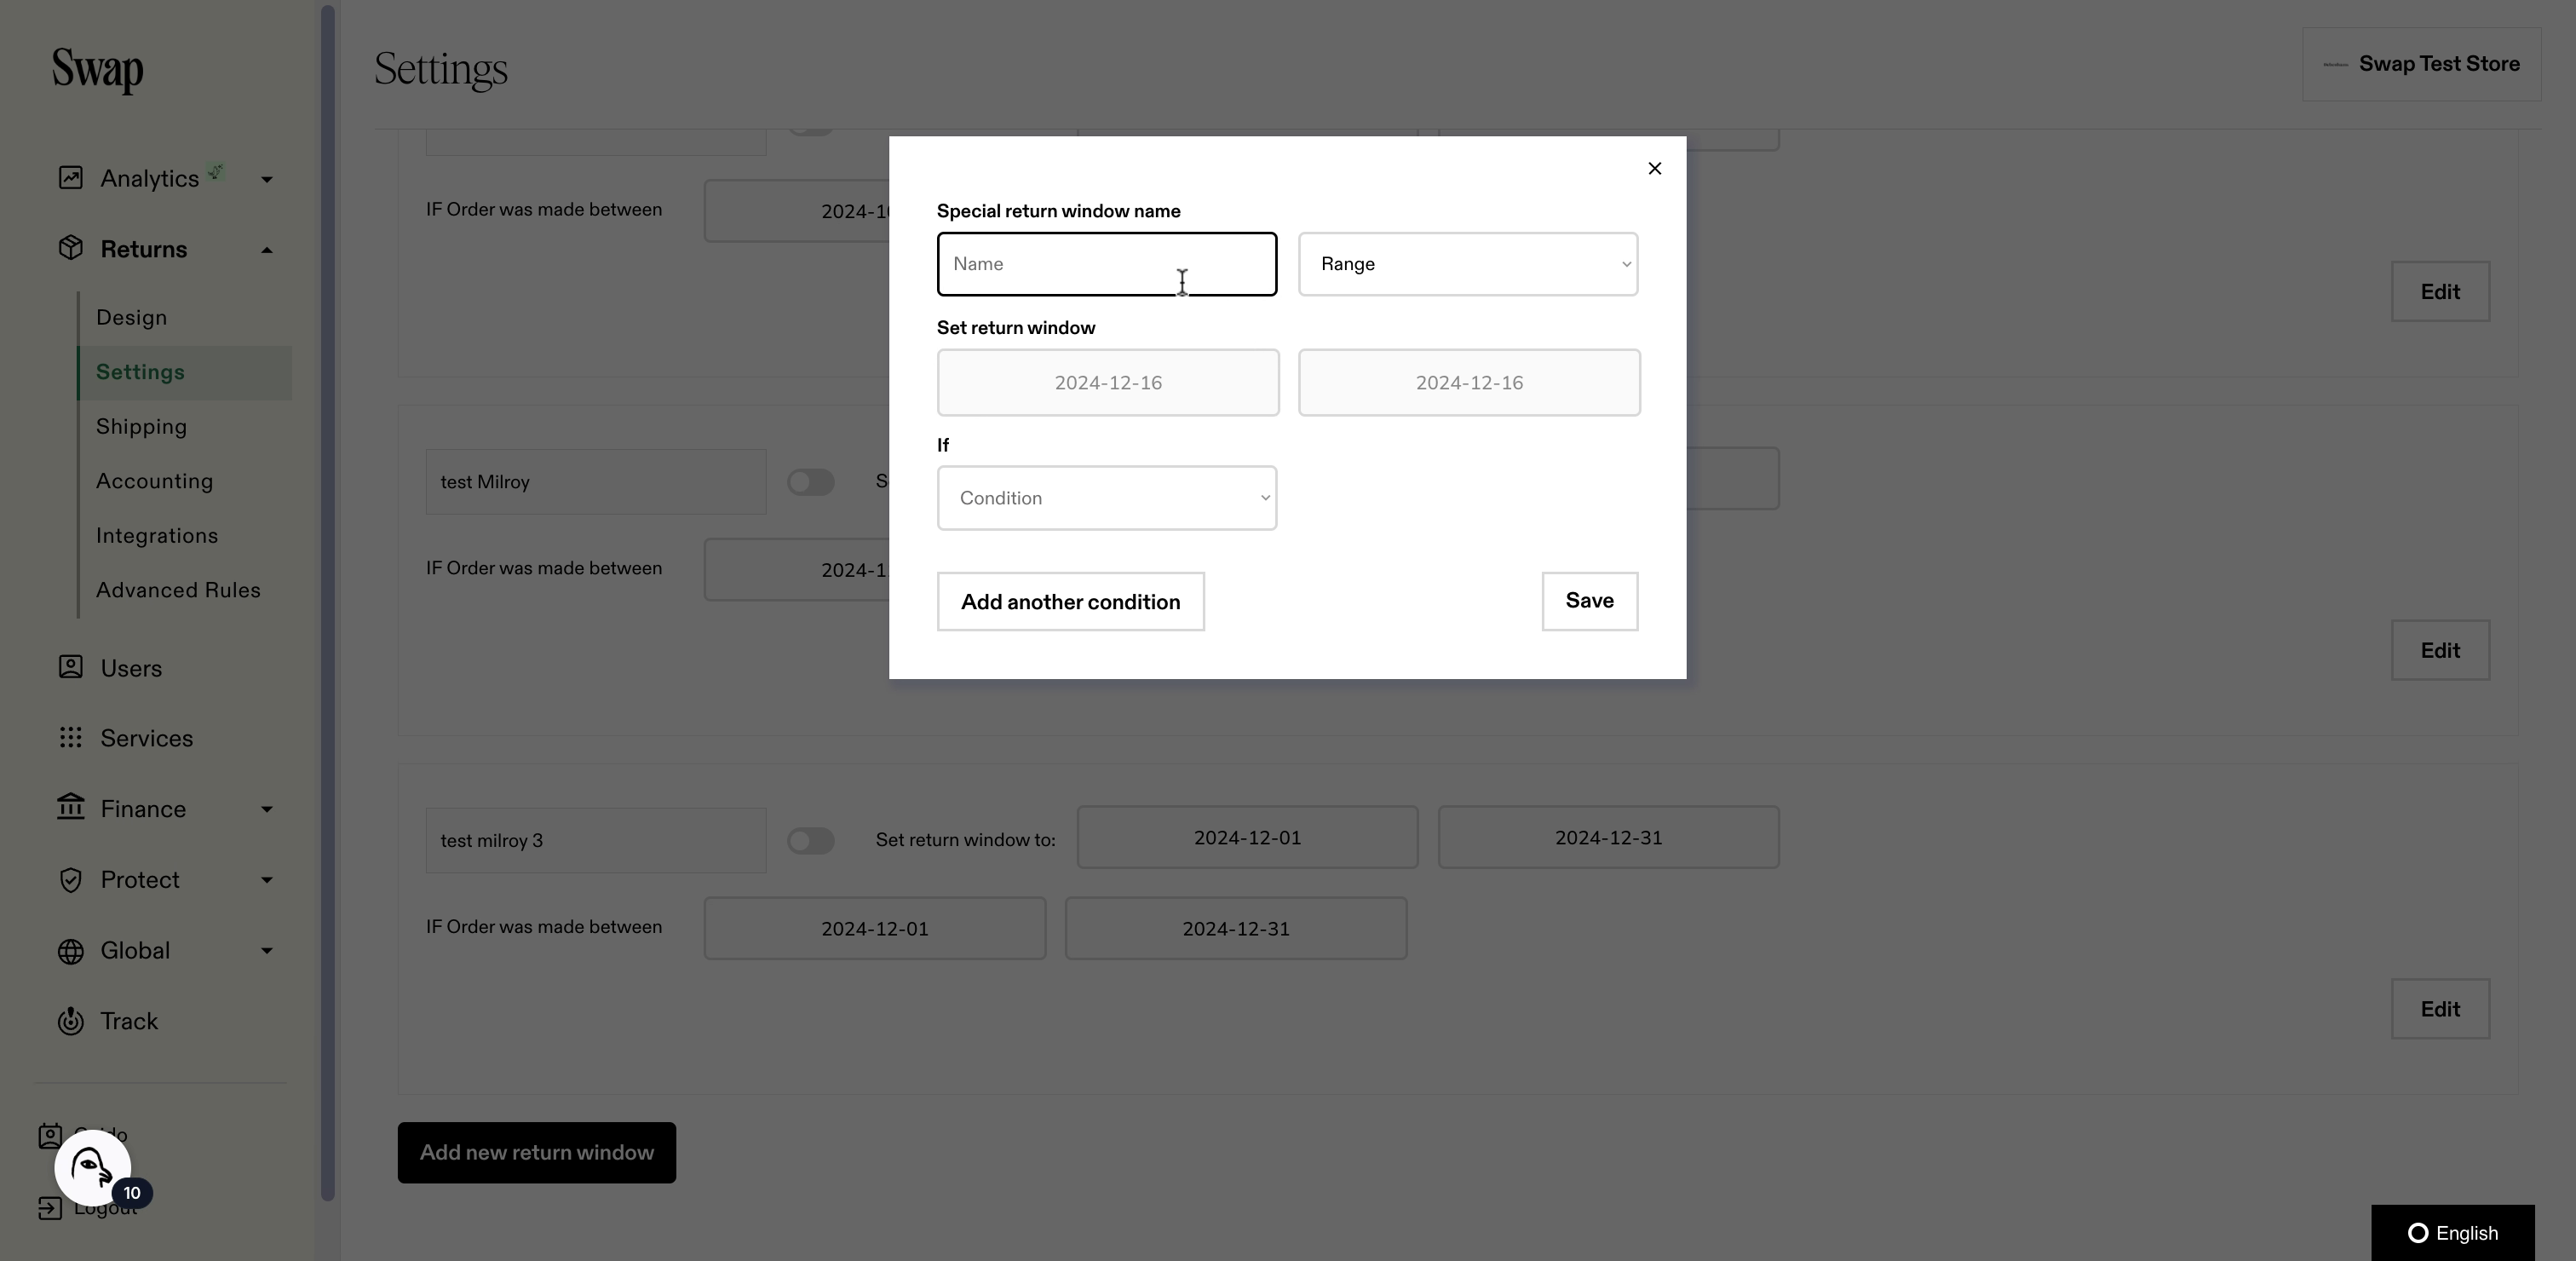
9. You can define the custom return window in two ways, a date range, or an amount of days
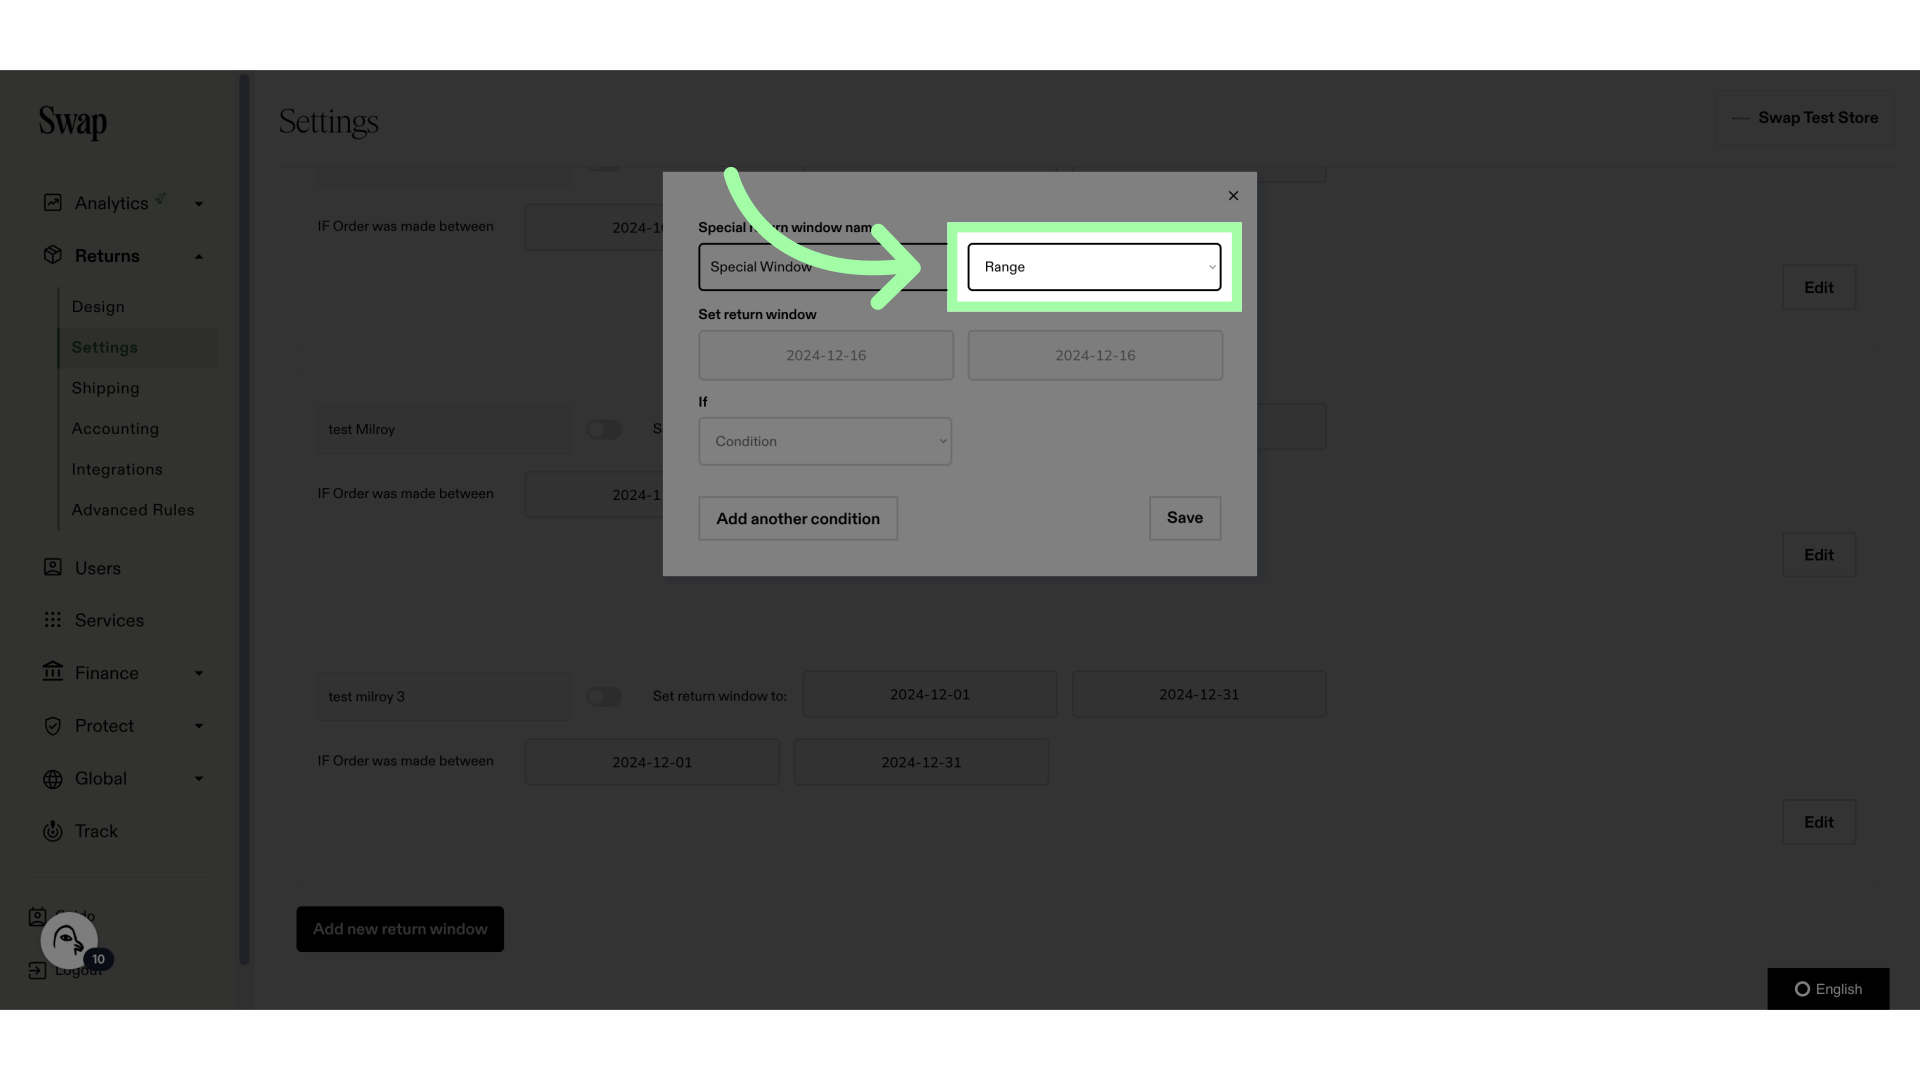
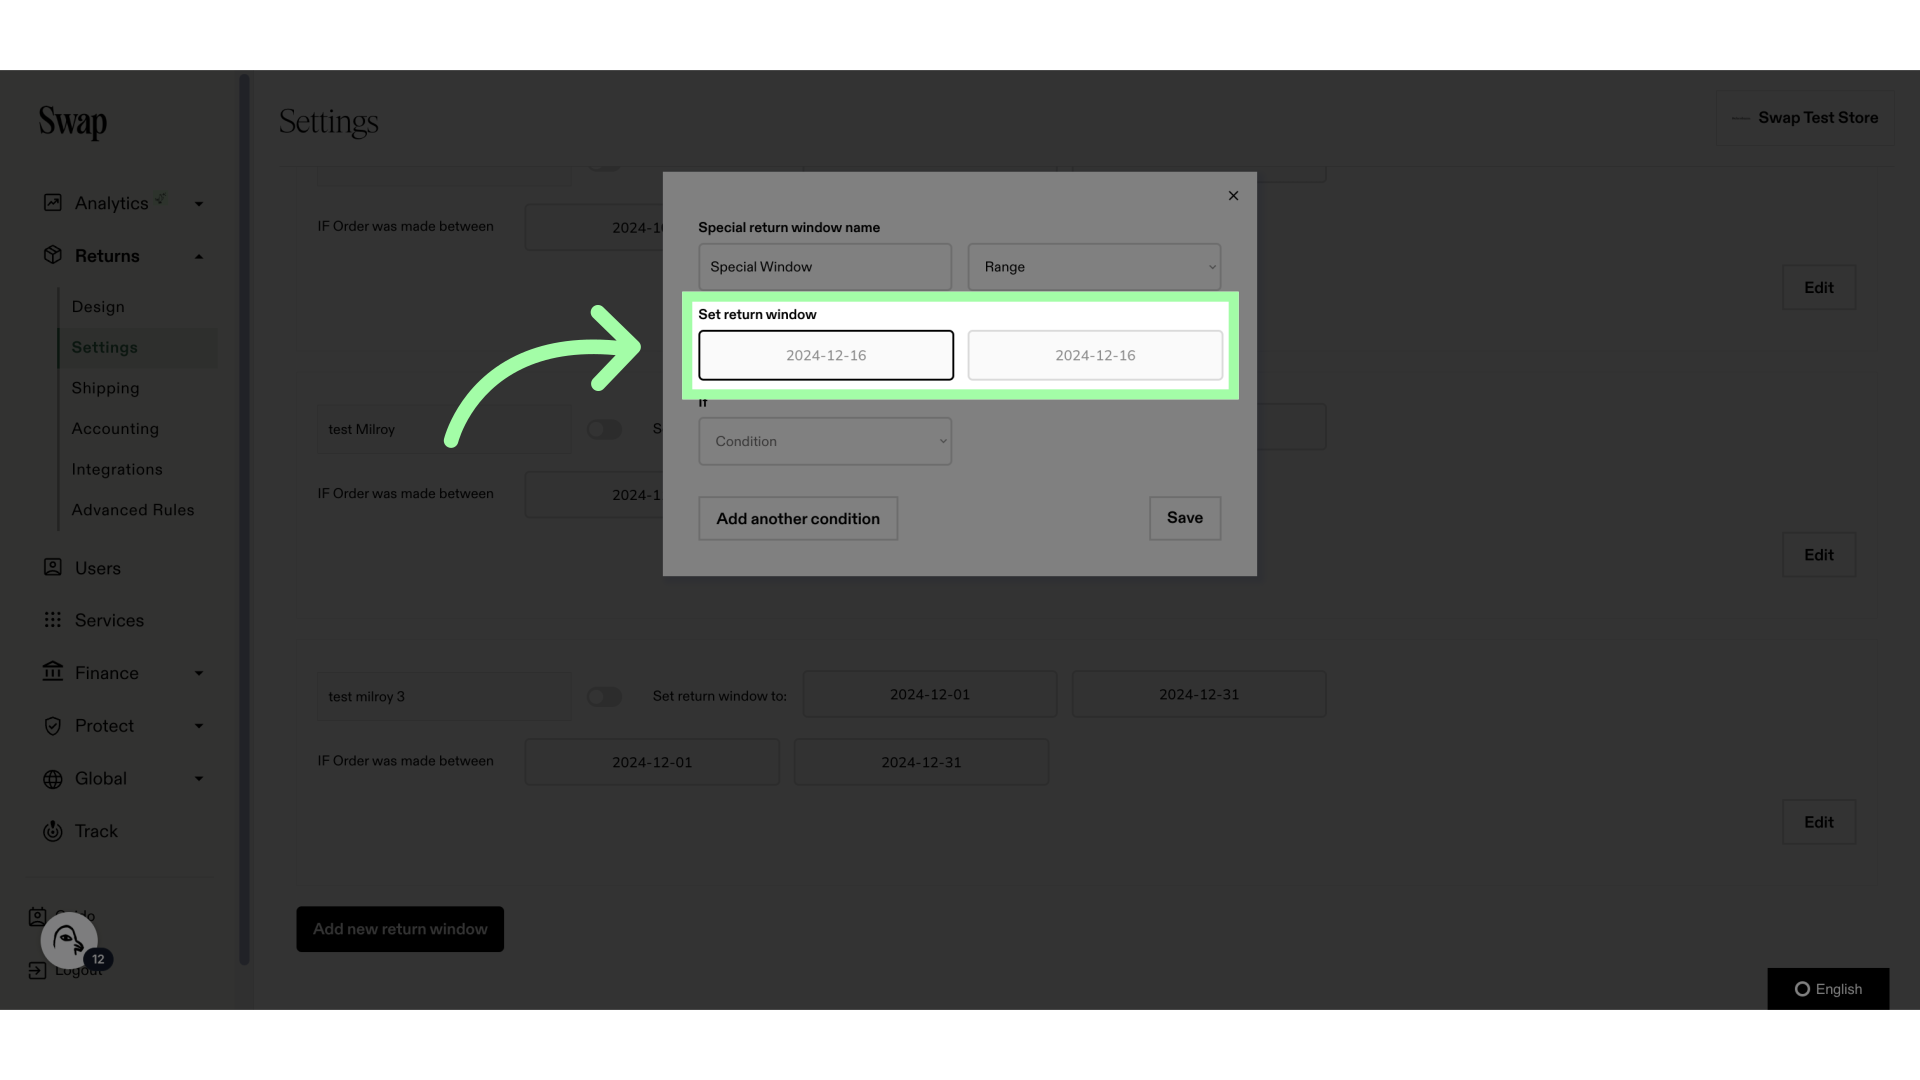
10. If you select range, this is where to set your date range
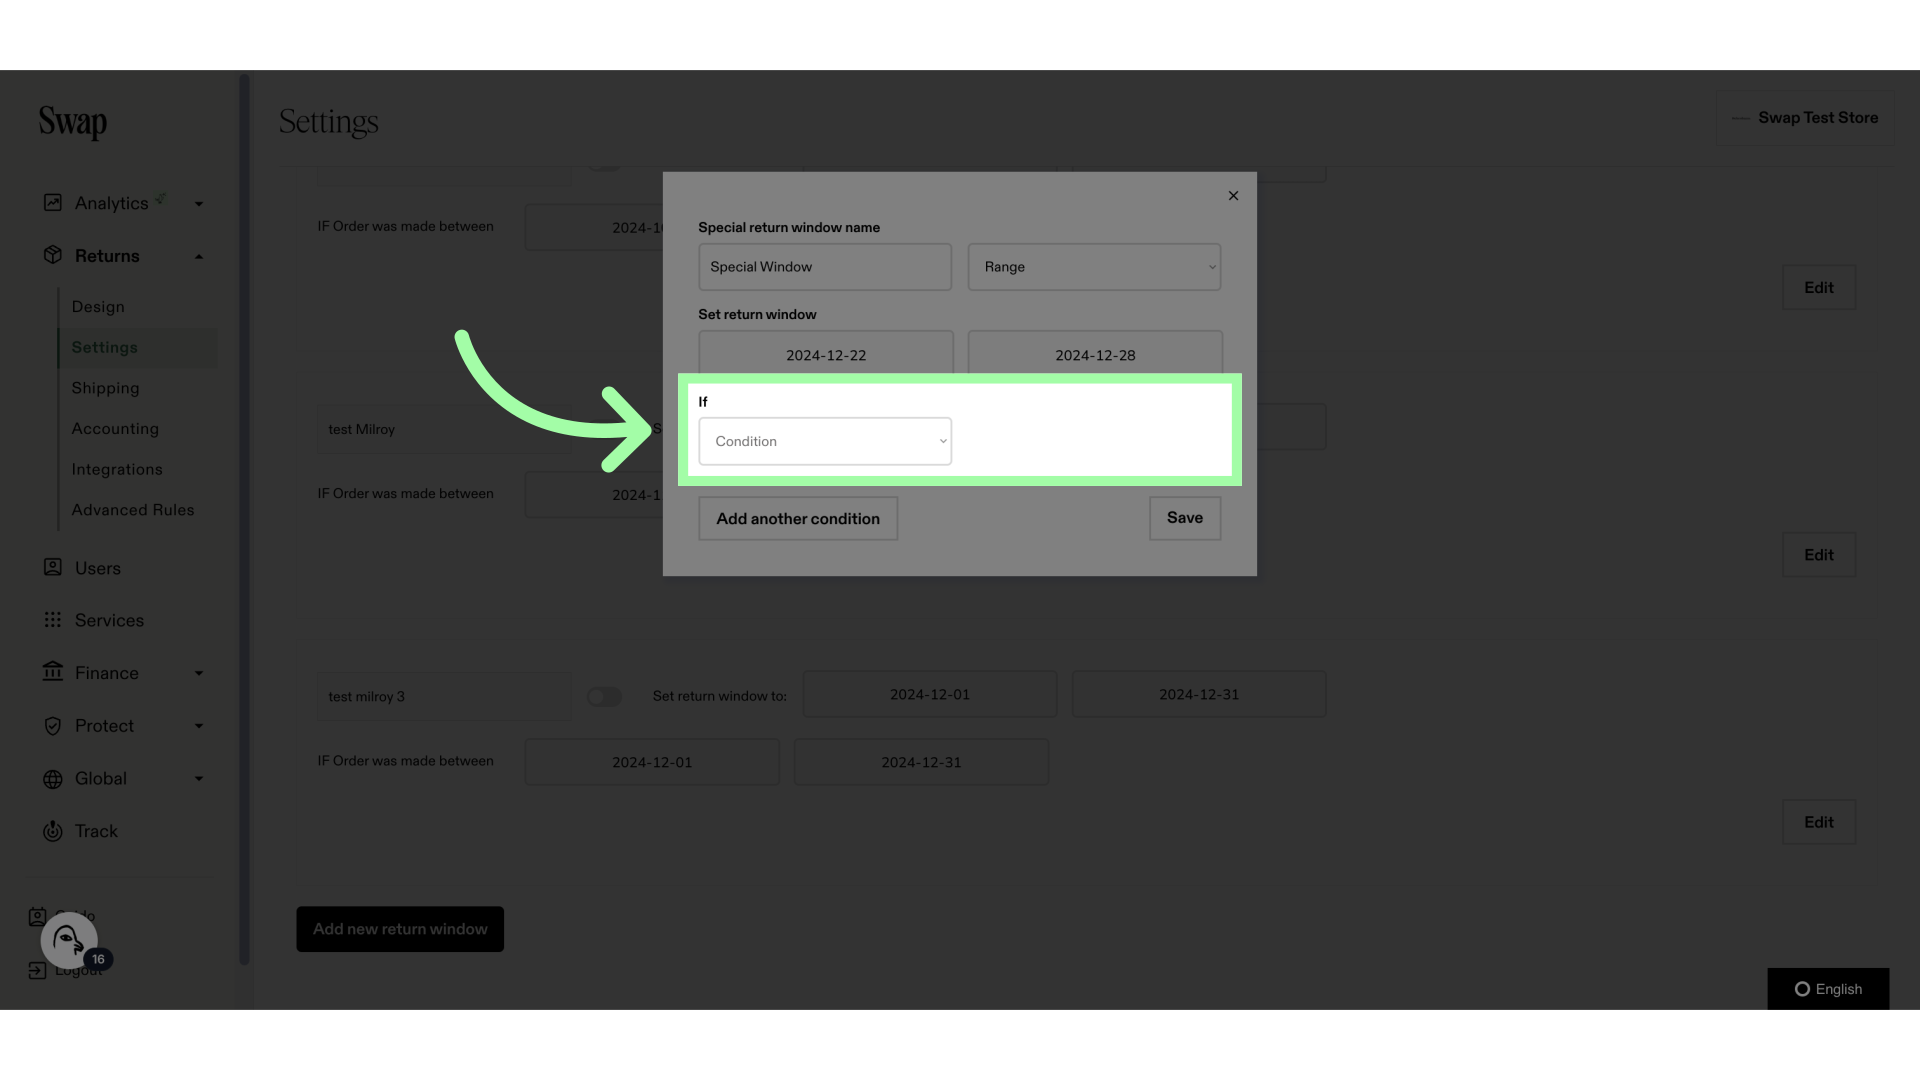
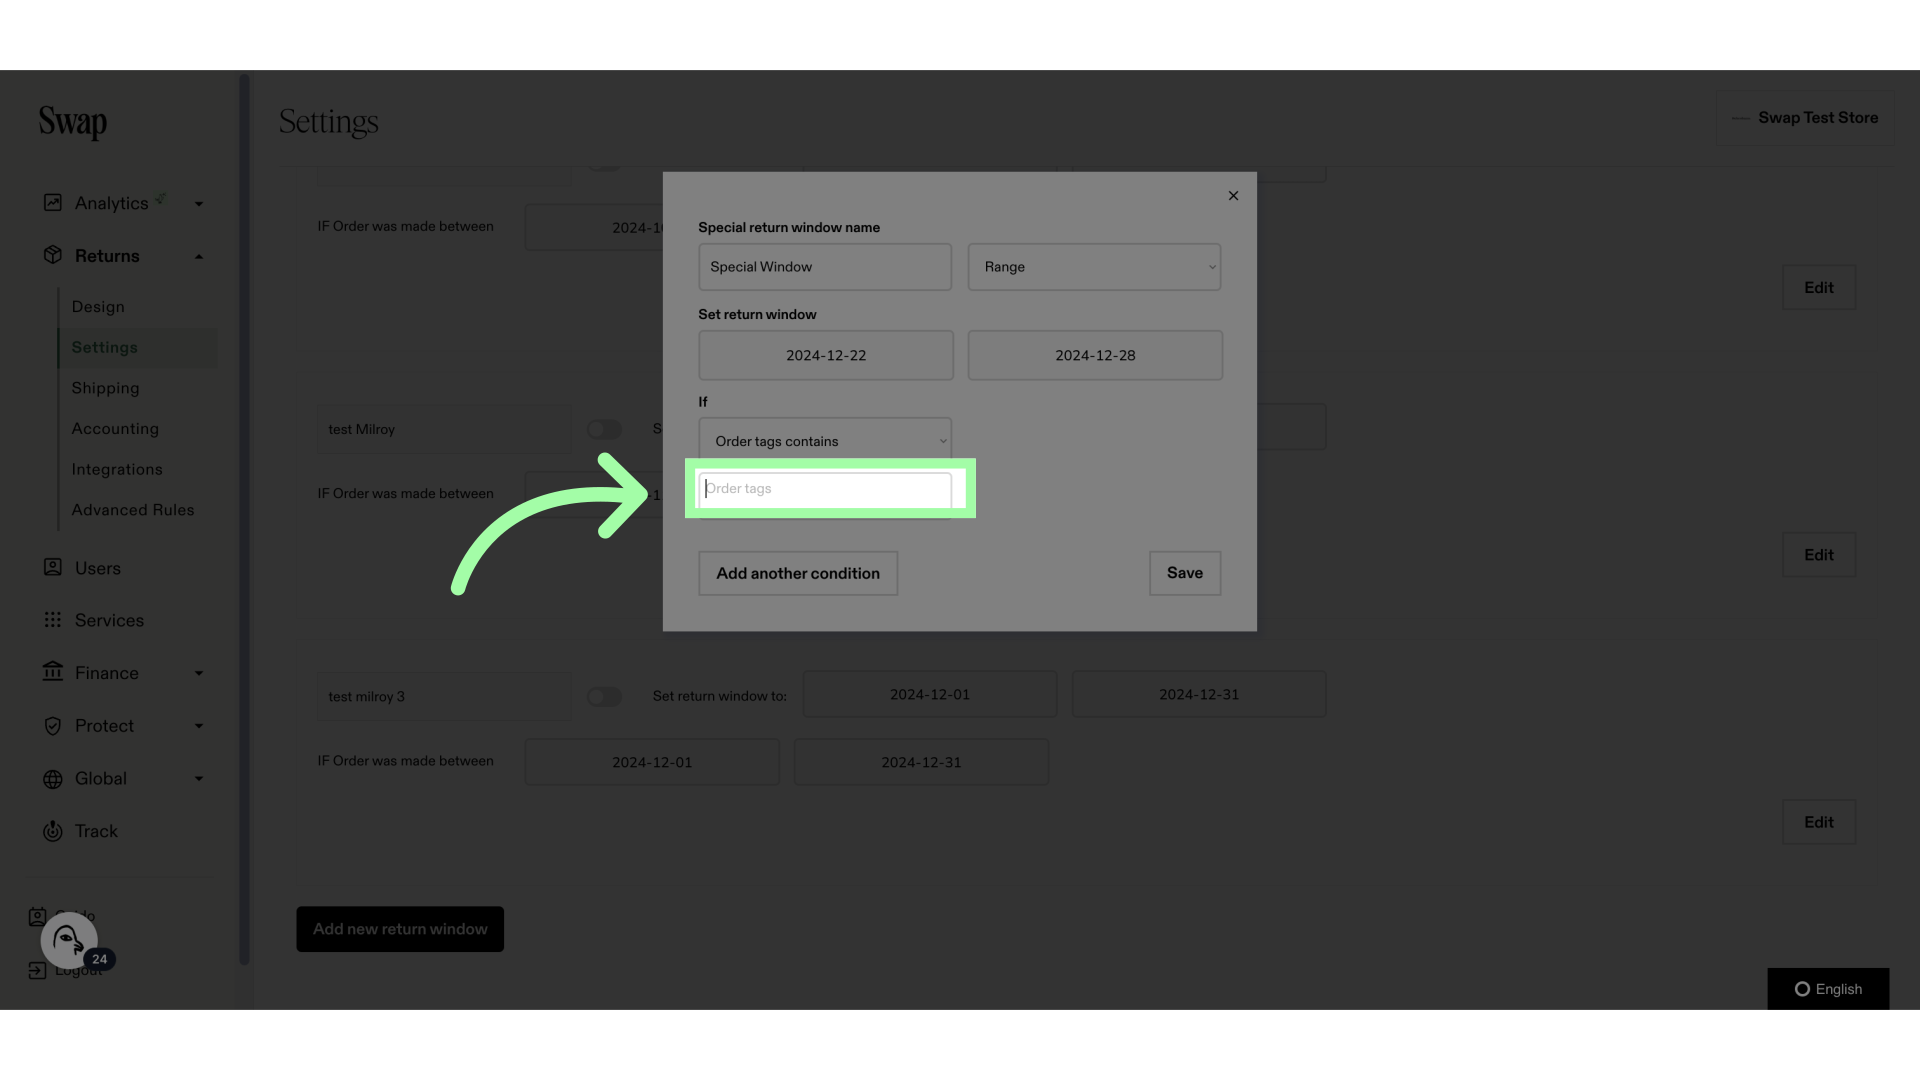
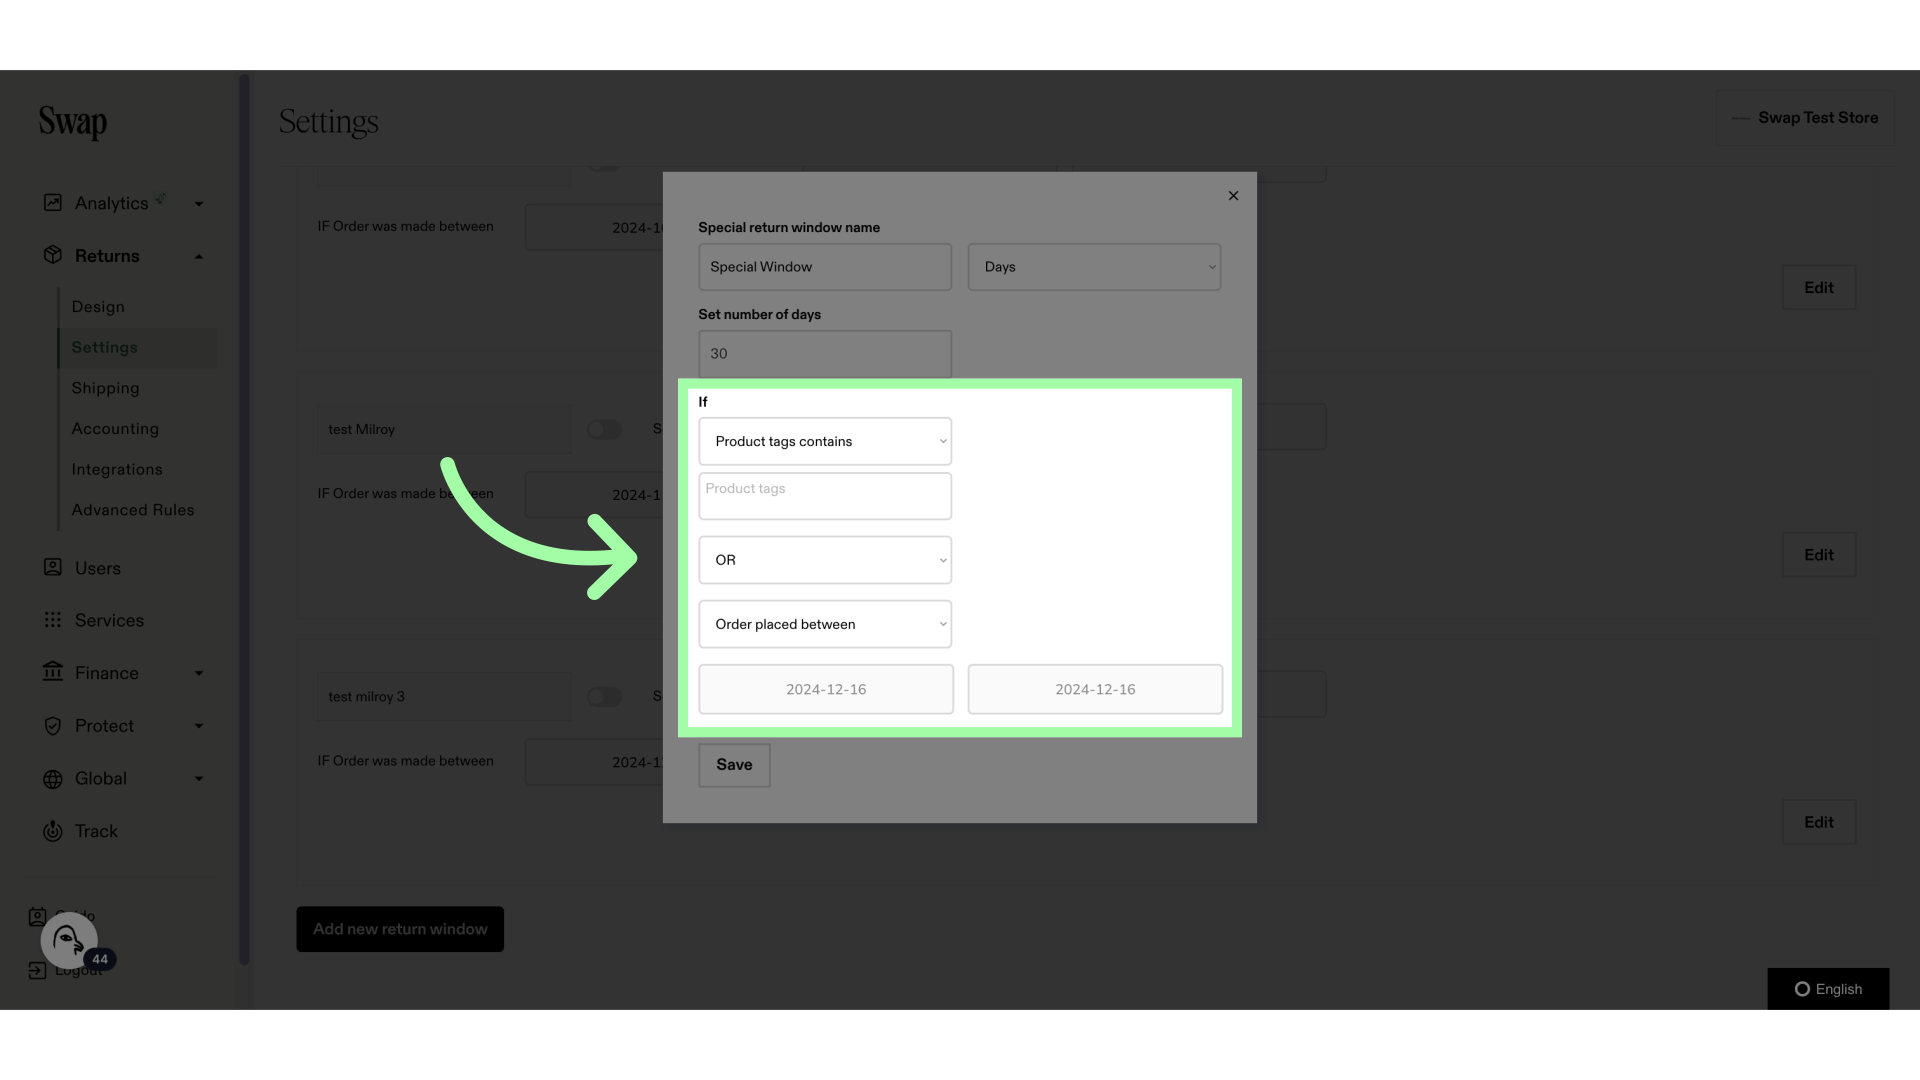
11. You can set a condition here. you have three options: Product tag, order tag, or a date range
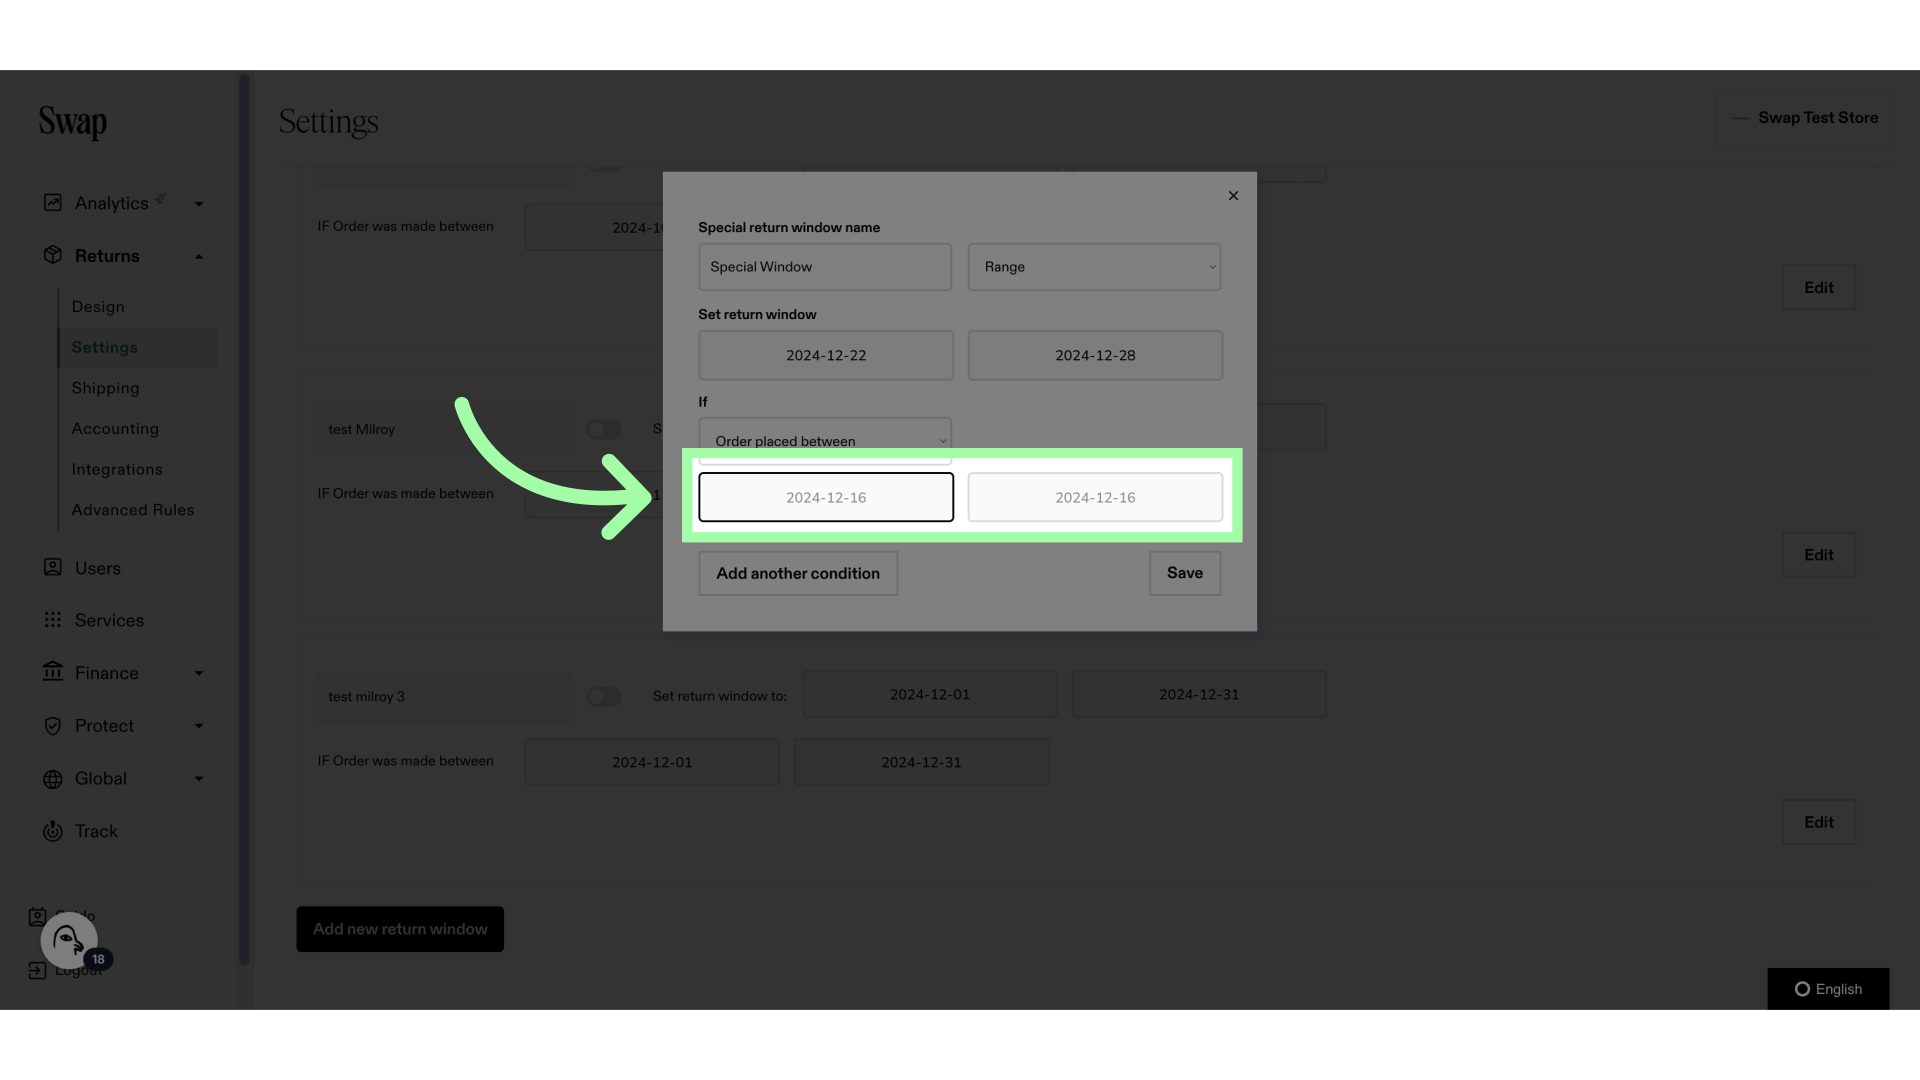
12. If the date range condition is selected, this is where you select the dates
13. If you select order or product tags, this is where you fill in the tag
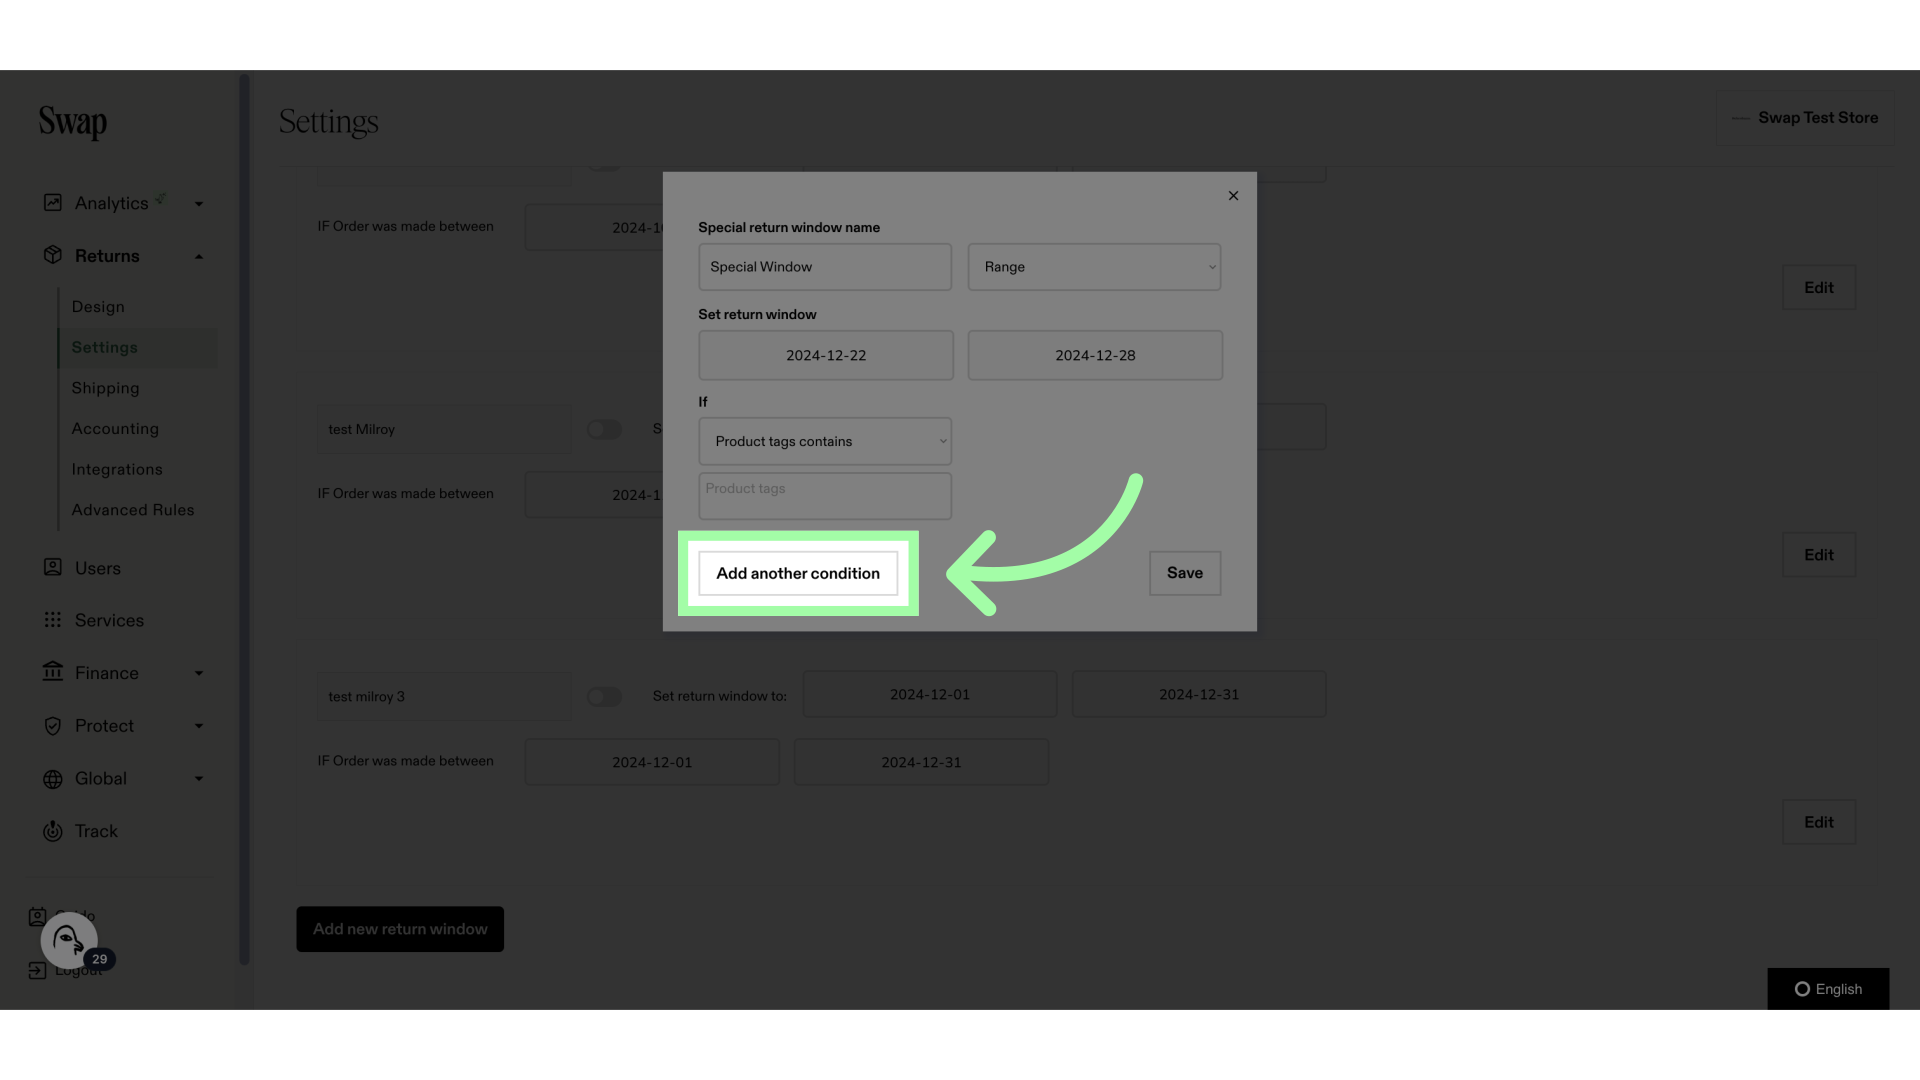
14. You can combine conditions by adding another condition
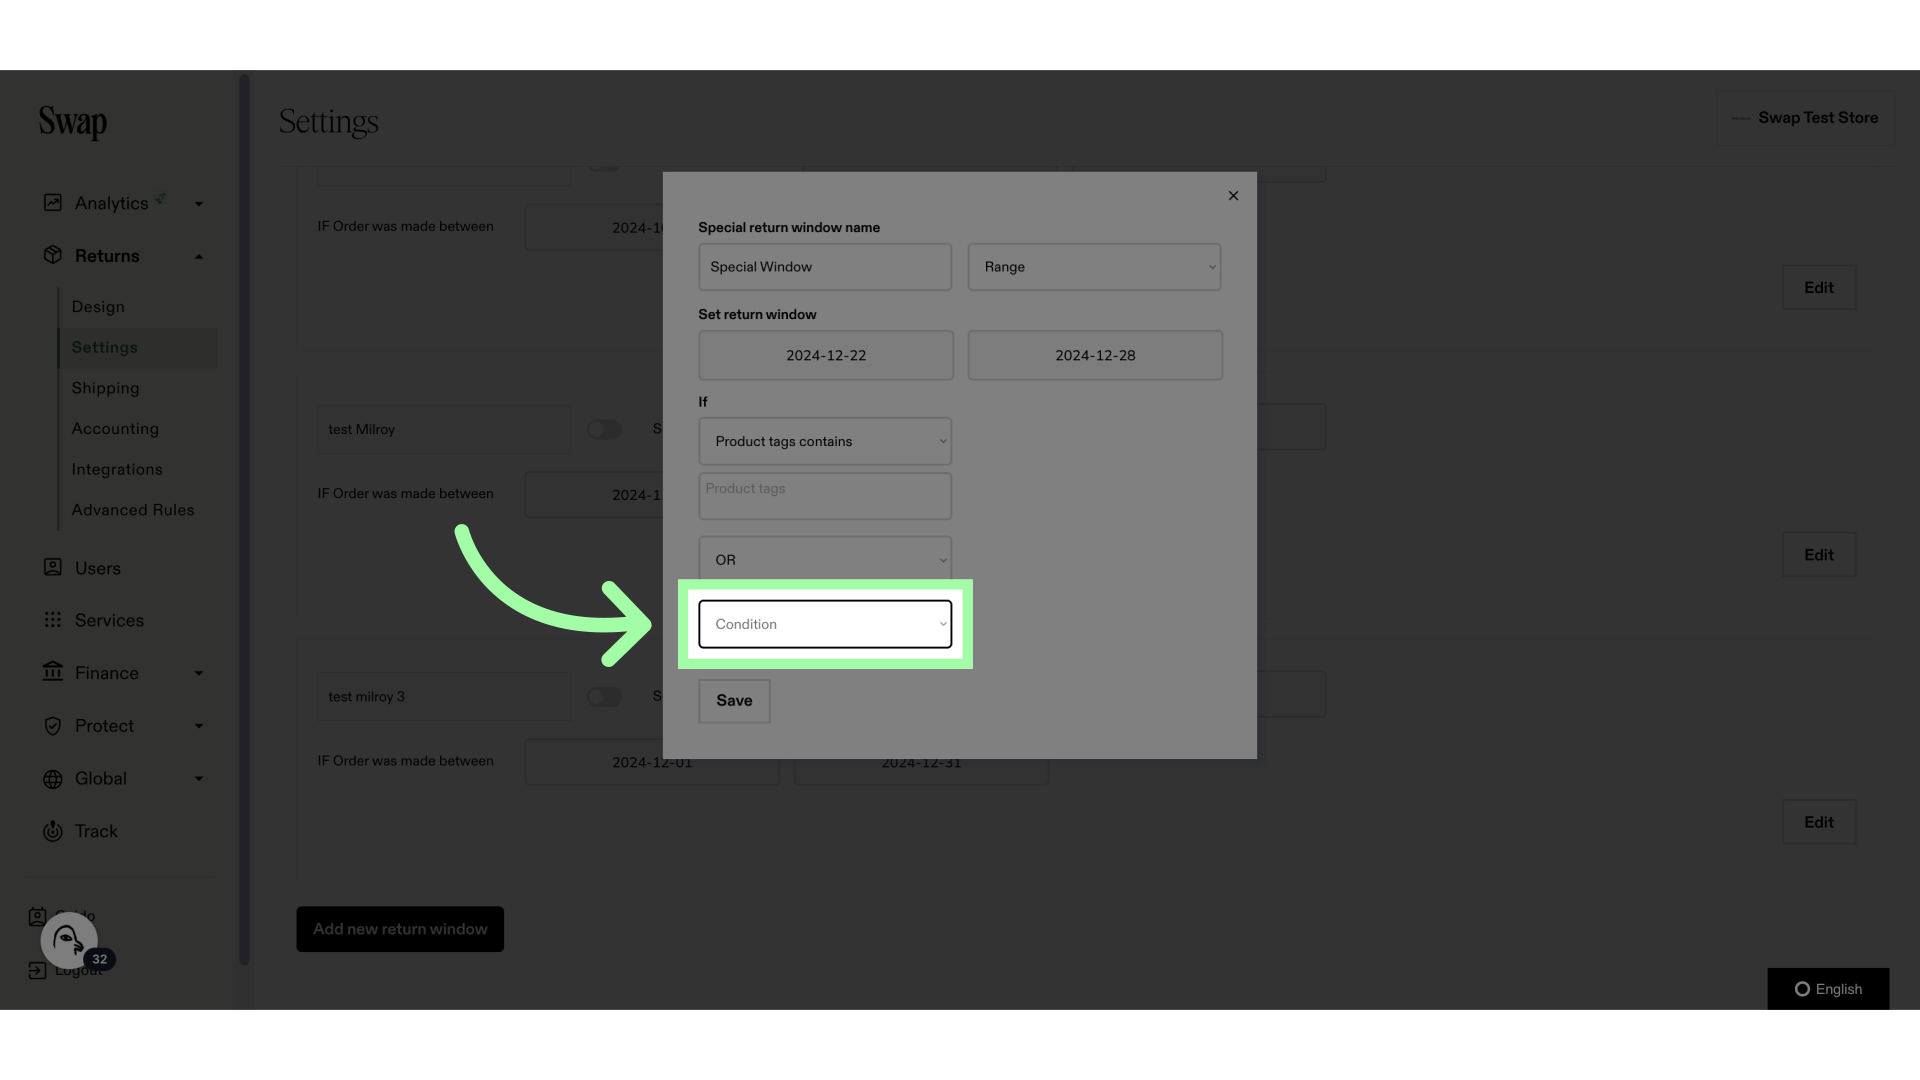
15. By choosing either the “AND” or “OR” operator, you determine how the conditions interact with one another
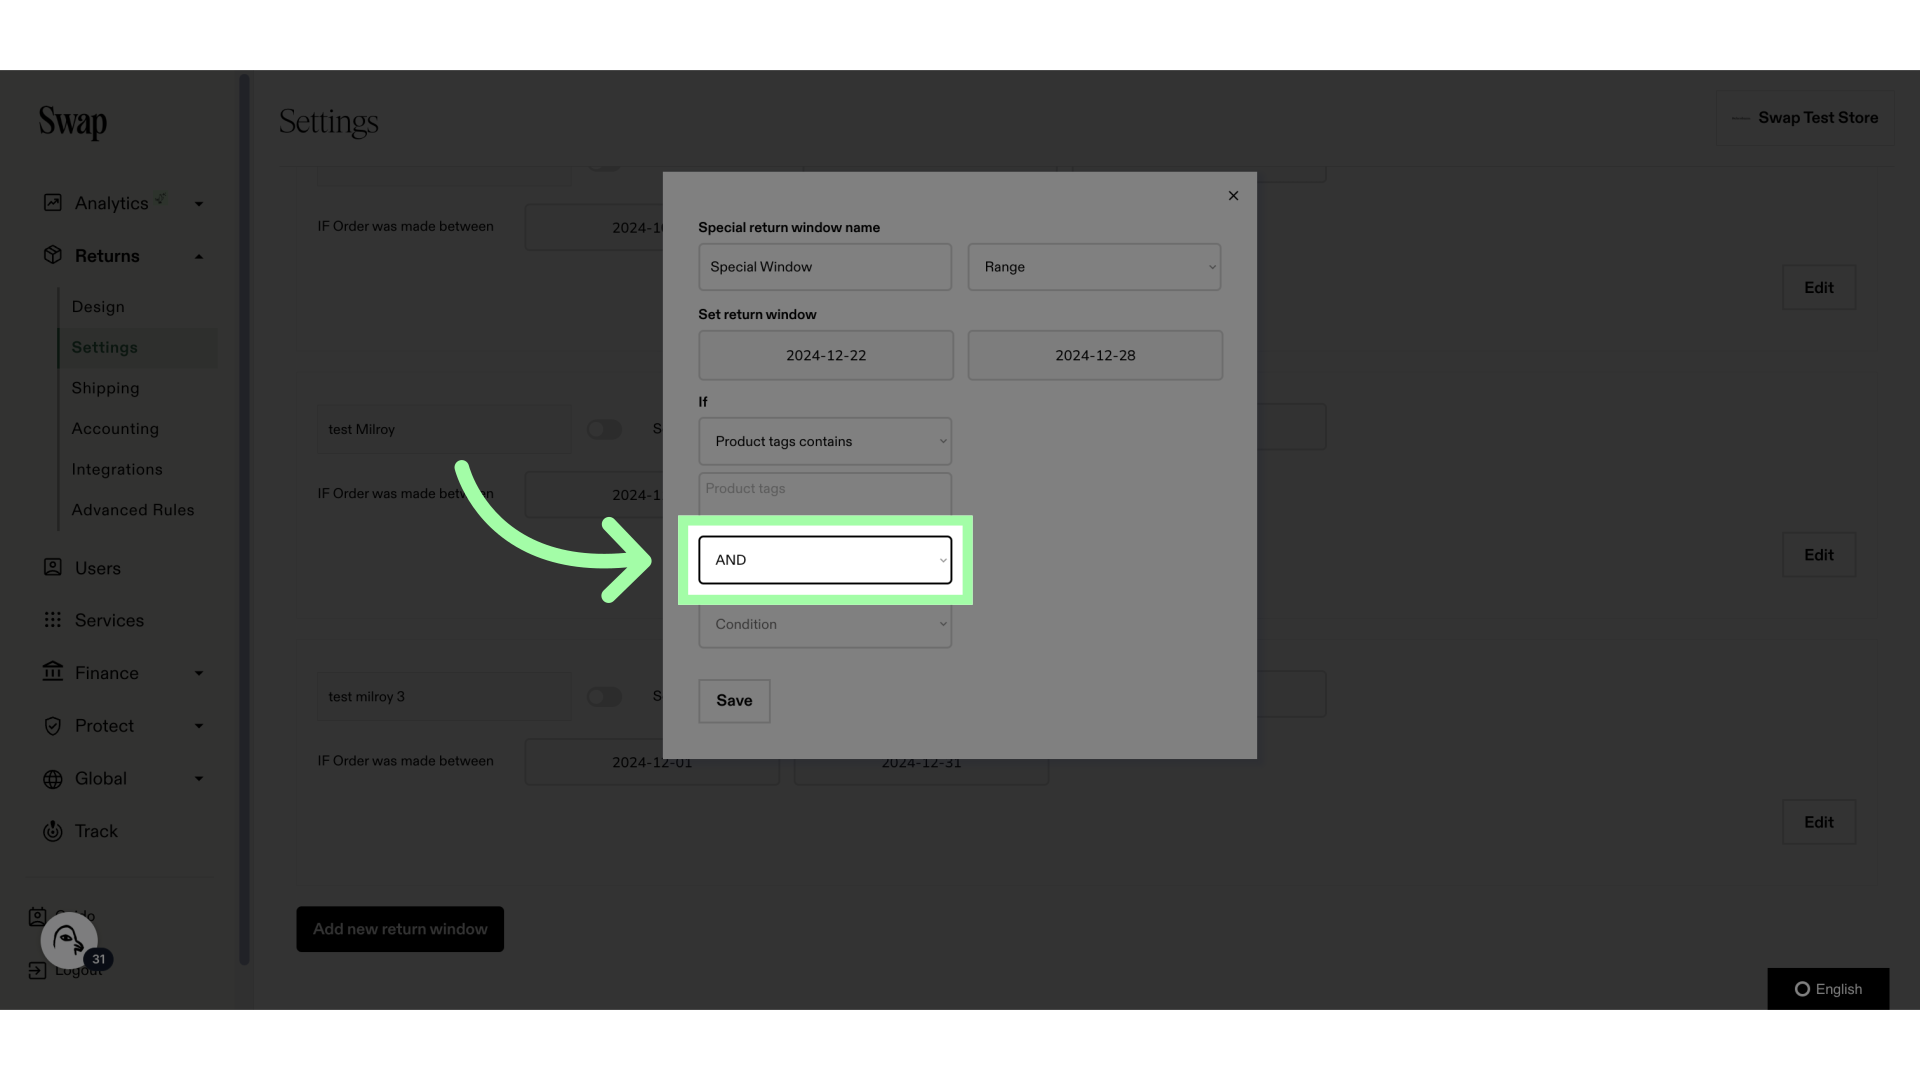
16. You can add the second condition here
17. If you select "Days" instead of "Range", the settings look slightly different

18. Here you can fill in the amount of days this custom return window should have
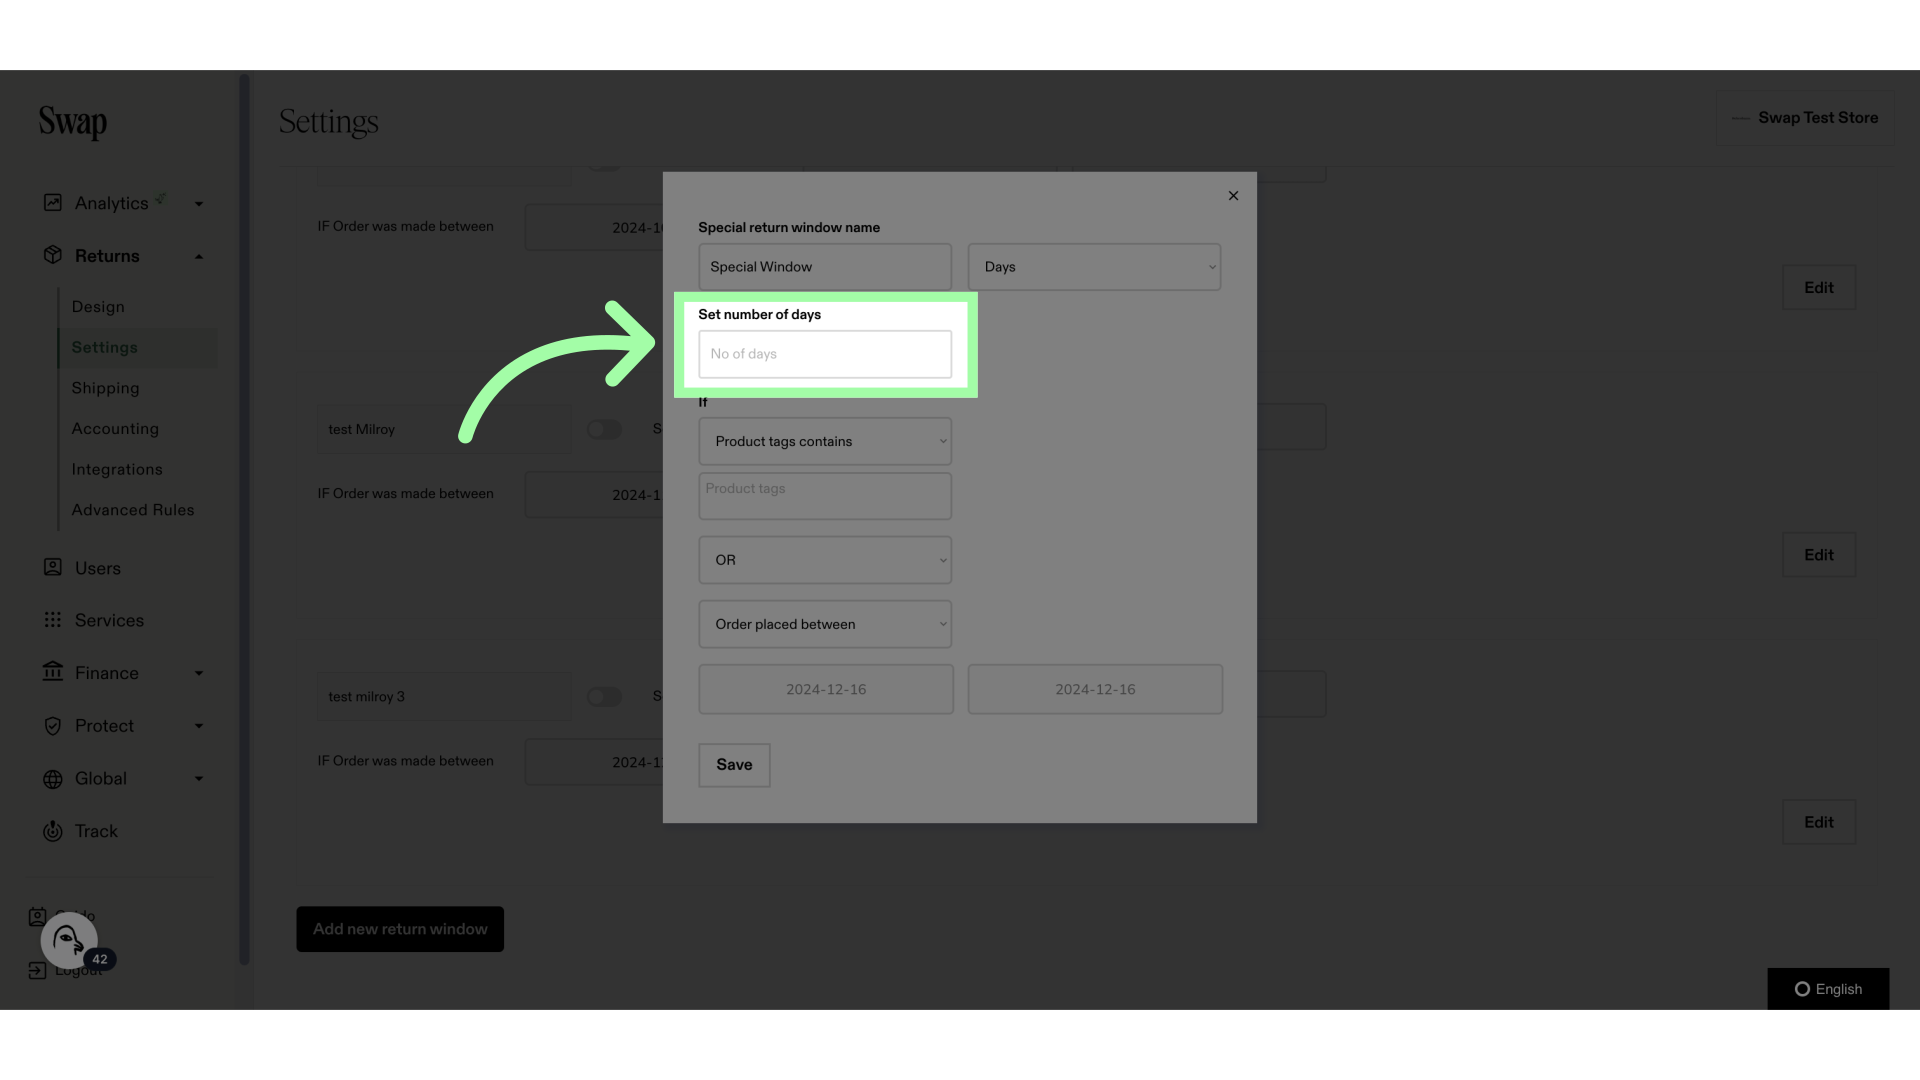
19. The conditions work the same with both "Days" or "Range"
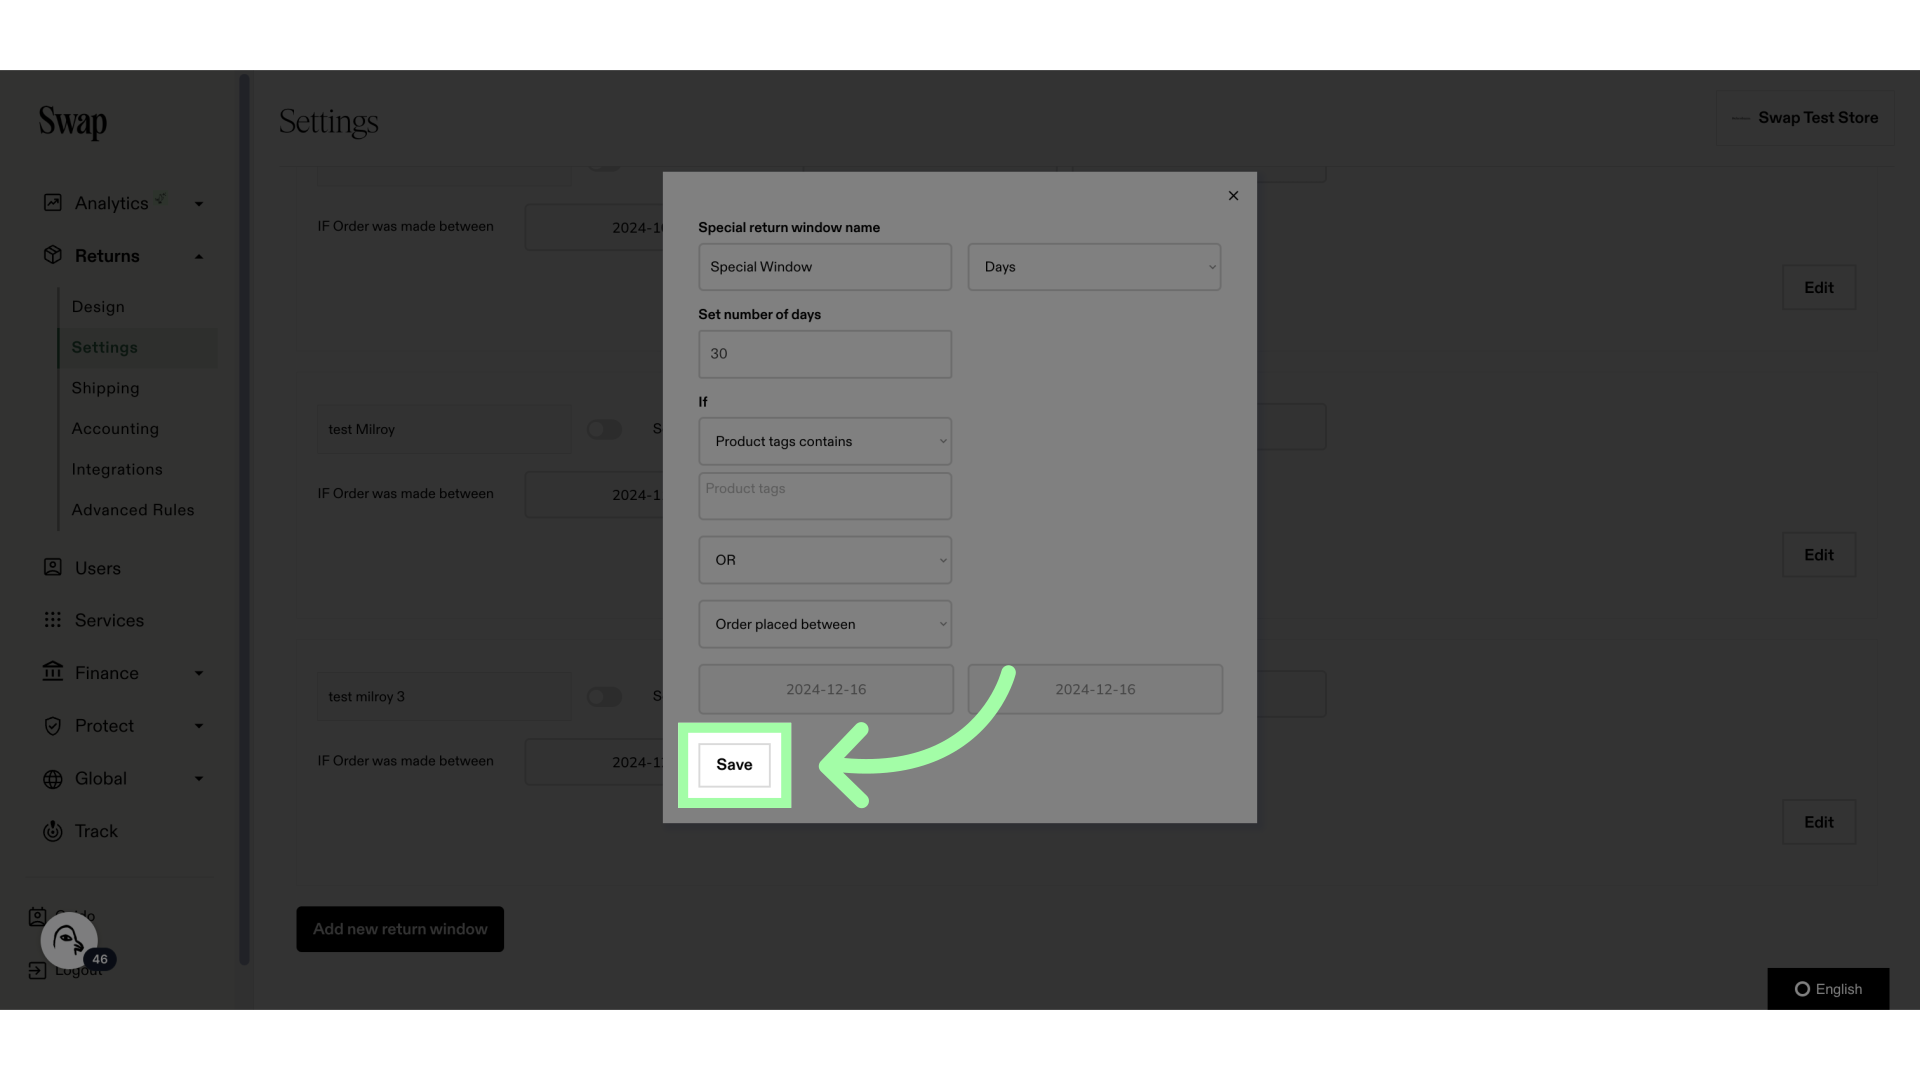
20. Click "Save" to add your Custom Return Window
21. This is where your new Custom Return Window will show
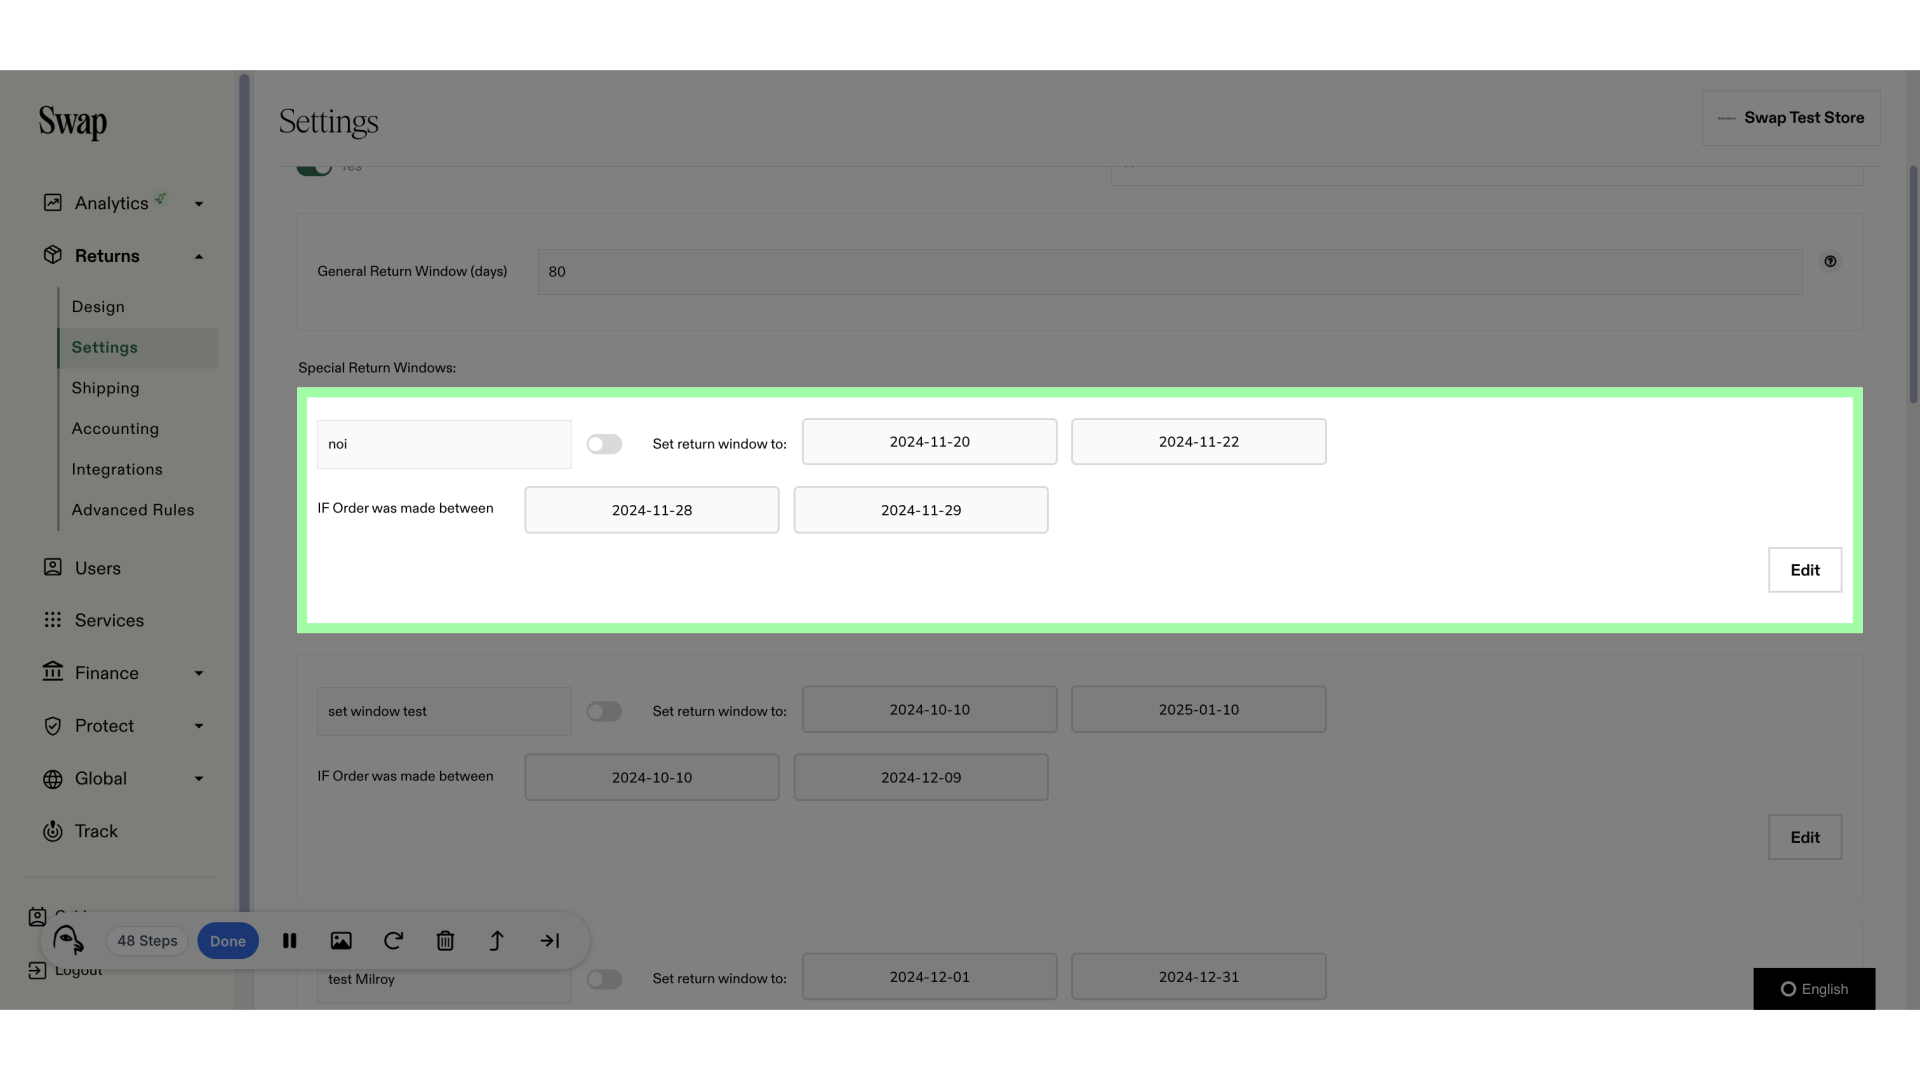
22. The new custom window will be inactive. Click here to enable it
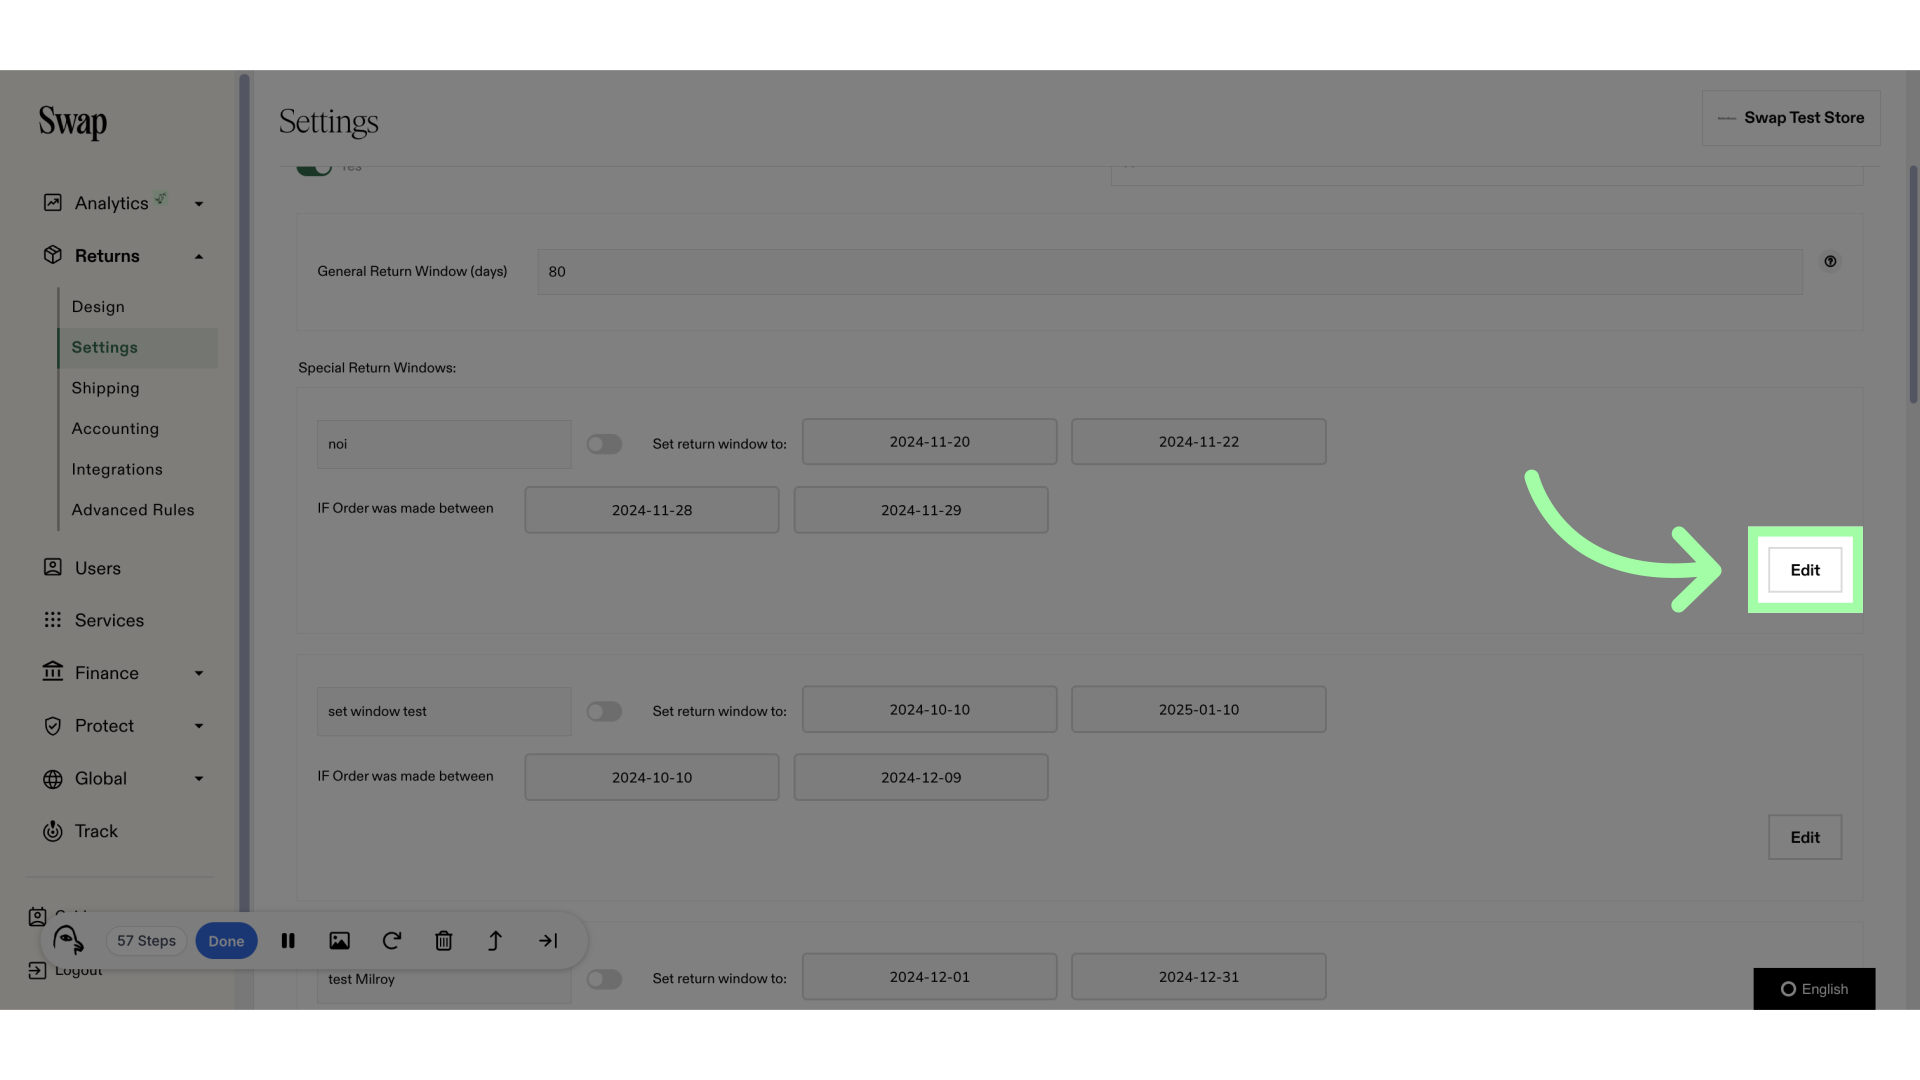
23. To edit an existing rule, click edit

24. Click "Close Edit" to save your edits

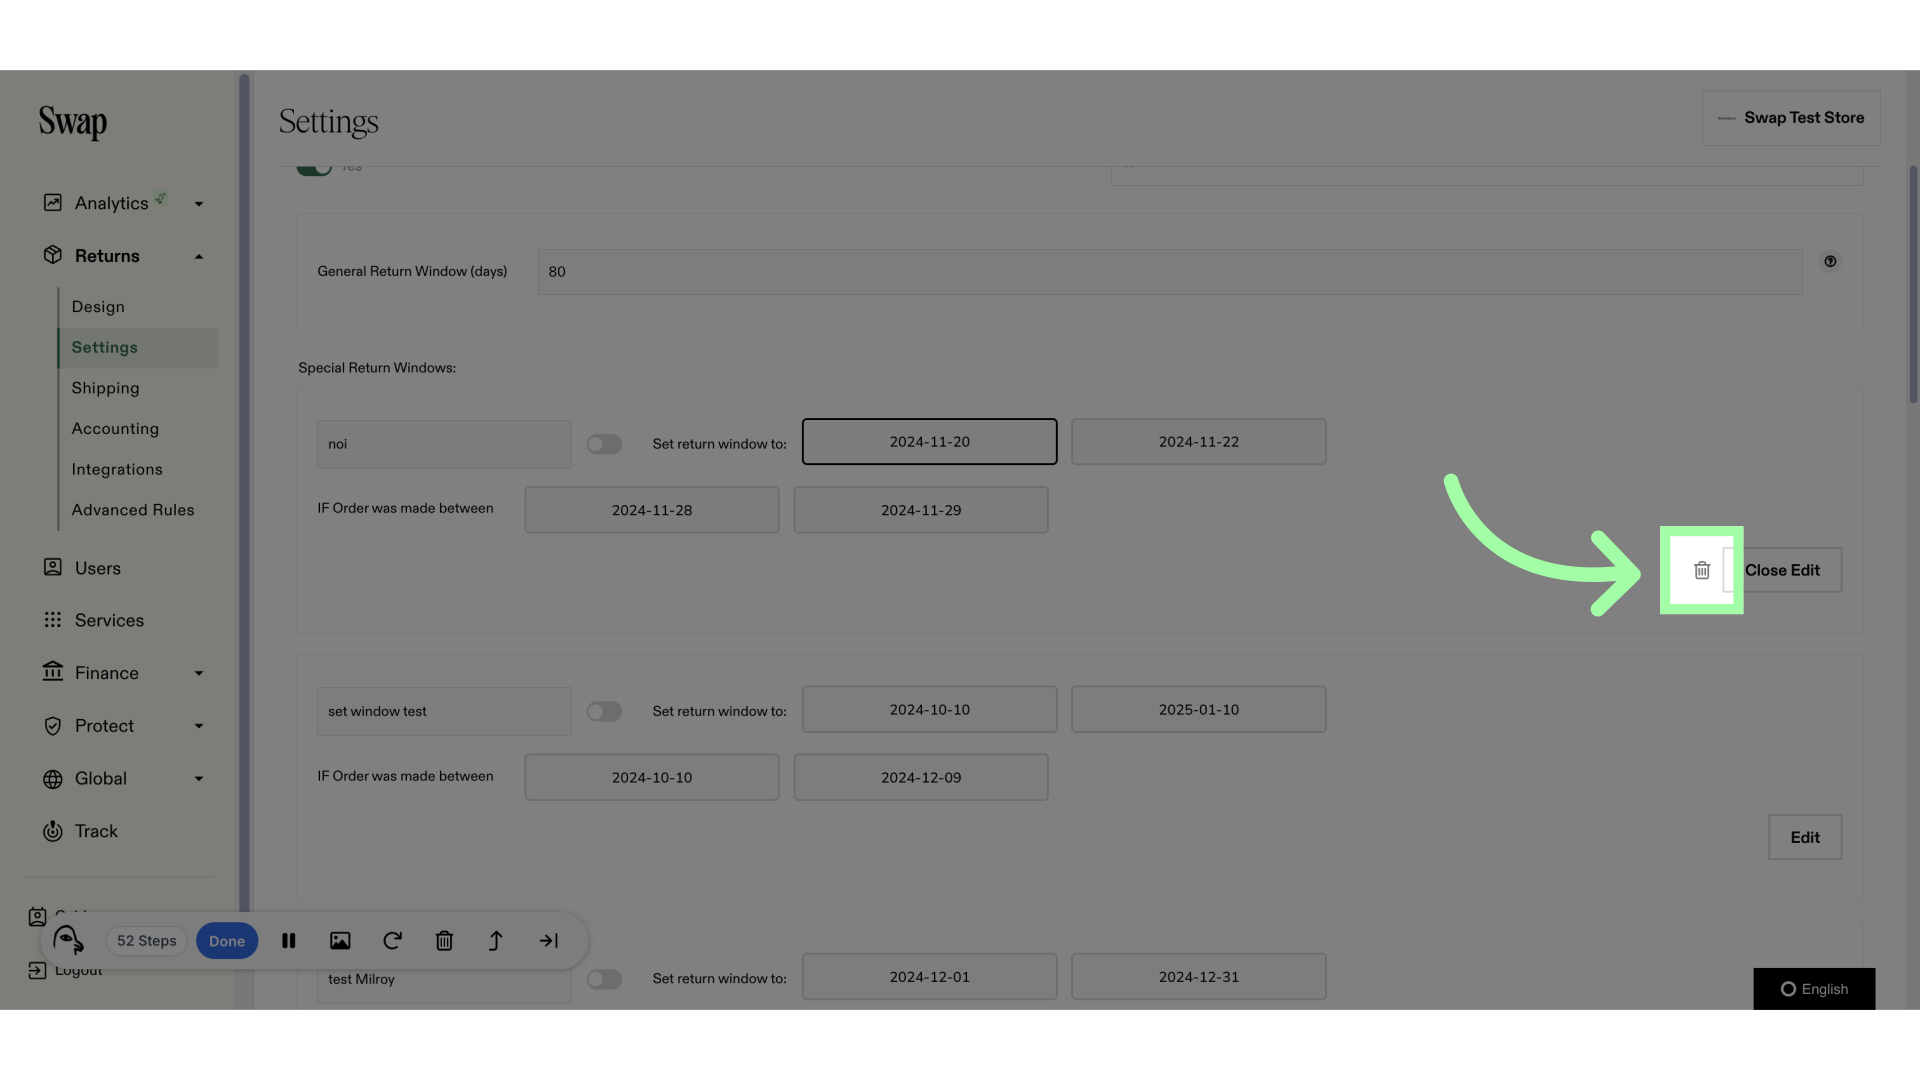
25. To delete an existing rule, first click edit
26. Then click the trash symbol
Practical Use Cases
Custom Return Windows can be used in many different cases. Here are a few examples:
Holiday Returns
Create a window allowing returns for orders placed during the holiday season, valid until mid-January.
Exclusive Product Lines
Set return windows specific to tagged products, such as a limited edition collection.
Promotional Offers
Enable returns for orders made during a promotional period, such as Black Friday, with a specific return timeframe.
Important Notes
- Custom Return Windows are disabled by default. Make sure to activate them before beginning to use them.
- Changes to active rules require deactivation before editing.
Related to